
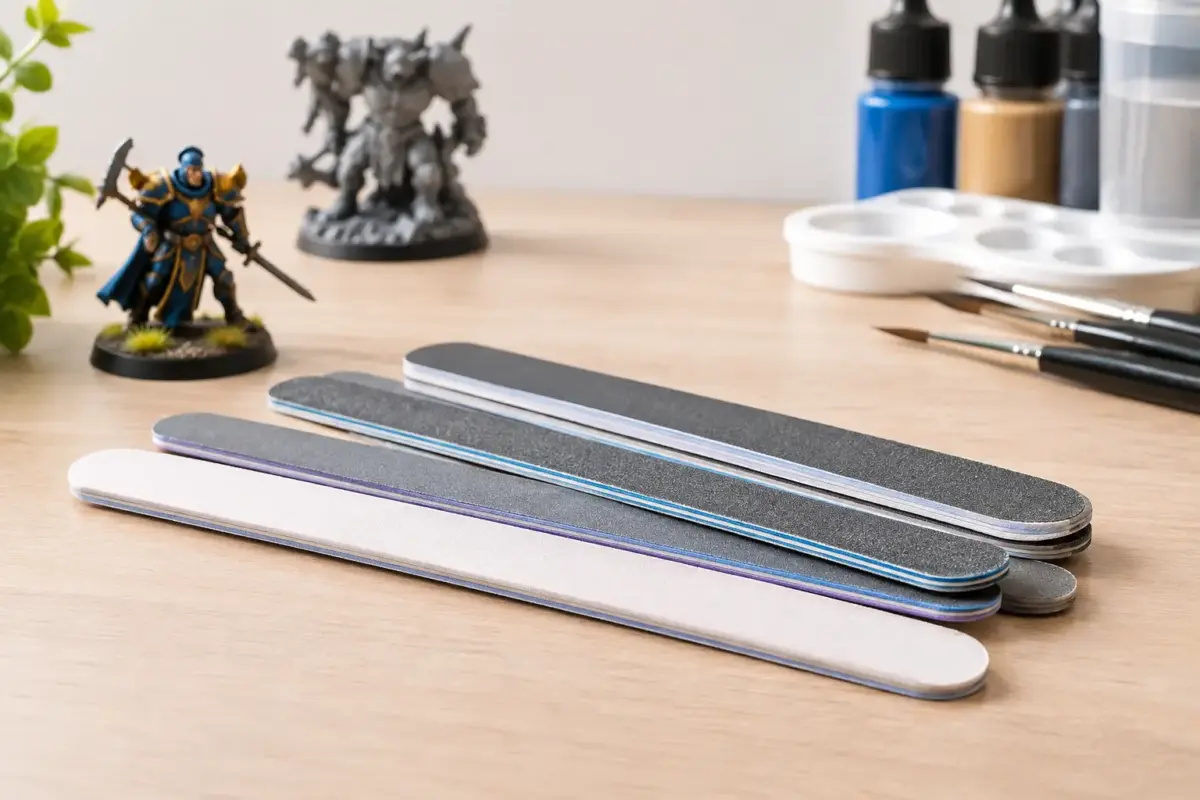
A fuselage seam can look perfectly dealt with under the bench lamp, then reappear the moment primer goes on. The best sanding sticks for models make that problem far easier to control: they put the abrasive exactly where it is needed, keep flat areas flat, and reach details that a loose sheet of abrasive paper can quickly round off.
For scale modellers, a sanding stick is not simply a convenience item. It is a precision tool used throughout the build, from removing sprue gates and correcting a poor joint to refining filler and preparing a flawless surface for paint. The right choice depends on the part, the material and the finish you are aiming for.
What makes a good sanding stick?
A useful sanding stick combines a consistent abrasive surface with enough support behind it to control pressure. That backing may be rigid, semi-flexible or foam cushioned. Each behaves differently, which is why a single all-purpose stick rarely covers every job on a model.
A rigid stick is the best option for genuinely flat surfaces. Think aircraft wing roots, armour hull sides, ship decks and the broad panels of a railway structure. It cuts predictably and prevents the abrasive from following a raised seam or a sink mark. The trade-off is that it can create a flat spot or sharp edge if used carelessly on a curved fuselage or figure.
Foam-backed sanding sticks flex around gentle curves and soften the contact area. They are especially useful on external fuel tanks, wheel spats, vehicle turrets and organic figure shapes. Their cushioning reduces the chance of scratching surrounding detail, although it also means they are less effective at levelling a seam that sits proud of the surface.
The abrasive itself matters as much as the backing. Quality sticks use a durable, evenly bonded grit that wears consistently rather than shedding suddenly. Colour-coded grit systems are particularly handy at the bench, provided you still check the grade printed on the stick. Colour conventions vary between manufacturers.
Choosing sanding stick grits for scale models
Most clean-up work is quicker and safer with a progression of grits rather than one aggressive stick used from start to finish. Start only as coarse as the job requires, then remove the scratches left by the previous grade before moving on.
Coarse grades for shaping and removal
Around 180 to 320 grit is suited to removing substantial sprue gates, levelling cured putty or reshaping resin casting blocks. Use it with restraint on injection-moulded plastic. A coarse stick can remove material astonishingly quickly, particularly on softer styrene and resin.
This range is best treated as a corrective tool rather than a general-purpose cleaner. If a gate is thick, cut it close with sprue cutters or a razor saw first, then use the sanding stick to bring the remaining nub level with the part. Trying to sand the entire gate away risks stressing or bending delicate components.
Medium grades for seams and filler
The 400 to 600 grit range does much of the everyday work. It is ideal for reducing a mould line, feathering filler into surrounding plastic and cleaning up joints before primer. On armour and aircraft kits, a medium sanding stick is usually the first choice for a conventional fuselage or hull seam.
Work across the seam rather than along it, using short, light strokes. This reveals whether the joint is truly level. Long strokes can hide a ridge temporarily while creating a shallow trough on either side.
Fine grades for paint preparation
Use 800 to 1,500 grit to refine a repaired area, soften the edge of a filled panel line and prepare plastic, resin or photo-etched parts for primer. These grades are also useful for removing minor dust nibs from fully cured paint, provided you use very little pressure and keep the work area clean.
For metallic finishes, gloss colours and highly visible civilian subjects, finer preparation pays off. A surface that feels smooth to a fingertip may still show scratches under a thin coat of aluminium or gloss lacquer.
Extra-fine and polishing grades
From roughly 2,000 grit upwards, sanding sticks become finishing tools. They are valuable for polishing clear parts, refining gloss paint between coats and preparing a surface for a high-shine finish. Used wet where the product permits, they can leave a remarkably even surface with less clogging.
Do not expect an ultra-fine stick to repair a visible seam efficiently. It will polish the high points while leaving the underlying fault in place. Deal with the shape first, then refine it.
Best sanding sticks for models by task
For broad, flat areas, choose a firm stick with a wide face. This is the dependable choice for vehicle armour plates, wing surfaces and the sides of a ship hull. A narrow, rigid stick is more precise around cockpit openings, intake lips and small assemblies, where a broad tool can catch adjacent detail.
For curves, a flexible foam-backed stick is generally kinder. It follows the radius of a drop tank, car bodywork or miniature shoulder armour without cutting a visible facet. Use a light touch and check the profile regularly from several angles. Flexible abrasives are forgiving, but they can still smooth away a raised rivet line before you notice it.
For tight corners and recessed details, thin sanding sticks and narrow abrasive strips are more useful than a standard wide board. They can clean the corner of an aircraft intake, the inside edge of a wheel arch or the join around a resin cockpit insert. Folded abrasive paper has its place here too, but a purpose-made narrow stick offers better control and stays flatter for longer.
Micro-sized sticks deserve a place in figure and miniature work. They allow you to remove mould lines from arms, weapons, helmets and fine equipment without flattening the sculpt. On wargaming miniatures, start finer than you might on a 1/35 tank hull. Detail is often shallow, and heavy sanding can soften it permanently.
Match the stick to the model material
Polystyrene is relatively forgiving, but it softens with friction. If a sanding stick begins to drag or leaves melted-looking marks, reduce pressure and clean the abrasive. Several gentle passes are safer than one hard pass.
Resin needs more caution. It is often harder and more brittle than styrene, so coarse sanding can chip thin edges. Wet sanding is useful for many resin parts because it keeps dust down and improves the abrasive action. Always follow sensible dust precautions: resin dust should not be breathed in, and the work area should be cleaned afterwards.
Clear styrene calls for fine grades only unless there is a serious flaw to correct. Start with the least aggressive abrasive that will do the job, then work progressively through finer grades before polishing. A clear canopy can often be rescued from a light seam or scratch, but rushing straight to a coarse stick makes recovery much harder.
Photo-etch is different again. It usually benefits more from a fine abrasive sponge or polishing stick than a conventional rigid sanding stick. The aim is to key the surface lightly for primer, not remove metal or distort the part.
How to sand without losing surface detail
Before sanding, protect nearby raised detail with masking tape if the area allows it. Tape will not stop every mistake, but it provides a useful visual and physical boundary around rivets, louvres, weld beads and delicate engraving.
Use a guide coat when working larger filled areas. A light mist of contrasting primer or paint makes low spots, scratches and untouched high points immediately visible. It is far more reliable than judging the surface by touch alone.
Clean the sanding stick regularly. A clogged abrasive stops cutting evenly and can leave random scratches. Tapping out dust may be enough for a dry session; some washable sticks can be rinsed and left to dry completely. Check the manufacturer’s guidance, as not every stick is designed for wet use.
After each sanding stage, inspect the part under raking light. Hold it so the light travels across the surface rather than shining directly at it. This exposes scratches and unevenness that disappear under ordinary overhead lighting. If you are restoring lost panel lines or rivets, do it only once the surrounding surface is properly level.
A practical sanding-stick set for the bench
A compact but capable selection includes a coarse rigid stick for occasional shaping, medium and fine rigid sticks for seams and flat surfaces, plus fine and extra-fine foam-backed sticks for curves and paint preparation. Add narrow or micro sticks if you build figures, cockpits, engines or other detail-heavy subjects.
There is no need to buy every available grit in duplicate. The better approach is to choose formats you will actually use. Aircraft and armour builders often benefit from several firm profiles, while figure painters and Gundam builders may reach for flexible and micro sanding sticks more often.
Keep used sticks rather than discarding them as soon as they lose their original bite. A worn 600 grit stick becomes a useful gentle finishing tool, and an older fine stick can be reserved for clear parts or paintwork. Marking their actual condition with a pen avoids confusion at the bench.
A well-chosen sanding stick set will save filler, protect detail and make primer checks much less frustrating. Whether you are cleaning a simple starter kit or refining a heavily detailed build, choose the grit and backing for the specific surface in front of you, then let the tool do the work rather than forcing it.
