
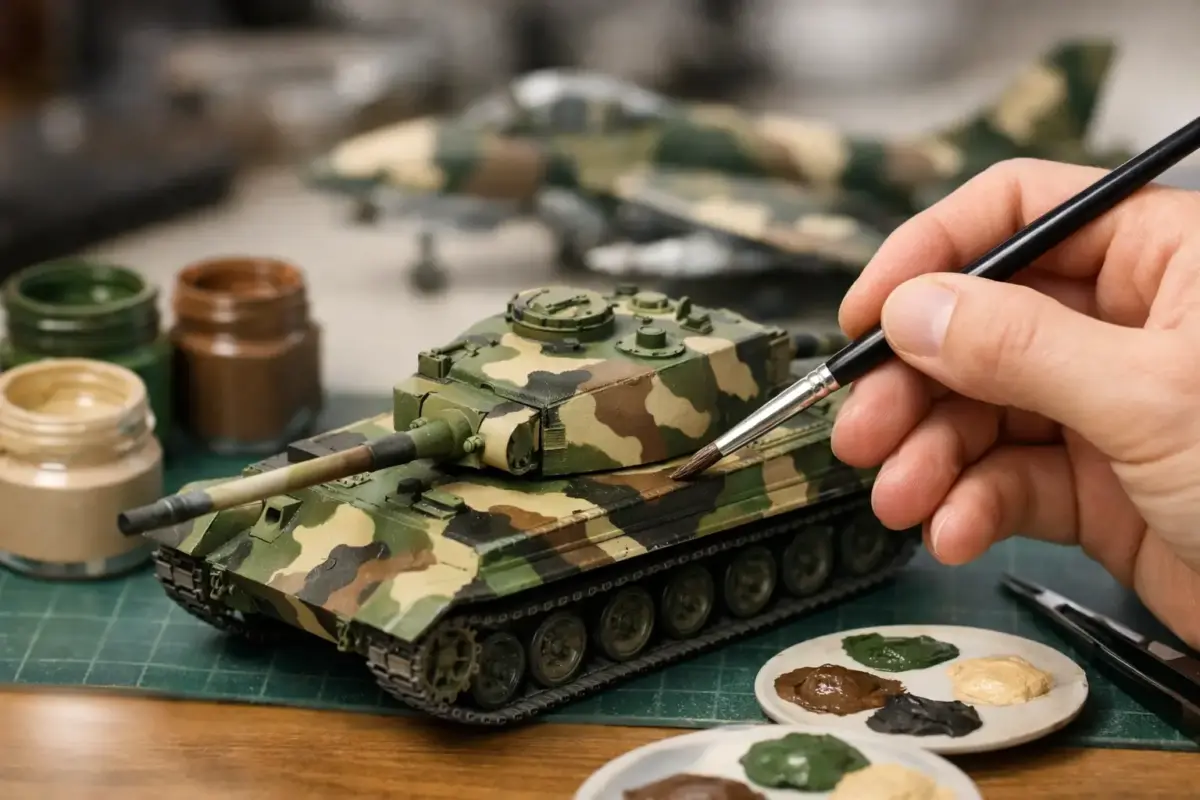
A convincing camouflage finish does not require an airbrush. Brush painting camouflage patterns can produce crisp, controlled and highly realistic results, particularly on smaller aircraft, AFVs, ships and wargaming subjects. The difference lies less in expensive equipment than in paint consistency, sensible planning and knowing when an edge should be sharp, feathered or deliberately irregular.
For many modellers, brush work is also the most practical route. It is quiet, quick to set up and ideal for small sessions at the bench. A good quality brush finish remains especially effective for hand-applied field camouflage, disruptive armour schemes and models where the real vehicle or aircraft had visibly uneven edges.
Plan brush painting camouflage patterns before paint
Start with references, not the paint rack. Camouflage diagrams show the intended layout, but photographs reveal what matters on a finished model: where colours wrap around a leading edge, whether the scheme changes beneath the fuselage, and how much variation exists between individual vehicles. Factory-applied schemes may have consistent sprayed lines, while field repaints are often rougher, thinner or incomplete.
Study the scale as well as the subject. A hard-edged Luftwaffe splinter scheme on a 1:72 aircraft needs a different approach from the broad, soft-edged green and brown of a 1:35 British tank. At smaller scales, an edge that is technically accurate can look too stark. Conversely, making every boundary soft can leave a small model looking blurred and undefined.
Before applying colour, lightly mark major boundaries with a soft pencil. On a primed surface, these marks are easy to cover and prevent the common problem of gradually shifting the pattern as you work around the model. Keep the plan simple at first: establish the largest areas, then refine the smaller shapes once the main colours are in place.
Paint consistency matters more than brush size
Most modern acrylic hobby paints can be brush painted successfully, but they should rarely be used straight from the pot. A slightly thinned paint flows from the brush, levels better and avoids heavy ridges. Thin it in small amounts with the manufacturer’s recommended thinner, water where appropriate, or a suitable acrylic retarder. The goal is an opaque coating built through several light layers, not one heavy pass.
A paint mix that is too thick drags over the surface and leaves brush marks. Too thin, and it pools around raised details or dries with patchy coverage. Test the mix on a spare primed part or plastic spoon. It should cover the surface without obscuring panel lines, rivets or fine moulded texture.
Use a good synthetic round brush for most camouflage shapes, keeping a smaller pointed brush for tight corners, demarcation lines and touch-ups. A flat brush is useful for broad areas on armour hulls, ship superstructures and wings. Do not overload the bristles. Wipe excess paint against the palette edge, then let the brush do the work with gentle, confident strokes.
A practical brush-painting set-up includes:
- a wet palette or ceramic palette for controlling thinning;
- two water pots, one for rinsing and one kept cleaner for thinning;
- quality round and flat synthetic brushes in several sizes;
- primer suited to the paint system being used; and
- a clean, lint-free cloth for removing excess moisture.
Allow each coat to dry fully before the next. Acrylic paint may feel dry quickly, but working back over it too soon can lift the previous layer. Two or three thin coats are normal, especially when painting pale colours over a darker primer.
Choosing hard, soft and hand-painted edges
The correct camouflage edge is dictated by the real subject. This is where brush painting becomes a strength rather than a compromise.
Hard edges for geometric schemes
For crisp splinter camouflage, naval dazzle patterns, modern digital-style blocks or sharply divided armour schemes, masking is usually the safest option. Low-tack modelling tape works well on flat or gently curved areas. Burnish only the paint edge with a cocktail stick or cotton bud, rather than pressing the entire strip hard into delicate details.
Paint the lighter colour first where practical, then mask it and apply the darker shade. Brush paint away from the tape edge rather than towards it, using light coats. This reduces the chance of paint creeping underneath. Remove the tape slowly once the paint has set but before it has fully hardened, pulling it back over itself at a low angle.
For curved boundaries, flexible masking tape can be useful, but avoid forcing it around tight compound curves. Small pieces of tape often give a cleaner result than one long strip that fights the model’s shape.
Soft edges without an airbrush
Many Second World War aircraft and post-war AFVs feature sprayed camouflage with a noticeable but controlled soft edge. A brush cannot reproduce an airbrushed fade exactly, yet it can suggest it convincingly in scale.
Paint the main colour boundary first, keeping it subtly irregular. Then use a very fine brush with a thinned intermediate mix – usually a blend of the two camouflage colours – to soften selected parts of the line. Work in short, broken strokes rather than tracing an even outline around every patch. On a 1:72 model, the soft transition should be restrained; an overly wide blended band can look out of scale.
Another effective method is stippling. Use a short-bristled brush with very little paint and gently tap along the boundary. Build the transition slowly, allowing each application to dry. This works particularly well for dusty, faded or field-applied finishes, where a perfectly even sprayed edge would look less convincing anyway.
Freehand edges for field-applied camouflage
Freehand brush painting is ideal for Italian smoke rings, winter whitewash remnants, German ambush dots, irregular green overpaint and many wargaming vehicle schemes. The key is controlled inconsistency. Real hand-applied camouflage was rarely random, but it was rarely identical from one side of a vehicle to the other either.
Work from broad shapes to fine marks. Keep checking both sides of the model so the pattern feels balanced without becoming mirrored. If a line looks too deliberate, interrupt it with a small colour variation, a later weathering effect or a patch of the base colour showing through.
Build the finish in the right order
Priming gives brush-painted camouflage a more consistent foundation and makes flaws easier to spot before the main colours go on. Choose a primer colour that supports the scheme: grey is a reliable general choice, black can suit darker finishes and pre-shading approaches, while a light primer helps yellow, white and pale sand cover cleanly.
Apply the lightest camouflage colour first in most cases. It is easier to cover a light shade with a darker one than the reverse. There are exceptions: a dark base can be useful where it will remain visible in deep recesses, or where the model represents a heavily shadowed, worn finish. The subject and the final weathering plan should decide the sequence.
Once the camouflage is complete, protect it with a suitable clear coat before decals and washes. A gloss or satin surface generally helps decals settle and allows pin washes to flow around raised detail. A final matt, satin or subtle eggshell varnish then brings the different finishes together. Military vehicles are not always dead matt, and a little variation between rubber, painted metal, canvas and fuel-stained areas adds credibility.
Correct mistakes without losing the pattern
Small errors are easier to repair than to hide. Let the offending paint dry, then use the original base colour to redraw the edge with a fine pointed brush. Do not attempt to correct wet acrylic repeatedly, as this often creates a thick, ragged patch.
If the camouflage colours appear too contrasty, filter them gently after sealing the paint. A highly diluted, translucent tone can reduce the separation between colours without erasing the pattern. Dust, rain marks, dry brushing and restrained chipping will also integrate the finish, but weathering should support the camouflage rather than compensate for poor coverage.
Be cautious with pre-shading and black panel-line effects under brush-painted colours. They can show through unevenly and make a carefully applied scheme appear blotchy. Subtle tonal variation within individual camouflage areas is more convincing than identical dark lines around every panel.
Make the camouflage look used, not merely painted
A newly painted camouflage scheme can look stark until the model receives its final finishing work. Refer back to photographs and consider where the subject operated. Desert vehicles collect dust on lower surfaces and horizontal ledges. Carrier-based aircraft show salt wear and grime in particular locations. A tank used in wet northern Europe may have darker mud deposits, rain streaking and scuffed crew access points.
Keep these effects scale-sensitive. A 1:72 aircraft needs suggestion rather than heavy texture, while 1:35 armour gives more room for layered mud and worn paint. Matching paints, varnishes, weathering products and fine brushes to the intended scale helps maintain that balance.
The best brush-painted camouflage does not announce the method used. It looks appropriate to the subject, remains clean around fine detail, and carries enough variation to suggest paint applied to a working machine. Take your time with thin coats and planned edges, and the brush becomes one of the most capable tools on the modelling bench.
