
How to Paint Model Kits with a Brush
Brush painting is a practical and rewarding way to finish scale models, whether you are detailing a 1/35 tank or adding highlights to a 1/72 aircraft. Although airbrushing is useful for covering larger areas, brush painting requires less equipment and provides excellent control for detail work. This guide explains how to paint model kits with a brush, covering essential tools, techniques and paint types from brands such as Vallejo, Tamiya, Mr Color, AK Interactive, Ammo by Mig Jimenez and Humbrol.
Vallejo acrylic paints are a popular option for brush painting plastic model kits, but several paint ranges can produce good results when prepared and applied correctly. Choosing a suitable thinner and using several thin coats are important regardless of the brand selected.
Why Choose Brush Painting?
Brush painting is particularly useful for beginners and modellers with limited space. It requires relatively little equipment and provides precise control in confined areas, making it well suited to detail painting. Airbrushing can produce smooth coverage across large surfaces, while brushes remain useful for edge highlights, small components, touch-ups and weathering effects.
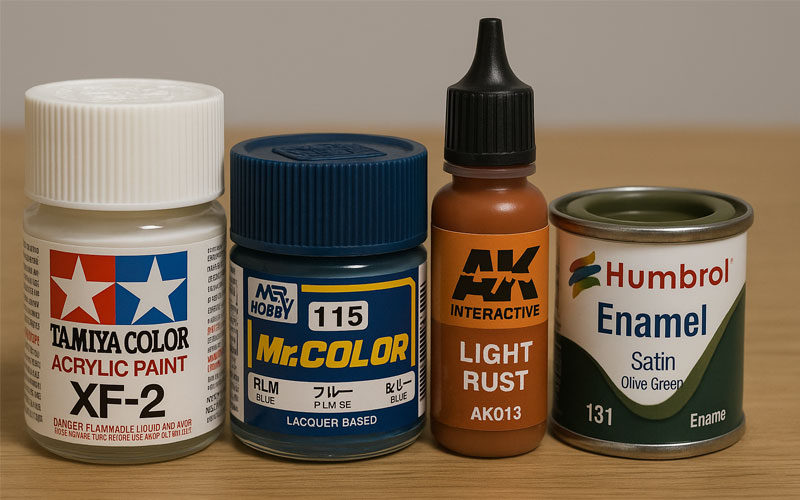
Popular Paint Brands
- Vallejo
- Tamiya
- Mr Color
- AK Interactive
- Ammo by Mig Jimenez
- Humbrol
Essential Supplies for Brush Painting
- Good-quality model paintbrushes in several sizes, including round, flat and fine-detail brushes
- A palette or mixing tray
- Water for suitable acrylics or the appropriate thinner for other paint types
- Paper towels and cotton buds for cleaning
- Model paints suitable for the chosen subject and finish
Understanding Paint Types by Brand
Vallejo: Water-based acrylics available in several ranges. Vallejo Model Color and Game Color are suitable for brush painting, while Model Air is formulated primarily for airbrushing but may also be applied by brush when used appropriately.
Tamiya: Alcohol-based Tamiya paints that dry relatively quickly. X-20A thinner or a suitable retarder may help reduce visible brush marks during hand painting.
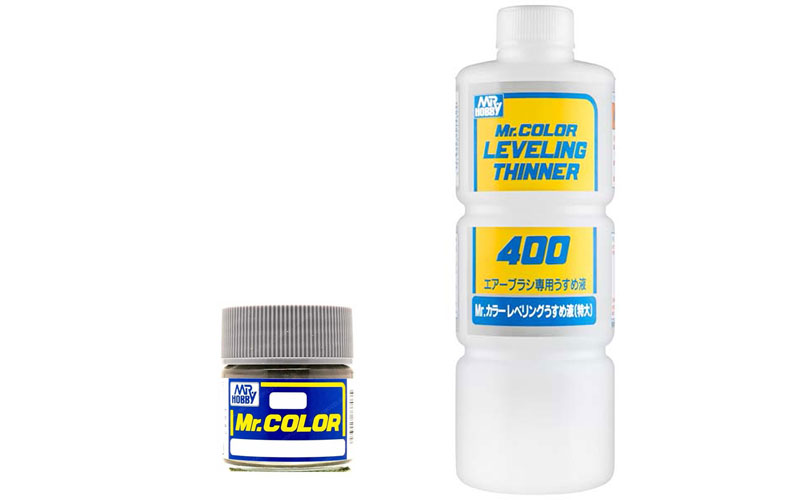
Mr Color: Lacquer-based paints that produce a durable finish. They require a compatible lacquer thinner, such as Mr Color Levelling Thinner, and careful handling because of their solvents and quick drying time.
AK Interactive: Third Generation acrylics are water-based and suitable for brush painting. Thin coats can help minimise streaking and create more even coverage.
Ammo by Mig Jimenez: Water-based acrylic paints that can be thinned, blended and cleaned with water or a compatible acrylic thinner. Their working time can assist with layering and blending.
Humbrol: Humbrol is well known for enamel paints, which require white spirit or a suitable enamel thinner. Its acrylic range can also be used for brush painting.
Step-by-Step: How to Brush Paint Your Model
-
Prepare Your Workspace:
Choose a clean, well-lit area. Protect the surface with a cutting mat or newspaper and arrange your tools within easy reach.
-
Clean and Prime the Model:
Wash the parts in warm, soapy water when appropriate, allow them to dry and then apply a primer compatible with your chosen paint.
-
Choose the Right Brush:
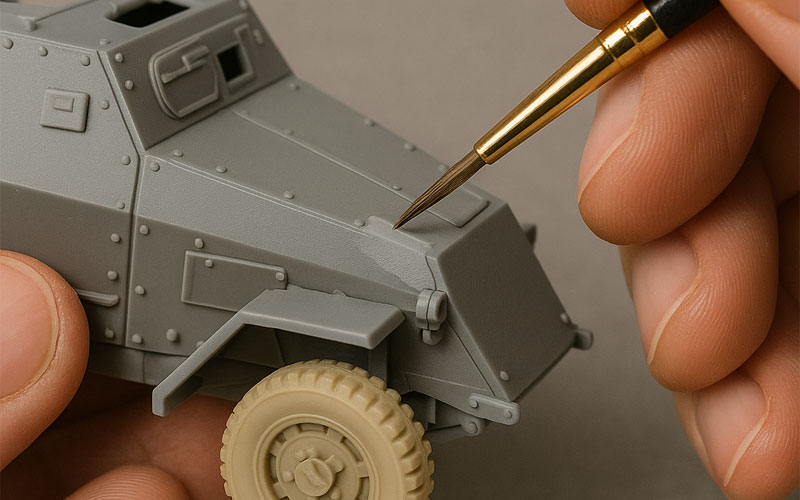
Use larger flat brushes for broad areas and fine round brushes for details. A good-quality brush that holds its shape can help reduce streaks and improve control.
-
Thin Your Paint:
- Vallejo, Ammo and AK Third Generation: water or a compatible acrylic thinner
- Tamiya acrylic: X-20A or another compatible thinner
- Mr Color: Mr Color Levelling Thinner or another compatible lacquer thinner
- Humbrol enamel: Humbrol Enamel Thinners or another compatible enamel thinner
-
Apply Thin Layers:
Build the colour with several thin coats rather than one heavy coat. Allow each layer to dry before applying the next.
-
Minimise Brush Marks:
Use smooth, even strokes and avoid repeatedly brushing over paint as it begins to dry. A compatible retarder may help with fast-drying acrylics.
-
Clean Up Immediately:
Clean brushes used with water-based acrylics using water or an appropriate brush cleaner. Use the correct thinner or cleaner for enamel and lacquer paints.
Common Brush Painting Mistakes
- Brush marks: Often caused by paint that is too thick or by working over paint as it dries. Thin the paint appropriately and use smooth strokes.
- Streaky coverage: This may result from an unsuitable brush, insufficient mixing or trying to achieve full coverage with one coat.
- Peeling paint: Poor surface preparation or an incompatible primer can prevent the paint from adhering correctly.
- Poor adhesion: Make sure the paint, thinner and primer are compatible and allow each layer enough time to dry.
Tips for Advanced Brush Painting
Once you are comfortable applying base colours, experiment with dry brushing, edge highlighting and layering. These techniques can emphasise raised details, create controlled highlights and add depth to figures, cockpits, vehicles and weathered surfaces.
Paints for Beginners
- Vallejo Model Color
- Ammo by Mig acrylics
- AK Interactive Third Generation acrylics
- Humbrol acrylics
Brush painting remains an essential scale-modelling skill. With suitable paints, compatible thinners and several carefully applied coats, it is possible to achieve a clean finish without an airbrush. Different paint ranges behave in different ways, so test your chosen combination before working on an important part of the model.
Brushes are especially useful for panel-line touch-ups, cockpit interiors, miniature figures and small details. Taking time with preparation, thinning, and drying will help you achieve more consistent results across your model kits.
