How To Use Bare Metal Foil on Model Cars | Bare Metal
£2.95
In stock
SKU: BMBOOK1
Brand: Bare Metal
Bare MetalFree UK Delivery £75
Live Stock Levels
Reward Points
Secure Checkout
Fast UK Shipping

Save for later
Wishlist and stock alertsLog in to save products or join back-in-stock notifications.
Modelling Tips & Techniques
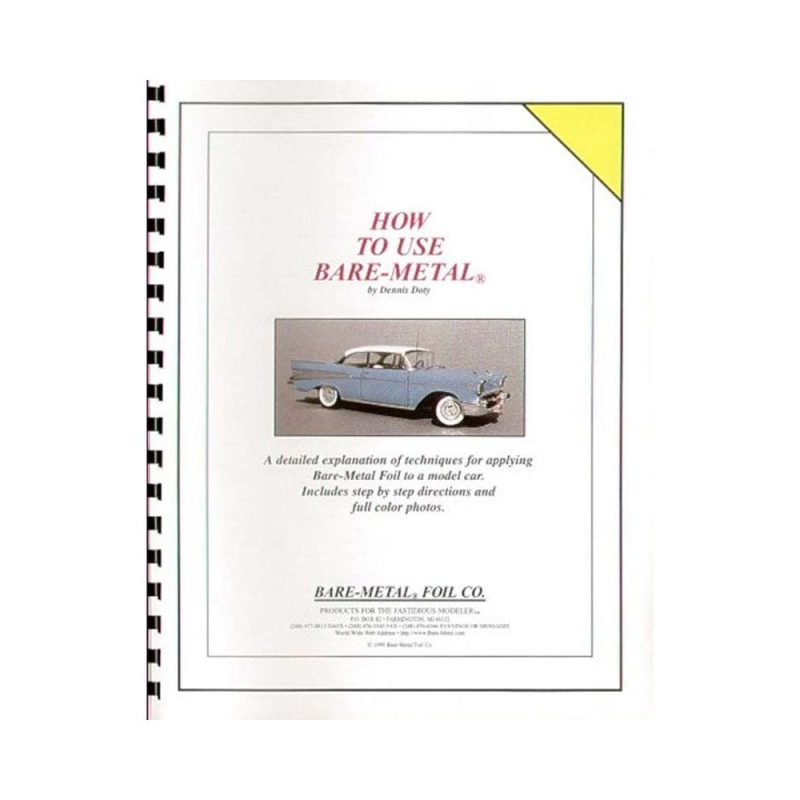
How To Use Bare Metal Foil on Model Cars
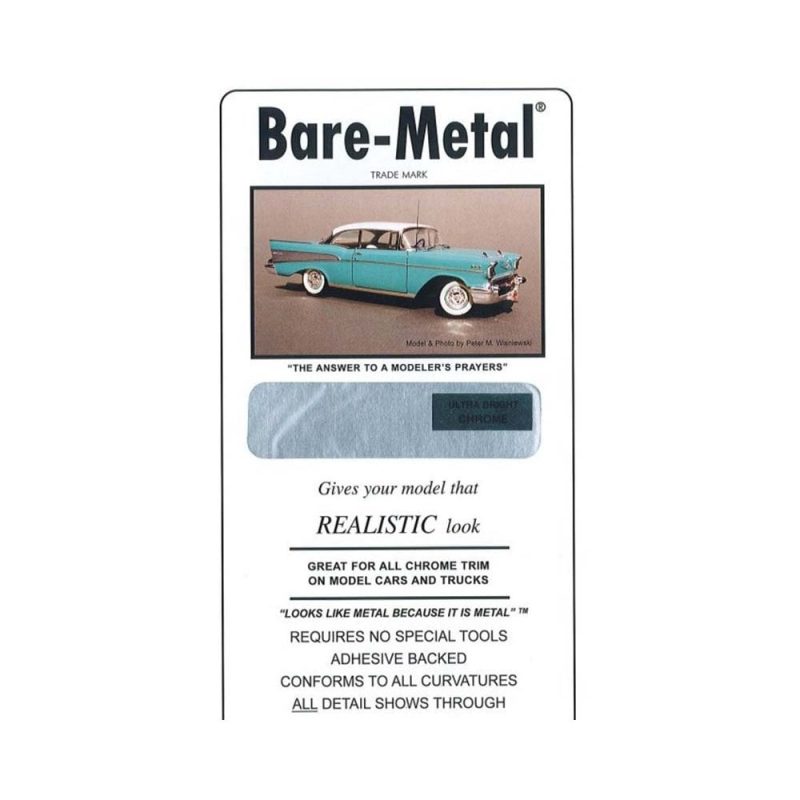
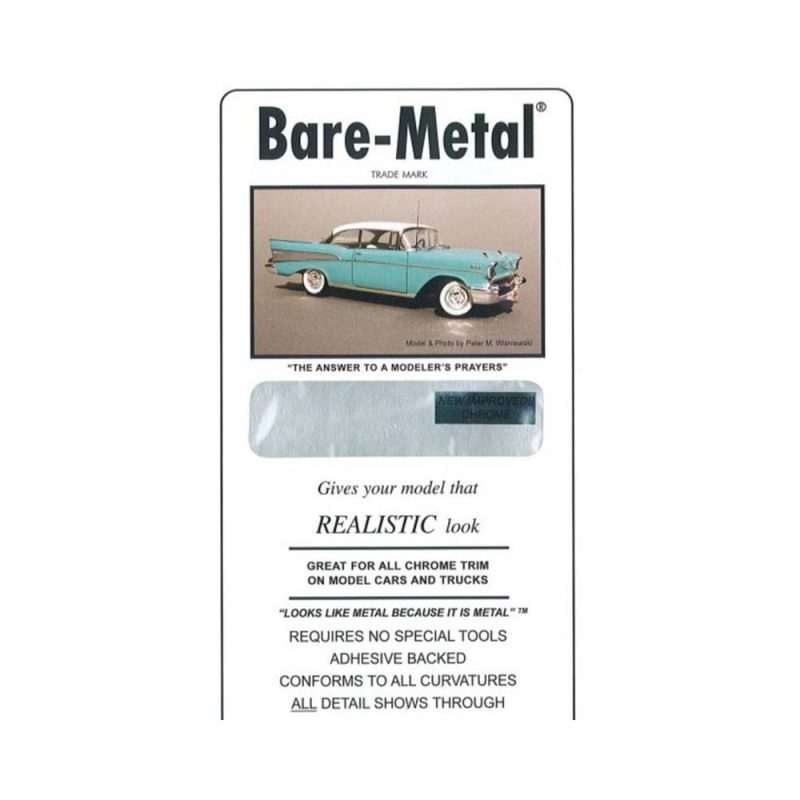
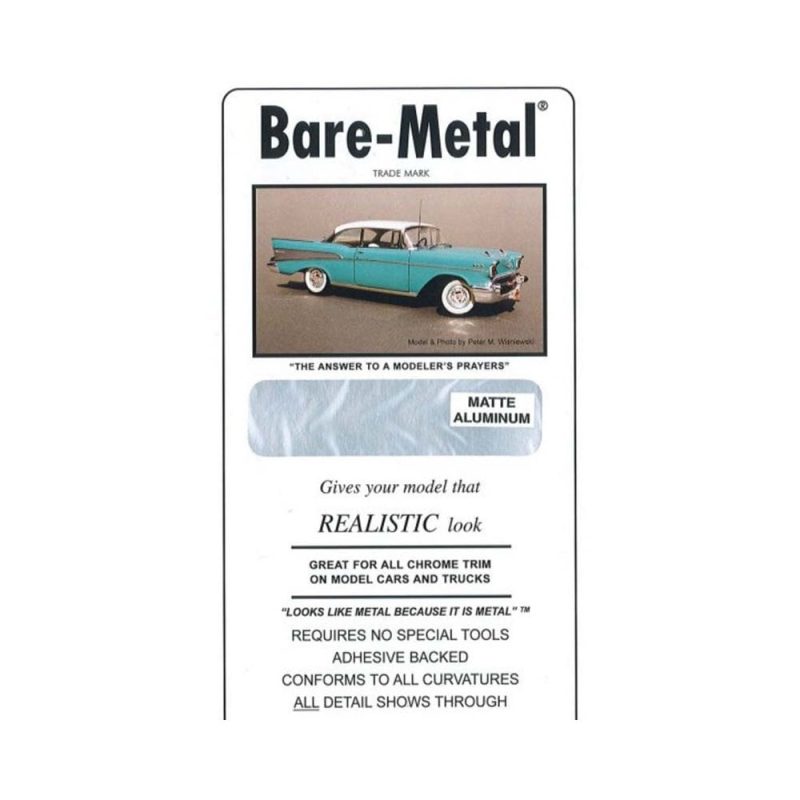
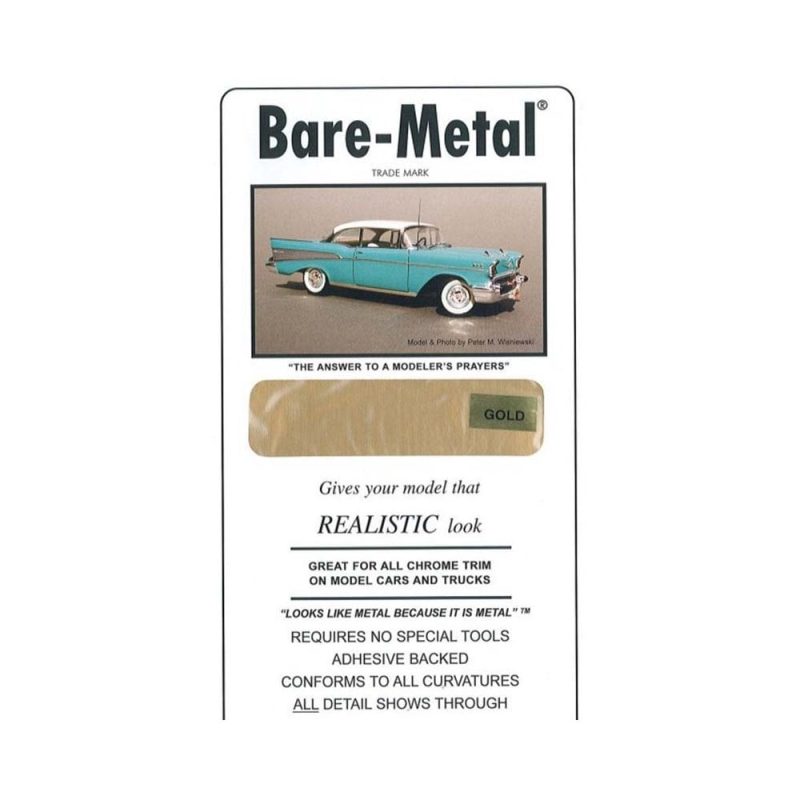
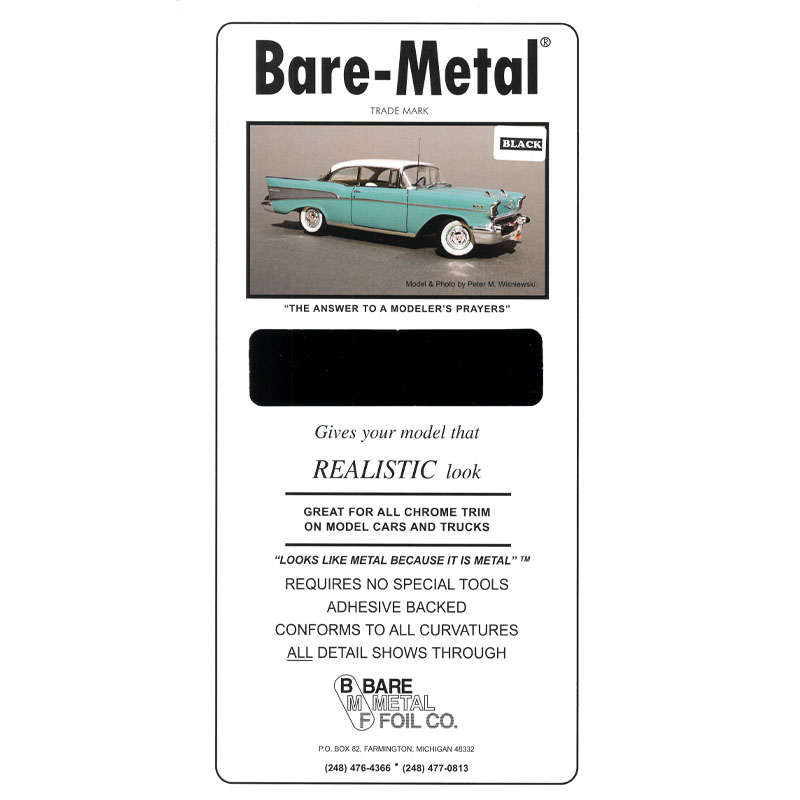
Bare Metal Foil is a self-adhesive metal film used by modellers to simulate chrome, stainless steel, or aluminium trim on scale model cars. Its ultra-thin profile and real metal finish make it ideal for realistic detailing where paint or decals can’t achieve the same effect.
What You’ll Need:
- Bare Metal Foil (Chrome, Ultra Bright Chrome, etc.)
- Sharp hobby knife or scalpel (fresh blade recommended)
- Burnishing tool (toothpick, cotton bud, or soft cloth)
- Magnifier (optional for tight detail areas)
Step-by-Step Application:
- Ensure the surface is clean and dry—no polish, grease, or fingerprints.
- Cut a slightly oversized piece of foil for the area you want to cover.
- Peel the foil from its backing and gently place it on the model.
- Use a burnishing tool to press the foil into place, especially around edges and contours.
- With a fresh hobby blade, carefully trim the foil along the moulded detail line or trim edge.
- Peel away excess foil, pressing down edges as needed.
Pro Tips:
- Always use a fresh blade for clean cuts—dull blades tear the foil.
- Work slowly and methodically; foil is forgiving but delicate.
- Use a small dab of clear gloss or enamel to seal sharp corners if needed.
Whether you’re restoring a classic 1960s muscle car or detailing a modern custom build, Bare Metal Foil is an essential tool in any model car builder’s kit. It adds professional-quality results to your chrome trim, badges, and wheel wells with ease and accuracy.