
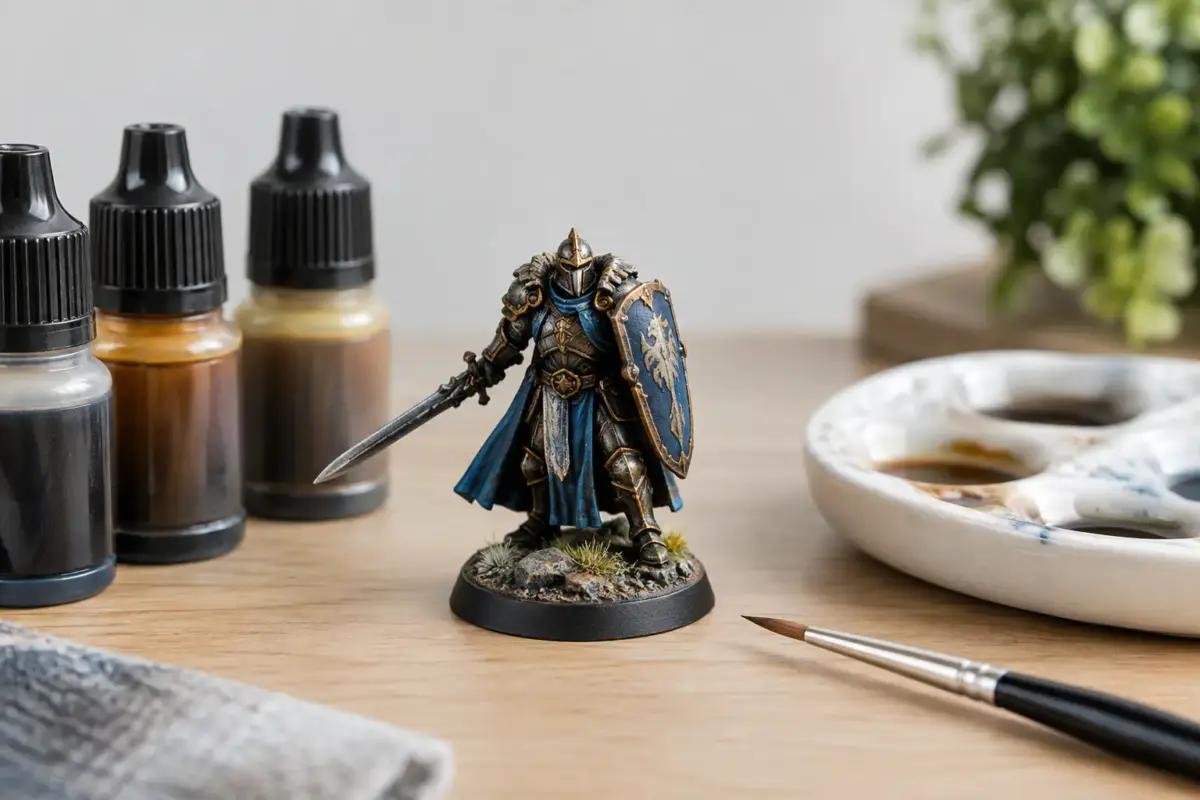
A well-placed wash can make a cleanly painted miniature look assembled, weighted and used. Oil washes for miniatures are particularly effective because they stay workable for far longer than acrylic alternatives, allowing you to guide the effect into recesses, soften hard edges and remove excess staining before it dries. For armour, aircraft, ships, figures and scenery, that control is the real advantage.
Why use oil washes for miniatures?
An oil wash is a very dilute mix of oil paint and a suitable thinner, usually odourless enamel thinner or white spirit intended for modelling work. Once applied over a protected painted surface, the pigment settles into panel lines, bolts, folds, rivets and other surface detail. It can also leave subtle tonal variation across broader areas.
The slow drying time is useful, not inconvenient, when treated properly. Acrylic washes dry quickly and can be excellent for speed painting, but they give you less time to correct a tide mark or lift pigment from a raised edge. Oils let you make considered adjustments with a clean brush, cotton bud or soft make-up applicator. This makes them especially forgiving for builders learning weathering techniques.
They also offer a finish that is naturally varied. A black wash is not simply black in every recess once thinned and manipulated. It can leave soft grey shadows, slightly warmer staining and small changes in intensity that help a model avoid a flat, freshly painted appearance.
The surface preparation that makes washes behave
Apply an oil wash over a fully cured protective varnish, preferably gloss or satin for a controlled pin wash. A glossy surface encourages the wash to run along engraved detail and makes excess pigment easier to remove. Satin offers slightly more grip and can be useful where you want a softer, more general filter-like effect.
A dead-matt surface is more absorbent. The wash may spread unevenly, grip to broad panels and leave marks that are difficult to clean away. This is not always wrong – it can be useful for dusty terrain, rough stowage or deliberately weathered clothing – but it is a less predictable place to start.
Allow your acrylic or lacquer paint layers enough time to cure before adding a varnish, and let that varnish cure before using thinner. Dry to the touch does not always mean chemically hardened. If you are unsure how a particular paint and varnish combination will react, test it on a spare part, an old kit hull or a plastic spoon first.
Choosing colours instead of reaching for black
Pure black can work around deep engine grilles, very dark mechanical interiors or sharply defined comic-style miniatures. On many scale subjects, though, it is harsher than the effect you want. Real dirt and shadow are rarely neutral black.
For olive drab, khaki and other green military finishes, try dark brown, raw umber or a brown-black mix. Dark grey suits pale grey aircraft, naval vessels and white-painted surfaces better than black. Burnt umber produces convincing warm grime on sand, cream and red-brown finishes, while a blue-black can add depth to cold steel or dark sci-fi armour.
The wash should support the base colour, not outline every feature with the same heavy line. A lighter vehicle may benefit from a medium brown pin wash, while a dark green tank might need a deeper brown-black mixture so the detail remains visible. For 28 mm figures, brown in clothing folds and around leather straps often reads more naturally than black, even on a strongly shaded paint scheme.
Mixing an oil wash
Place a tiny amount of artist oil paint on a palette, tile or small mixing dish, then add thinner gradually. For a pin wash, aim for a fluid consistency that moves readily from the brush but still carries visible pigment. It should resemble tinted thinner rather than opaque paint.
There is no single ratio because oil paint brands vary in strength and different tasks need different mixes. Start thinner than you think, test the wash over a gloss-coated sample and add more pigment only if it leaves too little definition. A heavily pigmented wash can flood detail and create dark rings around every rivet.
Use a fine pointed brush for pin washing. Touch the brush to a panel line, bolt head or recess and let capillary action carry the mix along the detail. Reload as required, rather than brushing the wash across the entire model. This approach keeps the effect localised and preserves the finish you have already painted.
For broad tonal staining, use a larger soft brush and a much more dilute mixture. Apply it sparingly in sections rather than covering the whole model in one pass. A general wash has its place on textured figures, brickwork and rough terrain, but a pin wash is usually the cleaner option for a vehicle or aircraft with fine engraved lines.
Cleaning up and shaping the effect
Leave the wash for a short period so the thinner can begin to evaporate, then assess it under good light. The exact waiting time depends on the thinner, room temperature, humidity and the surface finish. You want the pigment to have settled, but not cured.
Dampen a clean, flat brush or cotton bud with thinner, then remove most of the moisture on kitchen roll. Work gently across raised areas or pull downward on vertical surfaces to create rain marks and grime streaks. Avoid soaking the applicator. Too much thinner can strip the wash from recesses as well as the unwanted residue around them.
For armour, wipe in the direction rainwater and crew traffic would naturally take. On aircraft, use restrained movement in the direction of airflow. On figures, lift wash from raised cheekbones, knuckles and fabric ridges while retaining it in the deepest folds. These small directional decisions stop weathering from looking random.
If you remove too much, simply let the area dry for a few minutes and reapply a little wash. The ability to build, erase and rework is why oils remain a staple in serious finishing workflows.
Common problems and practical fixes
Coffee-stain rings usually mean the wash was too wet, the surface was too matt, or the model was left untouched while a puddle dried. Re-wet the edge carefully with a lightly dampened brush and soften it, or cover it later with controlled weathering effects. Prevention is easier: work in smaller areas and use a gloss or satin barrier coat.
If a pin wash refuses to travel along panel lines, the mixture may be too thick or the surface may have too much texture. Add a little more thinner and check that the varnish is smooth. Conversely, if it races everywhere and leaves almost no pigment, the mix is overly thin or the brush is carrying too much liquid.
A wash that stains the base coat permanently is normally a warning that the underlying layer was not protected or fully cured. Do not attempt aggressive scrubbing. Let the area dry, assess the damage and consider blending it into weathering rather than risking further harm.
Keep oil paints, thinners and used applicators away from flames, ensure the work area is ventilated and replace the lid on thinner promptly. Disposable nitrile gloves are useful when you are handling thinner repeatedly, particularly during a longer weathering session.
Where oil washes fit in the finishing sequence
For most hard-surface models, use oil washes after decals have been sealed beneath a gloss or satin varnish. This protects the decals, helps the wash follow surface detail and lets you clean around markings without disturbing them. Once the wash has dried thoroughly, add further weathering such as paint chipping, filters, streaking, pigments, mud or exhaust staining.
The final sheen should suit the subject. A matt varnish can unify an aircraft or battlefield vehicle, while satin may better suit leather, certain uniforms, sci-fi armour or a well-maintained civil vehicle. Keep in mind that a matt coat will soften contrast, so a wash that looks slightly strong before varnishing may look exactly right afterwards.
Oil washes reward patience rather than speed. Begin with a protected test piece, use a colour that belongs with the base paint, and keep the first application restrained. Once you see how easily the effect can be adjusted, panel lines, folds and surface texture become far less intimidating – and each finished miniature gains a little more believable character.
