
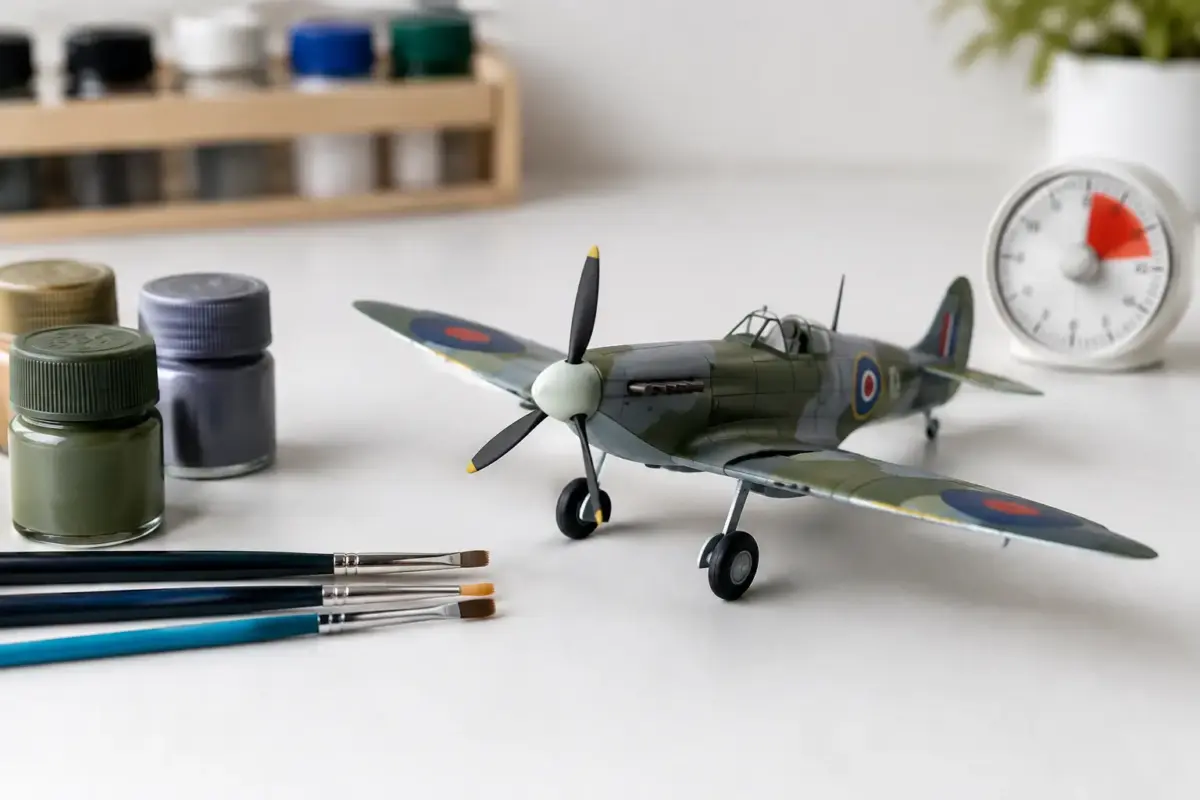
A beautifully painted model can be spoiled in seconds by masking tape, a fingerprint or an enamel wash applied before the finish is ready. Understanding paint curing times is one of the simplest ways to improve reliability at the bench. It helps you plan a full finishing sequence, from primer and base colour through decals, weathering and final varnish, without lifting paint or marking the surface.
The key point is that paint being dry is not the same as paint being cured. A coat may feel dry to the touch after half an hour, yet remain soft beneath the surface. If you add tape, handling, washes or another coat too soon, solvents and pressure can damage the finish. The exact wait depends on the paint range, thinner, application method, room conditions and thickness of the coat, so treat stated times as a starting point rather than an absolute rule.
Drying versus paint curing times
Drying describes the stage at which the surface no longer feels wet. Curing is the longer process in which the paint film hardens and gains resistance to handling, tape, mild solvents and subsequent layers. For scale modelling, the difference matters most before masking, applying decals, using panel line washes or putting down a clear coat.
A light, well-thinned airbrushed coat dries far faster than a heavy brush-painted layer. Several mist coats may look ready quickly, but pooling around raised detail, wing roots or armour stowage can stay soft for much longer. Primer colour, plastic type and the amount of thinner also affect what happens beneath the surface.
Do not rely only on the clock. Check a hidden area such as the underside of a hull, inside a wheel arch or beneath a wing. A cured coat should not take a fingerprint from gentle pressure, feel tacky, or mark when lightly touched with a clean cotton bud. Avoid testing on the main display surface.
Typical curing times by paint type
Manufacturer instructions should always take priority, particularly where a brand specifies its own thinner and varnish system. The following timings are practical working ranges for thin coats applied in a reasonably warm, dry indoor workspace.
Water-based acrylics
Water-based acrylics, including many popular brush and airbrush ranges, are normally touch-dry within 20 to 60 minutes. For careful handling, allow at least several hours. Before masking, a full 24 hours is a sensible minimum; 48 hours gives more security on smooth plastic, large masked camouflage schemes and gloss finishes.
Most acrylics continue hardening for several days. If you have sprayed a thick coat, used a retarder, or painted in a cool room, wait 48 to 72 hours before applying a hot enamel or oil-based wash over an unprotected surface. Acrylic paint can appear fully dry while still being vulnerable to tape pull or solvent staining.
Some acrylic-polyurethane primers and paints form an especially durable film, but they can take longer to reach that point. Let the product cure overnight at minimum, and preferably for 24 hours before sanding, masking or applying a contrasting coat.
Alcohol-based acrylics
Alcohol-based acrylic paints often dry quickly when airbrushed, sometimes within minutes between light passes. That speed is useful for pre-shading, mottling and multi-tone camouflage, but it does not mean the paint is ready for firm tape straight away.
Give a light coat a few hours before gentle handling and around 24 hours before serious masking. If you have used a richer mix, sprayed heavily, or are working over a delicate primer, leave it longer. Fresh paint can be softened by a second wet coat, especially where paint has collected along recessed panel lines.
Enamels
Enamels reward patience. They may become touch-dry in 12 to 24 hours, but a model can still feel slightly soft for several days. Allow 48 hours before regular handling where possible, and five to seven days before masking or applying another solvent-heavy product over a large area.
Drying times extend noticeably with thick brush-painted coats, gloss colours, cold rooms and high humidity. A satin or matt enamel may feel ready sooner than a deep gloss finish, but both need time for the film to harden properly. Rushing enamel work is a common cause of tape marks and unwanted fingerprints on aircraft fuselages and vehicle hulls.
Lacquers
Lacquer paints usually dry fastest because their solvents flash off rapidly. Thin airbrushed coats can be dry enough for the next pass in 10 to 30 minutes, and often ready for handling within a few hours. Even so, leave at least 24 hours before masking when the finish matters, particularly over complex curved surfaces or delicate etched parts.
Lacquers can tolerate efficient workflow, but they are not automatically risk-free. A wet application may trap solvent, and a fresh lacquer layer can react with unsuitable paint beneath it. Use light initial coats over unfamiliar combinations, then allow them to settle before adding a wetter final pass.
The conditions that change the clock
UK modelling rooms are not always ideal curing environments. A cold spare room in January behaves very differently from a dry, ventilated work area in summer. Most hobby paints perform best around normal room temperature, roughly 18 to 24°C. Below that range, paints dry and cure more slowly; excessive heat can cause paint to dry before it levels smoothly.
Humidity matters most with water-based acrylics. High humidity slows water evaporation and can leave a finish soft longer than expected. Ventilation helps, but avoid placing a freshly painted model directly in a draught, where dust can settle into the surface. A covered drying box with airflow is useful, provided it does not become hot enough to distort plastic or encourage fumes to build up.
Paint thickness is the other major variable. A modeller trying to cover in one pass may create a coat that looks dry on top while remaining soft underneath. Several thin coats are easier to control, preserve surface detail and normally cure more predictably. This is especially valuable on finely engraved aircraft panels, Zimmerit texture, figure faces and railway brickwork.
When each finishing stage is safe
Planning curing time between stages prevents most paint-related setbacks. After primer, wait until it can be gently sanded or handled without marking – often overnight for acrylic primers, longer for heavier applications. Once your base colours are complete, give them a full day before masking unless the paint manufacturer specifically supports a shorter interval.
A gloss coat before decals should be dry and smooth, but it also needs enough cure time that decal solutions do not leave marks. For many acrylic gloss varnishes, 24 hours is a sensible baseline. A gloss enamel may need several days. Let decals themselves settle and dry for at least 12 to 24 hours before sealing them, especially if strong setting solution has been used.
Washes require the most thought because the solvents may attack the layer below. Applying enamel or oil washes over a properly cured acrylic gloss barrier is a reliable approach, but that barrier must genuinely be hard. Allow 24 to 48 hours for a thin acrylic varnish, and longer if conditions are cool. A satin or matt coat applied too soon after weathering can trap residue, cloud the finish or disturb pigments.
Pigments, dry brushing and water-based effects are more forgiving, but they still benefit from a fully hardened underlying finish. If you are creating dusty armour, exhaust staining or a muddy aircraft undercarriage, handle the model with gloves or a clean support to avoid polishing areas that should remain matt.
Masking without lifting paint
Even a cured finish can lift if the preparation is poor. Wash plastic before priming to remove mould-release residue and skin oils. Use a compatible primer where appropriate, particularly on resin, metal, photo-etch and 3D-printed parts. Paint adheres better to a clean, properly prepared surface than to bare glossy plastic.
Choose low-tack modelling tape, press it down only along the required edge, and remove it slowly at a low angle rather than pulling upwards. De-tacking tape on a clean cutting mat or the back of your hand can help, though do not make it so weak that paint bleeds underneath. For demanding camouflage masks, giving the base colour an extra day to cure is usually a better investment than repairing lifted paint later.
If a deadline is looming, do not try to force the process with a hairdryer on high heat. Gentle warmth and airflow can assist drying, but excessive heat risks warping parts, driving dust into the finish and creating an uneven skin over softer paint. A patient schedule is more dependable than a quick fix.
Keep a note of the paint, thinner ratio, weather conditions and drying result for projects you use as test pieces. After a few builds, you will know how your preferred paint ranges behave in your own workspace – and that knowledge is every bit as useful as the colour chart on the bench.
