
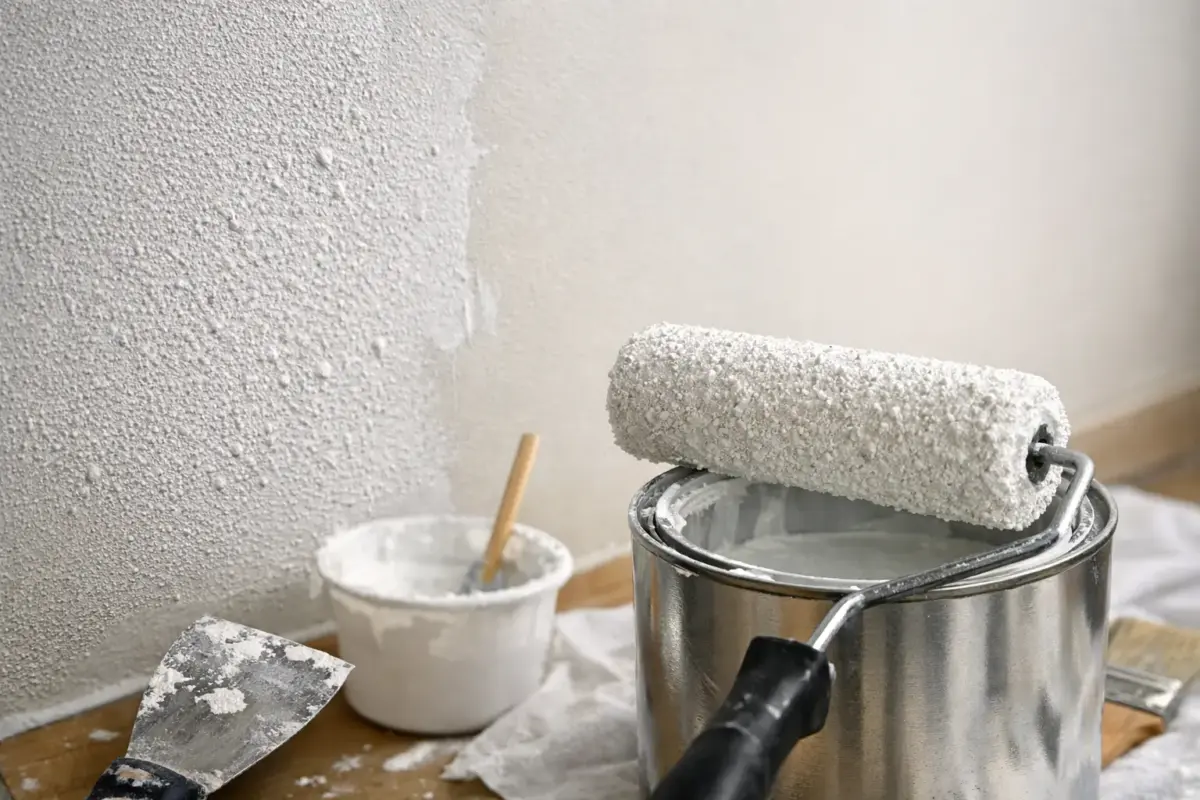
A grainy primer coat can make a well-prepared kit look as though it has been dusted with fine sand. If you are asking why is primer grainy, the cause is usually not the plastic or resin itself. It is normally a spraying issue: paint beginning to dry before it reaches the model, an unsuitable thinner ratio, poor mixing, or contamination on the surface.
The good news is that most grainy primer problems are recoverable. A light correction followed by a more controlled re-spray will usually restore the smooth, even foundation needed for colour coats, decals and weathering.
What grainy primer looks like on a model
Graininess is a rough, matt texture that is visible under a lamp or apparent when you run a fingertip gently across the surface. It may affect the whole model, but it often appears on leading edges, raised details and the areas furthest from the airbrush. On larger 1/35 armour hulls or 1/24 car bodies, it can resemble a fine overspray. On aircraft and figures, it can soften sharp surface detail and make subsequent paint coats look uneven.
Do not confuse graininess with a deliberately textured primer. Some primers have a naturally more matt finish than others, particularly when brush applied. A good primer coat should still feel smooth once fully cured. It should not look dusty, chalky or visibly pebbled.
Why is primer grainy when airbrushing?
The most common answer is dry spray. This happens when tiny droplets lose too much solvent on their journey from the airbrush to the model. Instead of landing wet enough to level into a continuous film, they arrive partly dry and sit on the surface as individual particles.
Spraying from too far away is a frequent culprit. It is tempting to hold the airbrush back to avoid runs, especially around delicate photo-etch or fine cockpit detail. However, excessive distance gives the paint more time to dry in the air. For most hobby primers, work close enough for the paint to go on slightly wet, using controlled passes rather than trying to cover the part in one go.
Air pressure also matters. Pressure that is too high can atomise paint very finely and accelerate dry spray, particularly with fast-drying acrylic primers. The ideal setting depends on the primer, thinning ratio, needle size and your airbrush, but many modellers find a moderate working pressure gives better control than simply turning it up to force paint through.
A blocked or partially dirty nozzle can create an inconsistent spray pattern as well. If the airbrush spits, pulses or produces a fan of dry particles around the main spray, stop and clean it before continuing. Trying to compensate by increasing pressure usually makes the finish worse.
The paint may be too thick or too thin
Primer that is too thick does not atomise cleanly. It can leave a coarse finish, particularly if it is pushed through a small nozzle at high pressure. Thorough mixing and appropriate thinning are essential, even for products labelled as airbrush-ready. Pigment and binder settle in storage, and a quick shake is not always enough.
At the other extreme, over-thinning can also lead to a weak, dry-looking coat because each pass contains too little binder to level effectively. Use the manufacturer’s recommended thinner where possible. Different paint systems are formulated around different solvents, and a generic thinner or water may not perform as well as the matching product.
For brush-on primers, graininess is more often caused by paint that has started to dry on the brush or surface. Work in small areas, avoid repeatedly brushing a section as it begins to set, and apply thin coats rather than attempting full opacity immediately.
Temperature, humidity and ventilation
Your spraying environment has a direct effect on primer behaviour. A warm, dry room encourages solvent to flash off quickly, increasing the chance of dry spray. This is especially noticeable when spraying near an open window, fan or extraction point that pulls air directly across the model.
Cold conditions create a different set of problems. Paint may flow poorly, while condensation or invisible moisture can interfere with adhesion and finish. Humidity can also affect some acrylic systems, although its effect varies by brand and formulation.
Aim for a stable, comfortable indoor working temperature and avoid a strong draught across the spray area. Good extraction remains essential when airbrushing, but position the model so the airflow does not dry the paint before it has a chance to settle. If your paint bottles have been kept in a cold garage or shed, allow them to reach room temperature before mixing.
Surface contamination can feel like graininess
Sometimes the primer is not technically grainy at all. Dust, sanding residue, static-charged debris or fibres from a cloth can become trapped in the wet coat and create a rough feel. Resin parts are particularly prone to release-agent residue, while handled plastic can carry skin oils that affect how primer lays down.
Before priming, wash parts where appropriate with warm water and a mild detergent, then let them dry completely. Remove sanding dust with a soft brush or clean air from the airbrush. Handle the model by a temporary holder, gloves or an area that will not be visible where practical.
A model that has been heavily filled, sanded or modified deserves extra attention. Fine scratches and rough filler edges can telegraph through a thin primer coat and be mistaken for poor spray texture. Primer is useful precisely because it reveals these flaws early, before the final colour makes them harder to correct.
How to fix a grainy primer coat
Leave the primer to cure first. Sanding or polishing a coat that is still soft can tear it, clog abrasive material and create more unevenness. Once cured, assess the severity under strong side lighting.
A very light roughness can often be smoothed with a fine sanding sponge, micro-mesh or a suitable abrasive pad. Use minimal pressure and keep checking the surface, particularly on raised rivets, panel lines and thin trailing edges. The goal is to knock back the rough texture, not remove every trace of primer.
If the coat is visibly dusty or has obscured fine detail, it is usually better to sand it back more thoroughly and re-prime. On a large flat surface, a gentle wet sand can help keep dust down and prevent the abrasive from loading. Take care with water around filler, bare metal parts and assemblies that are not fully sealed.
After smoothing, remove all residue before spraying again. A clean soft brush, airbrush air and a tack-free wipe-down are safer than simply applying more primer over sanding dust. Reapply in several light, slightly wet passes, allowing a brief flash-off time between them. Do not chase instant opacity.
A dependable priming routine
Consistency matters more than one magic pressure or thinning ratio. Start by mixing the primer thoroughly, then test it on a plastic spoon, an old kit part or a priming mule. This lets you check the spray pattern before committing to a carefully assembled model.
Keep the airbrush moving, overlap each pass slightly and maintain a sensible, consistent distance. Watch the finish rather than relying only on a preset pressure. If it lands dusty, move slightly closer, reduce pressure a little, adjust the thinning ratio within the product guidance, or slow the drying conditions. If it pools or runs, move back fractionally, use less paint and allow more time between passes.
It also pays to match your primer to the task. A fine surface primer is ideal for aircraft, cars and clean sci-fi finishes where panel lines and sharp detail must remain crisp. A tougher, more opaque primer can suit gaming miniatures, armour and heavily worked resin parts, but it still needs controlled application.
When the primer itself is the problem
Old, poorly stored or repeatedly contaminated primer may never spray properly. Lumps, rubbery strands, an unusual smell or material that will not mix back to an even consistency are all warning signs. Straining paint before airbrushing can catch small dried fragments, but it will not repair a product whose binder has degraded.
Check that you are using compatible thinner and cleaner, especially when moving between lacquer, acrylic and enamel-based systems. Residue from a previous paint type can react with fresh primer inside the airbrush. A proper clean between paint families prevents many mysterious finish problems.
A smooth primer coat is not about making the model glossy or hiding every imperfection. It is about creating an even, well-bonded surface that shows you what needs attention and gives your chosen colours the best possible start. Test first, make small adjustments, and treat the primer stage as part of the finish rather than a hurried step before it.
