
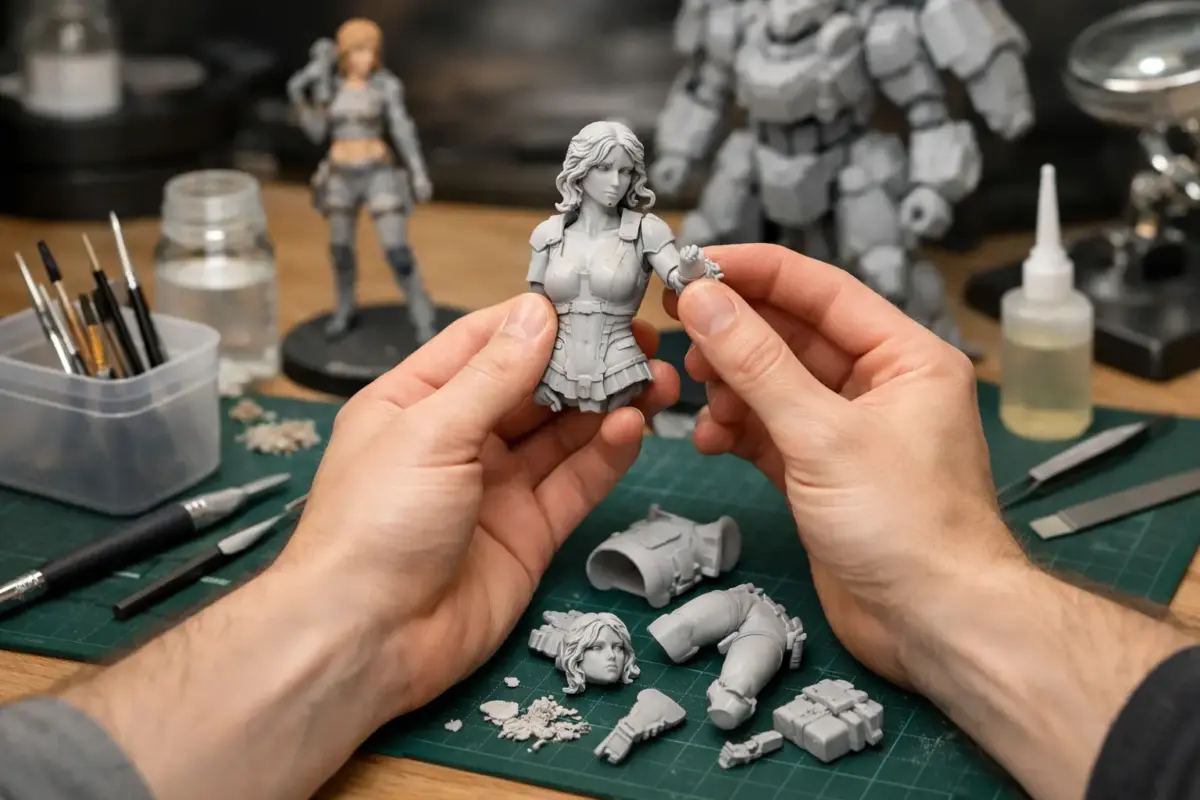
Resin parts can look superb straight from the box: finer casting, sharper surface detail and subjects that may never appear in mainstream injection-moulded plastic. The trade-off is preparation. Learning how to build resin kits is less about rushing to glue and more about making every joint, surface and fitting predictable before paint goes anywhere near the model.
A resin kit rewards a methodical approach. Whether you are building an aircraft conversion, an armour detail set, a full resin vehicle or a figure, the core process remains the same: clean the parts, remove casting blocks safely, test fit thoroughly, reinforce major joins and prime before committing to the finish.
Start by understanding the resin kit
Most traditional casting resin kits are made in polyurethane resin and supplied with small, sometimes delicate components attached to casting blocks or pouring stubs. These blocks allowed resin to flow into the mould during production; they are not part of the finished model. Unlike styrene, resin does not react with standard plastic cement, so the adhesives and assembly sequence need to change.
Before cutting anything free, compare every part with the instructions and identify the major assemblies. Check for air bubbles, warped sections, short-shot areas and flash. A little flash is normal and usually removes easily. Small pinholes can be filled later, but a significant casting issue is best dealt with before the build progresses.
Do not assume the instructions will be as forgiving as those in a modern plastic kit. Resin kit instructions can be concise, particularly for limited-run subjects. Study the location of bulkheads, wheel bays, cockpit floors and undercarriage mounts, as these are the parts most likely to affect alignment later.
Safety comes before shaping resin
The main hazard when building resin is dust. Sanding, sawing or drilling cured resin creates fine particles that should not be breathed in. Keep the work area clean, use appropriate protection and avoid dry sanding whenever practical.
For routine cutting and clean-up, prepare a simple safety set-up:
- Use a well-fitting P2 or P3 particulate mask when dust may be produced.
- Wet sand wherever possible, keeping the abrasive and part damp.
- Work over a tray or damp paper towel to contain residue.
- Wear eye protection when sawing or drilling.
- Wash hands and the work surface after the session.
A dust mask intended only for nuisance particles is not the same as a suitable particulate respirator. Likewise, do not use a household vacuum indiscriminately, as fine dust can be blown back into the room. Wipe down the bench with a damp cloth and dispose of sanding residue carefully.
Cyanoacrylate adhesive also deserves respect. It bonds skin quickly and its fumes can irritate eyes and airways in a confined space. Use it sparingly with good ventilation. For larger joints, two-part epoxy gives more working time and often produces a tougher bond.
Wash every part before assembly
Resin moulds are commonly treated with a release agent. If it remains on the surface, paint may fish-eye, primer can lift and glue joints may be weaker than expected. Washing is a quick job that prevents frustrating problems later.
Use lukewarm water, a small amount of washing-up liquid and a soft toothbrush. Gently scrub recessed detail, wheel hubs, panel lines and the underside of casting blocks. Rinse the parts well and allow them to dry completely on kitchen roll or a clean cloth.
Avoid very hot water at this stage. It can soften or distort thin resin, especially long aerials, landing gear doors, tracks and large flat panels. Keep tiny parts contained in a fine mesh strainer or a small tray so that none disappear down the sink.
How to build resin kits with accurate preparation
Removing casting blocks is the point where patience saves parts. Never twist a component from its block. That can crack a thin wing, bend a gun barrel or tear a delicate figure away from the area you need to preserve.
Start by deciding where the final cut line should be. A razor saw is usually the safest option for thick blocks and larger pieces because it removes material gradually and leaves a controlled edge. For small stubs, sprue cutters can work, but keep the cut away from the part and sand the remainder back. A motor tool is useful only with care: heat builds quickly and can damage resin or erase detail.
Wet sand the remaining stub with progressively finer abrasives on a flat surface. For mating faces such as fuselage halves, wing roots and hull sections, place abrasive paper on a piece of glass, tile or another genuinely flat backing. Move the part in small, even strokes and check progress frequently. This produces a flat contact surface rather than a rounded one.
Test fit every major assembly before glue. Resin kits frequently need minor adjustment, and that is not necessarily a fault. Check the fit of cockpit tubs inside fuselages, engine nacelles against wings, turrets in openings and tracks around running gear. If a part is under tension during a dry fit, it will be harder to hold and more likely to fail once glued.
Straighten warped parts gently
Long or thin resin components can occasionally arrive with a slight bend. In most cases, this is fixable. Immerse the part in hot, not boiling, water for a few seconds, then gently ease it into the correct position. Hold it under cold water to set the shape.
Use this method cautiously on finely detailed parts. Reheat rather than forcing the resin in one movement, and compare against the opposite side or a known straight edge. A wing or track run may need several small corrections instead of one aggressive bend.
Choose the right adhesive and reinforce the joins
Plastic cement will not bond cast resin. Thin cyanoacrylate is excellent for close-fitting small parts, while medium or gel cyanoacrylate gives a little more control on uneven joints. Epoxy is particularly useful for large fuselage halves, heavy hulls, wings and assemblies that need time to be aligned accurately.
For structural joins, pinning is often worth the extra effort. Drill matching holes in both mating surfaces with a pin vice, then add a short length of brass rod, steel wire or paperclip wire. The pin gives the joint mechanical strength and makes alignment easier while the adhesive cures.
This is especially valuable for undercarriage legs, tail booms, large wings, weapon pylons and figure limbs. If the model will be transported or displayed on a base, pinning can be the difference between a lasting build and a repair waiting to happen.
Use the minimum adhesive needed. Excess cyanoacrylate can flood fine detail and leave a hard ridge that takes more work to remove than the original seam. Apply it with a cocktail stick, fine applicator or a small piece of wire rather than directly from the bottle.
Fill seams without losing surface detail
Once the main structure is secure, inspect joins under a strong lamp. Resin surfaces can hide a shallow step until primer reveals it, so use a fingertip as well as your eyes. If you can feel a ridge, it will often show under paint.
For hairline seams, thin cyanoacrylate can be run into the join and sanded once cured. For wider gaps, a dedicated modelling putty, epoxy putty or a resin-compatible filler is more suitable. The best choice depends on the gap: quick-setting cyanoacrylate is useful around hard edges, while epoxy putty gives more sculpting time around organic shapes and figure folds.
Protect nearby raised detail with masking tape before sanding. Where panel lines cross a seam, restore them with a scriber after the filler has been smoothed. On riveted armour or aircraft surfaces, work slowly and repair only the detail that has genuinely been lost. Overworking a seam can look less convincing than a faint join line.
Prime before paint, then build the finish in layers
Primer is not optional on resin. A good modelling primer confirms that the parts are clean, highlights flaws and provides a consistent surface for acrylic, enamel or lacquer paint systems. Apply light coats rather than one heavy pass, particularly around fine rivets, fabric texture and recessed detail.
After priming, inspect the model again. Pinholes, sanding scratches and missed mould lines are much easier to correct now than after camouflage and decals. A second light primer coat over repairs will tell you whether the surface is ready.
From there, treat the model according to its subject and your preferred finishing method. Acrylics are convenient for brush painting and airbrushing, while lacquers can provide a durable, fine finish when used with suitable ventilation. Keep paint layers thin. Resin’s sharp detail is one of its chief advantages, and thick paint can quickly soften it.
For aircraft and armour, a gloss coat before decals can reduce silvering on smooth markings. A final matt, satin or gloss varnish should match the real subject rather than a fixed rule. Ships, vehicles and figures all benefit from different levels of sheen, and weathering should support the scale rather than hide the casting detail you worked to preserve.
Build confidence one stage at a time
Resin kits ask more of the modeller than a straightforward plastic kit, but they are not reserved for experts. Choose a project with manageable part count, prepare it carefully and allow adhesives to cure properly. Keep your first resin build focused on clean construction rather than every possible aftermarket addition.
The real pleasure is in turning an unfamiliar set of cast parts into a precise model of a subject with character. With the right tools, compatible adhesives, reliable primer and a little extra patience at the preparation stage, resin becomes another satisfying part of the bench rather than a material to avoid.
