
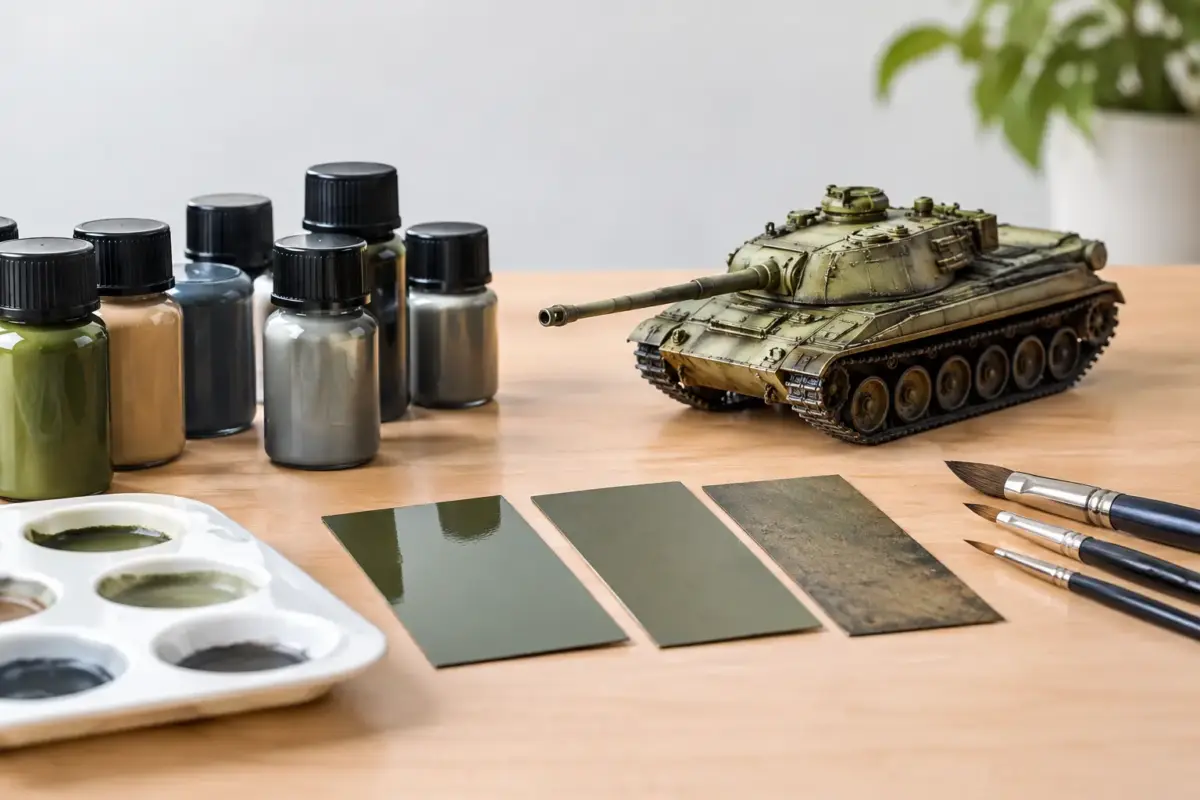
A convincing finish starts long before the weathering stage. The right model paints need to suit the subject, the scale, the surface and the way you prefer to work. A finely moulded 1/72 aircraft can lose its detail beneath an overly heavy coat, while a 28mm figure may need strong colour contrast that would look exaggerated on a 1/35 tank.
For most projects, choosing paint is less about finding one universally ‘best’ range and more about building a compatible system. Primer, base coat, thinner, varnish, washes and weathering products should work together. Once that foundation is in place, both brush painting and airbrushing become far more predictable.
Model paints begin with the right paint type
Acrylics, enamels and lacquers can all produce excellent results. Their differences matter most in drying time, durability, odour, thinning and how they behave over previous layers.
Acrylic model paints are the practical choice for many home workspaces. They are available from trusted ranges such as Vallejo, AK Interactive, Ammo by Mig and Tamiya, with colours covering military standards, railway subjects, fantasy figures and civilian vehicles. Water-based acrylics are especially friendly for hand brushing, although they still benefit from a suitable thinner or flow improver rather than plain tap water alone. Tamiya acrylics behave differently from many water-based ranges and are often favoured through an airbrush when thinned with the appropriate thinner.
Enamel paints take longer to dry, which gives them useful levelling properties when brushed on larger surfaces. They are also valued for washes, panel-line treatments and streaking effects because they can often be manipulated for longer than acrylic products. The trade-off is a stronger solvent smell, slower curing and the need for compatible enamel thinner and cleaning materials. Good ventilation is essential.
Lacquer paints are popular with experienced airbrush users for their fine pigment, hard-wearing finish and rapid drying. Mr Hobby and similar lacquer-based systems are particularly effective when a smooth, thin coat is required on aircraft, cars or armour. They do demand careful handling, dedicated thinners and proper respiratory protection. They are not the most forgiving option for a first-time painter working at the kitchen table.
Oil paints occupy a slightly different role. Rather than covering a whole model, they are often used for controlled fading, dot filters, streaks and subtle tonal variation. Their slow working time is an advantage for weathering, but it requires a protected underlying finish and a patient approach.
Match the paint to the subject and scale
Accuracy is not only about the colour name on the bottle. Scale, lighting and finish change how a colour reads on a completed model. Full-size camouflage colours can appear too dark or saturated when reduced to 1/72 or 1/144 scale, particularly under indoor display lighting. Some modellers lighten a base colour slightly for smaller scales, while others prefer a strict out-of-the-bottle match. Both approaches can work if the final model looks coherent.
For military aircraft and armour, dedicated colour sets can remove much of the guesswork. These sets commonly group recognised RAF, Luftwaffe, US Army, NATO or modern vehicle shades in one place. They are a useful starting point, but references remain worthwhile, especially where operational weathering, theatre-specific repainting or production variation is involved.
Figure and wargaming painters usually select colours by value as well as hue. A miniature needs readable shadows, mid-tones and highlights at arm’s length. Stronger contrast may look harsh on the bench but comes alive on the gaming table. By comparison, a ship model often benefits from restrained tonal shifts and a carefully chosen satin or matt final coat.
Civilian vehicles bring another consideration: gloss. A period racing car, motorcycle tank or polished road vehicle may need a smooth gloss colour, clear coat and polishing process that is very different from an operational combat aircraft. Choose paints designed for that finish rather than trying to force a matt military range into a high-gloss role.
Primer is the layer that prevents frustration
Primer gives paint something consistent to grip and helps expose seams, sink marks and sanding scratches before they become difficult to correct. It is especially valuable on resin, photo-etch, metal figures and parts handled frequently during assembly.
Use a light grey primer as a dependable general-purpose option. Black primer is useful for pre-shading, metallic finishes and dramatic figure work, while white primer helps bright yellows, reds and pale colours cover more cleanly. A neutral or colour-matched primer can also reduce the number of coats needed for strong base colours.
The key is thin coverage. Primer should reveal detail, not soften it. If it pools around rivets, panel lines or raised badges, the coat is too wet. Let it cure fully before masking or applying a different paint chemistry. This small pause can prevent lifted paint and fingerprints later in the build.
Brushing model paints without visible brush marks
Brush painting is not a compromise. It is often the most controlled way to finish cockpits, tracks, interiors, figures, small sub-assemblies and detail parts. With the correct paint consistency, it can also produce excellent results over larger areas.
Stir paint thoroughly, then place a small amount on a palette rather than working straight from the pot. Thin it a little with the manufacturer’s recommended thinner until it flows from the brush without flooding the surface. Two or three thin coats are usually better than one heavy coat. Avoid repeatedly brushing an area as it starts to dry, as this is when drag marks and torn semi-dry paint appear.
A good quality synthetic round brush covers most detail work, while a flat brush is useful for broad surfaces. Keep one brush for metallics where possible. Metallic particles can linger in bristles and unexpectedly appear in the next camouflage colour. Clean brushes promptly, reshape the point and allow them to dry flat or bristles-down where practical.
Airbrushing: consistency comes from preparation
An airbrush offers smooth gradients, thin coverage and efficient painting of large surfaces, but it cannot compensate for poorly prepared paint. Strain or inspect paint if it has been stored for a long time, use the correct thinner, and test the mix on a paint mule or spare plastic before aiming at the model.
There is no single pressure setting that suits every paint. Needle size, thinner ratio, room temperature and the effect required all influence the result. As a starting point, aim for controlled, lightly overlapping passes rather than a wet, glossy-looking coat. Build colour gradually and let each pass flash off. If paint spiders across the surface, it is usually too thin, too wet or being sprayed too close. If it looks grainy, it may be drying before it reaches the model or needs additional thinning.
Cleaning is part of the painting process, not a task for later. Flush between colours, wipe the needle carefully and give the airbrush a proper clean after each session. Dried residue is a common cause of spluttering, poor trigger response and inconsistent spray patterns.
Choose varnishes and weathering products as a system
The final sheen changes the character of every colour. A gloss varnish provides a smooth surface for decals and panel-line washes. A satin finish suits many aircraft, vehicles and ship subjects where paintwork retains a slight sheen. A matt varnish reduces reflection and is particularly effective on uniforms, tyres, dusty armour and many historical subjects.
Apply decals over a gloss or smooth satin surface where possible, then protect them with another clear coat before weathering. This gives you more control when using enamel or oil washes, because mistakes can be removed more safely from the protected surface. Check compatibility before layering products from different systems, and allow each coat enough time to cure rather than judging by surface dryness alone.
Weathering should support the scale model rather than hide it. A small amount of dust, exhaust staining, chipped paint or oil streaking often looks more convincing than an equal treatment across every panel. Think about where crews walk, where water gathers, which areas receive heat and where moving parts would wear. Reference photographs are far more useful than a generic recipe.
A well-planned paint selection saves time, avoids compatibility problems and makes finishing more enjoyable. If you are unsure where to start, choose a primer, paint range, thinner and varnish intended to work together, then test the complete sequence on spare plastic. That small trial can give you the confidence to put the first proper coat on a project you care about.