
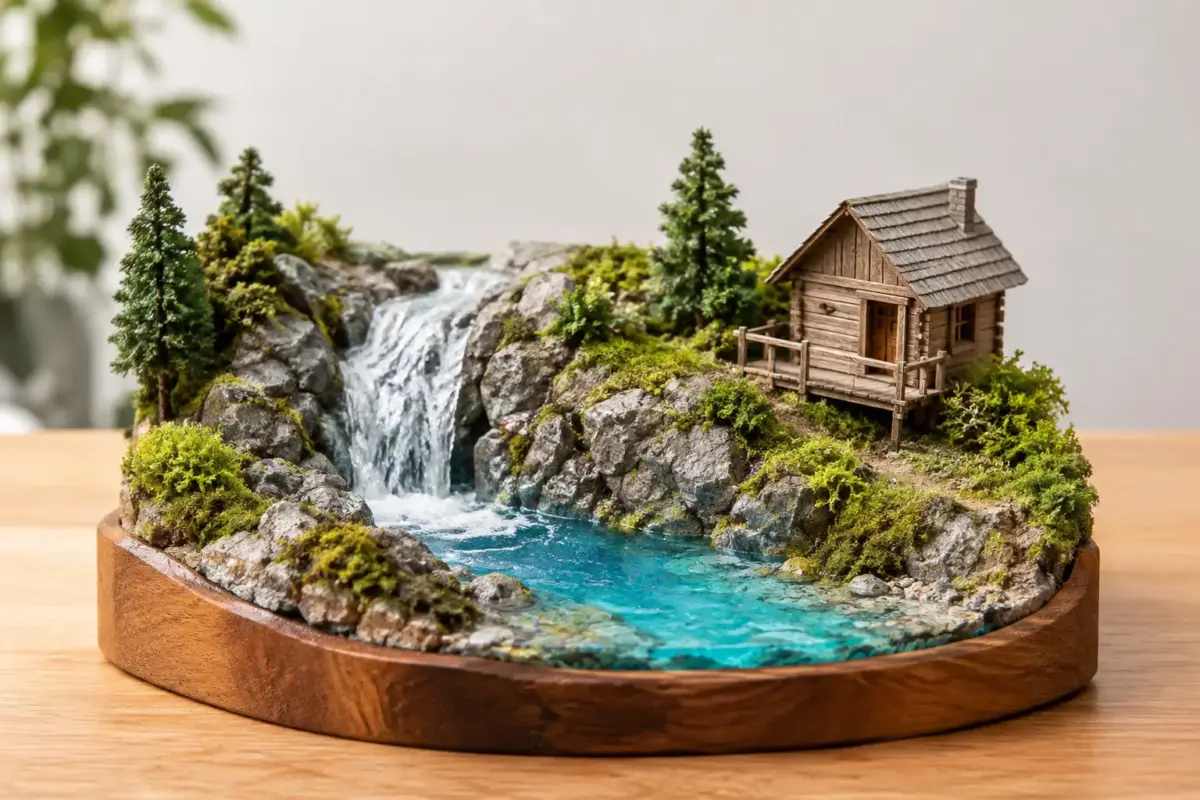
A convincing water feature changes the whole reading of a model. A Sherman crossing a shallow ford, a fishing boat tied alongside a harbour wall or a railway scene after heavy rain all need water that suits the scale, setting and movement of the subject. The best diorama water products are not interchangeable: a product that gives a superb deep canal can be entirely wrong for a thin puddle on a 1/35 road.
The first choice is not the brand or even the colour. It is deciding what sort of water you are representing, how deep it appears and whether it should be still, flowing or breaking against an object. Once that is clear, selecting the right scenic material becomes much simpler.
Choose diorama water products by effect
Most water scenes are built in layers. The groundwork provides the apparent depth and colour, the pourable product creates the transparent body of water, and a surface medium adds ripples, foam or disturbed wake. Trying to create all three jobs with one heavy pour often leads to cloudy water, trapped bubbles or an unrealistically uniform finish.
Realistic Water and similar single-part products
Single-part acrylic water effects are usually the most approachable option for ponds, ditches, canals, puddles and calm harbour basins. They are ready to use, have little odour and dry clear when applied in controlled layers. They are particularly useful where the water is shallow, because the modeller can assess the result between coats and add subtle texture before the final layer has cured.
Their limitation is shrinkage. A deep application can recede as it dries, leaving a low surface or pulling away from the edge. Build up depth with several thin pours rather than expecting one coat to fill a deep riverbed. Allow each layer to dry fully, especially in a cool workshop, and keep the base level while it cures.
Two-part clear resin for real depth
Two-part resin is the better choice where the scene genuinely needs depth: a quay wall, dock, riverbank cutaway or a 1/700 harbour where submerged hull forms and shadows are visible. Properly mixed and poured to the manufacturer’s recommended depth, resin gives a clear, glassy volume that is hard to reproduce with acrylic products.
It does demand more preparation. The mixing ratio must be accurate, the sides of the water area must be completely sealed, and the workspace needs protection from dust. Resin can also generate heat in deep pours, so following the stated maximum pour depth matters. If a watercourse is deeper than the product allows, create visual depth with a dark painted base and several safer pours rather than risking a failed cast.
Resin is excellent for still or gently moving water, but it is not automatically a finished sea surface. A flat resin pour can look like polished glass. Plan to add ripples, wind texture or wake afterwards unless the subject is deliberately sheltered.
Water gels and texture mediums
Acrylic gels, water texture pastes and clear effects mediums are surface tools. They are applied over a cured water base with a brush, palette knife or sculpting tool to form small waves, ripples, bow waves and wakes. Their opaque white variants are ideal for foam, surf and turbulent water around rocks, propellers or landing craft.
These products are where scale discipline matters most. On a 1/72 coastal scene, a 2mm crest can represent a substantial wave. On a 1/700 destroyer, the same crest would overwhelm the ship. Work with several restrained applications, studying the wave direction and leaving quieter areas between disturbed water. A sea surface with identical peaks across every inch rarely looks convincing.
Still water, muddy water and tinted effects
Natural water is seldom blue. Small UK rivers often read as brown-green, dock water may be almost black beneath a grey sky, and a flooded lane can be no more than a reflective dark stain. The colour should usually be established beneath the clear water product, using acrylic paint, pigments and carefully placed tonal variation on the riverbed or baseboard.
Tinting the water material itself can work for deeper areas, but use very small amounts. Too much pigment makes transparent water look like coloured plastic. A darker centre and lighter, muddier margins create more believable depth than a single flat shade. Add silt, stones, weeds or discarded harbour detail before the final pour, keeping the arrangement purposeful rather than scattering every available accessory across the base.
Build the water area before pouring
A successful pour begins with a watertight base. Seal plaster, foam, timber and scenic filler with suitable paint, varnish or primer. Porous groundwork can release air into the pour and create bubbles, while unsealed edges may draw in material and leave an uneven surface.
For rivers and shorelines, shape the banks first. The water should sit below the surrounding ground rather than climbing over it. A narrow recessed channel, even only a few millimetres deep, gives you a clean boundary and protects surrounding grass, static foliage and pigments from the liquid product.
Before mixing anything, test the scene for leaks. Temporary plasticard dams and low-tack tape can contain a pour at the edge of a dock or the front of a cutaway base, but they need sealing along every join. A small amount of water used as a test is far less costly than finding resin on the workbench.
There is also a sequencing decision. Trees, telegraph poles, bridge piers, boats and figures that stand in the water are often easiest to position before the final surface layer. Delicate shoreline foliage, loose litter and reeds may be safer to add afterwards. Think through which items need to appear submerged, and which need a clean attachment point above the waterline.
Create movement that matches the subject
Water movement tells the viewer what has just happened. A stationary narrowboat in a canal produces gentle disturbance around the hull. A landing craft driven ashore leaves a defined bow wave and churned wake. A ship at anchor in a protected harbour should not have Atlantic rollers running through the scene.
Use the hull or vehicle to guide the effect. Wakes taper away behind moving craft and should be strongest close to the stern or tracks. Water pressed against a bow rises and parts to either side. For a vehicle crossing a ford, build a low displaced wave around the tyres or tracks, then add muddy splashes sparingly. Clear water texture alone will not sell the effect if the direction of travel is unclear.
Foam is best treated as an accent. Dry-brush or stipple white over raised gel only after the clear texture has dried, concentrating it on crests, impacts and the immediate edge of the hull. Pure white used over every wave makes even a modest sea look overexposed. Soft off-white and translucent edges usually give a better sense of scale.
Common problems and practical fixes
Cloudiness is often caused by overworking the material, introducing moisture, or mixing resin too vigorously. Mix steadily, scrape the sides and bottom of the cup, and allow bubbles time to rise before pouring where the product instructions permit. A gentle pass of warm air can help surface bubbles in some resin systems, but too much heat can damage surrounding scenic materials or disturb the cure.
If a cured pour has sunk, do not try to disguise it with a thick layer of gloss varnish. Add another compatible thin layer of water product, then restore the surface texture. If the surface has pulled away from the bank, blend the edge with mud, reeds, stones or shoreline debris only where that detail makes sense for the subject.
Dust is another frequent frustration. Cover a curing base with a clean upturned box or storage container that does not touch the wet surface. Check the manufacturer’s curing time rather than judging by touch alone. Water effects may form a skin before they have hardened underneath, and adding texture too early can leave marks that cannot be removed cleanly.
Match the product to the scale and scene
A 1/35 armour diorama can support detailed riverbed stones, deep ruts and pronounced disturbed water because the viewer expects close inspection. In 1/72, the same effects need reducing, particularly ripples and foam. At 1/700, water is primarily a carefully controlled surface pattern, with colour, direction and the ship’s interaction doing most of the work.
The same principle applies to the base size. A small vignette benefits from a puddle, roadside ditch or narrow stream that supports the focal point. A large coastal base gives more room for wave patterns and tonal shifts, but it also needs a clear reason for the water’s direction and state. More water does not necessarily make a stronger diorama.
When choosing materials, plan the whole job: groundwork, paints, pigments, clear water, texture medium and any reeds, boats or debris. Keeping compatible products to hand avoids rushing a partly cured scene or substituting an unsuitable finish at the final stage.
Water rewards patience more than spectacle. Start with a modest test piece, keep the layers thin and let the story of the model dictate the surface. A quiet puddle placed exactly where it belongs can be more convincing than the biggest wave on the bench.