
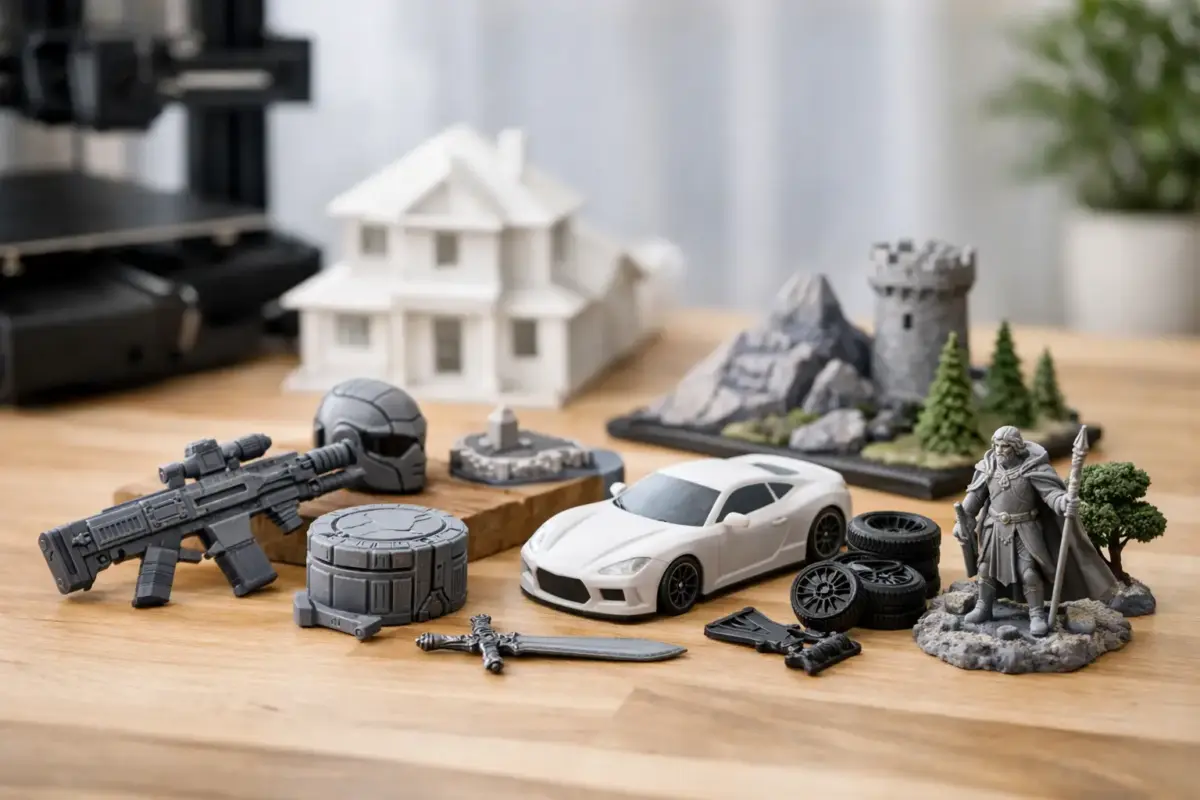
A finely printed cockpit, a replacement gun barrel or a set of correctly shaped stowage bins can change the character of a build far more than its size suggests. The best 3D printed model accessories add the detail that kit tooling cannot always capture, but they need to be chosen with the same care as a resin conversion, decal sheet or paint set. Scale, subject, fitting method and preparation all matter.
For aircraft, armour, ships, railway scenes, figures and wargaming projects, 3D printing has widened the range of specialist upgrades available to modellers. It is now possible to find highly specific parts for individual variants, as well as practical scenic items that bring a display base to life. The result can be exceptional, provided the accessory suits the kit and the way you want to build it.
Why 3D Printed Model Accessories Are Different
Most aftermarket 3D printed parts are produced in UV-cured resin rather than traditional injection-moulded polystyrene. This allows very fine surface detail: hollow handles, perforated guards, subtle fabric texture, open grilles and sharply defined bolts are all possible without the compromises associated with conventional moulding.
That fidelity comes with trade-offs. Printed resin components can be more delicate than kit plastic, particularly aerials, handrails, weapons, antenna arrays and thin vehicle fittings. They may also arrive attached to a support framework that must be removed carefully. A part can be beautifully designed and still be the wrong choice if it adds unnecessary complexity to a quick weekend build.
Think about the result you are aiming for. A competition-standard 1/35 armour model may justify a complete printed stowage set and replacement fittings. For a shelf model built mainly for enjoyment, a better choice may be a small number of focal-point upgrades, such as a turret basket, exhaust guards or a more convincing crew figure.
Check Scale, Subject and Fit First
Scale is the first filter, but it is not the only one. A 1/72 accessory may look close to a 1/76 railway or military item at a glance, yet the difference is visible once it sits beside a vehicle, figure or building. The same applies to 1/35 and 1/32, or 1/48 and 1/50. Always select parts intended for your kit scale unless you are deliberately adapting them for forced perspective or a particular scenic effect.
Subject accuracy is equally important. A generic ammunition crate, fuel drum or workshop item can work across many settings. A cockpit panel, sensor fit, vehicle stowage rack or ship weapon mount often applies only to a particular mark, production batch or period. Check the manufacturer’s stated compatibility, then compare the part with reference photographs of the vehicle, aircraft or vessel you are modelling.
Before adding an accessory to the project, confirm four practical details:
- the exact scale and intended subject;
- whether it replaces a kit part or is fitted over it;
- the available space around hatches, crew positions and other details;
- the period, variant and operational setting represented.
A replacement component should improve the model, not create avoidable correction work. For example, an open 3D printed engine bay may demand extra wiring, plumbing and internal painting before it can be displayed convincingly. That can be rewarding, but it changes the scope of the build considerably.
Plan Around the Kit Instructions
Read ahead in the instructions before committing parts with glue. Many accessories need fitting before the fuselage halves, hull sections or turret components are joined. Others are safer to leave until after painting, especially mirrors, machine guns, periscopes, aerials and external stowage.
Dry-fitting is essential. Even an accessory designed for a named kit can be affected by slight differences in kit production, moulded-on detail or the thickness of paint applied during construction. Remove only the minimum plastic necessary, test the fit repeatedly and keep the original kit component until the replacement is secure.
Choosing the Right Type of Printed Upgrade
3D printing is particularly useful where a model benefits from depth and undercuts. Aircraft builders may choose ejection seats, cockpit sidewall details, intake covers, armament or ground equipment. Armour modellers can add radios, ammunition boxes, jerry cans, tarpaulins, personal equipment and late-production fittings. Ship modellers often use printed boats, weapons, deck equipment and small craft, while figure and diorama builders can select furniture, tools, crates, signage and everyday clutter.
The most effective upgrades are usually the ones that draw the eye naturally. A detailed cockpit is worthwhile when the canopy will be open. A printed engine is most convincing when panels are removed. External items such as tow cables, stowage, antennas and crew equipment have a strong visual return because they break up flat kit surfaces and add a sense of use.
Avoid fitting every available detail simply because it exists. Real vehicles and aircraft were not uniformly cluttered, and excessive accessories can obscure a model’s clean lines. Reference photographs help here: use them to establish what was genuinely carried, where it was placed and how heavily it weathered.
Preparing Printed Parts Without Damaging Them
Examine each component before removal from its supports. Identify the attachment points, fragile areas and any surface that will be visible on the finished model. A sharp sprue cutter, fine saw or scalpel can work well, depending on the thickness of the support, but do not twist parts free. Twisting places stress on thin resin and can snap a delicate item without warning.
Make cuts a short distance from the finished surface, then trim the remaining nib gradually with a fresh blade or fine sanding stick. Work slowly around curved surfaces, such as helmets, fuel tanks or aircraft stores, where a flat spot will be hard to hide. If sanding is required, use light pressure and control the dust. Wet sanding can help keep the work area cleaner on suitable parts.
Wash parts only if the manufacturer recommends it or if they feel greasy from handling. Fully cured printed resin should be primed before painting, as primer gives paint a consistent surface to grip and reveals any remaining support marks. For tiny components, attach a temporary handle with a small amount of low-tack adhesive or clamp them in a suitable holder rather than trying to paint them loose on the bench.
Adhesives, Primer and Paint Compatibility
Plastic cement will not bond printed resin to resin or plastic because it works by melting polystyrene surfaces together. Use cyanoacrylate adhesive for most printed accessories. A thin grade is useful for close-fitting parts, while a thicker gel gives a little more control on uneven joins. Two-part epoxy can be useful for larger, heavier items where extra working time and a strong bond are needed.
Prime before colour coats, particularly if the part includes very fine raised detail. A light, even primer coat is better than a heavy one that floods rivets, lettering or fabric texture. Acrylic, enamel and lacquer-based modelling paints can all be used when applied sensibly over an appropriate primer, but test an unfamiliar combination on a hidden area or spare support first.
Painting should match the accessory to the rest of the model, not make it look like a separate miniature. Use the same base colours, filters, washes and weathering logic across the whole project. A pristine printed toolbox on a heavily worn workshop base will look out of place; equally, a clean naval fitting may need only restrained tonal variation rather than chipped paint and mud.
Make Accessories Part of the Whole Build
The strongest use of 3D printed detail is purposeful. A vehicle parked in a maintenance scene needs tools, containers and crew activity that relate to one another. An aircraft on dispersal benefits from correctly scaled ground equipment and armament appropriate to its role. A railway building becomes more believable when its printed furniture, signs and exterior fittings match its era and setting.
It helps to buy by project rather than by category. Set out the kit, paints, adhesives, primer, weathering materials and accessories together before construction begins. This shows whether you have chosen items that complement one another and prevents the familiar problem of discovering a missing tool or colour halfway through a finishing stage.
At Scale Model Shop, the practical advantage is being able to assemble these project essentials alongside kits, paints, tools, weathering products and diorama materials in one order. If compatibility is unclear, it is worth asking before opening or modifying the kit – a few minutes of checking can save a difficult repair later.
A well-chosen printed accessory should look as though it belonged on the model from the start. Start with the scale and reference, prepare the part patiently, and let the detail support the story your finished model is telling.
