
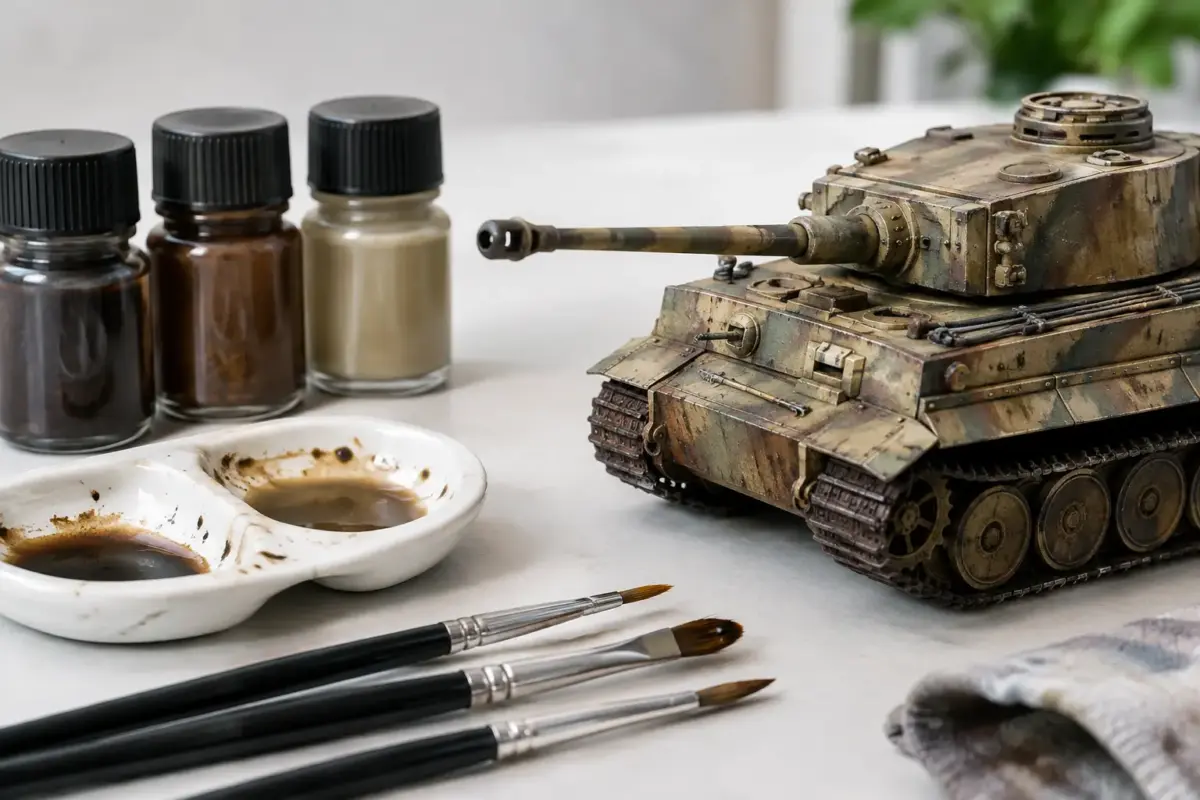
A wash that stains an entire wing when you only wanted to pick out a hinge line is a frustrating way to end a painting session. The choice between enamel acrylic washes has a direct effect on working time, clean-up, surface safety and the finished character of a model. Both can bring out recessed detail, add depth around fittings and make a clean paint job look used, but they do not behave in the same way.
For most projects, the right wash is not simply the one in the correct colour. It is the formula that suits your chosen base paint, varnish coat and weathering method. Understanding the differences makes it far easier to build a dependable finishing sequence, whether you are working on a 1/72 aircraft, a heavily worked 1/35 vehicle or a display figure.
Enamel acrylic washes: the practical difference
Enamel washes use an enamel or oil-based binder and are thinned or reactivated with suitable enamel thinner, mineral spirits or odourless thinner. Their principal advantage is their long working time. After applying a pin wash to panel lines, bolt heads or instrument bezels, you can leave it briefly, then remove the excess with a thinner-dampened brush or cotton bud. This controlled clean-up is why enamel washes remain a favourite for precise panel-line work and streaking.
Acrylic washes are water-based or acrylic-resin-based products. They dry more quickly, have less odour and are generally easier to clean from brushes with water or the manufacturer’s recommended cleaner. They are particularly useful for figures, wargaming miniatures, cockpit details, wheel bays and textured surfaces where the wash needs to settle into relief and deepen shadows without an extended removal stage.
Neither type is automatically better. Enamel gives more time to adjust and blend, while acrylic rewards a more deliberate, faster approach. An armour modeller creating rain marks and dust streaks may favour enamel for its manipulation time. A figure painter glazing shadows between short painting sessions may prefer acrylic. The scale, subject and desired finish all matter.
Choose the wash around the surface beneath it
The most reliable weathering work begins with paint compatibility. A wash should affect the details you intend to enhance, not disturb the base coat underneath.
Enamel washes are commonly applied over a fully cured acrylic paint finish protected with a gloss or satin varnish. The barrier coat helps the wash flow through engraved lines and makes excess easier to remove. A gloss finish gives the cleanest capillary action for panel lines, especially on aircraft and ships. Satin offers slightly more grip and can suit a less pristine vehicle finish, although it will leave more residue around the detail.
If applying an enamel wash over enamel paint, a protective varnish is especially worthwhile. The solvent used to manipulate the wash can soften or mark an insufficiently cured enamel base. Lacquer finishes can be durable, but brand formulations vary, so a test on a spare painted part is still sensible.
Acrylic washes also benefit from a varnished surface when clean, sharply defined results are the aim. On a matt finish, an acrylic wash can grab quickly and create tide marks or staining around panel lines. That can be useful for dusty, oxidised or heavily weathered subjects, but it is difficult to reverse once dry. For controlled work, use a gloss coat first, then restore the final sheen later with matt, satin or gloss varnish as appropriate.
Allow every layer proper curing time. Touch-dry is not necessarily cured, particularly with enamel products and thicker acrylic applications. Rushing this stage is one of the main causes of lifted paint, unwanted fingerprints and patchy weathering.
How to apply a controlled pin wash
A pin wash is targeted rather than flooded across the whole model. It is ideal for panel lines, access hatches, rivet runs, control surfaces, engine grilles and raised fittings.
Use a fine pointed brush loaded with a thin, fluid wash. Touch it to one end of a panel line or beside a raised detail and let capillary action carry the colour along the recess. Do not drag the brush through every line unless the wash is refusing to flow. If it does not travel, the surface may be too matt, the wash may be too thick, or there may be residue such as sanding dust on the model.
With enamel, wait a short time before refining the result. Use a clean brush only lightly moistened with compatible thinner, then draw it across the panel line rather than along it. This removes surplus wash while keeping the recess shaded. Use very little thinner. A soaked brush can carry solvent across the surface and undermine the protective coat.
With acrylic, work in small sections and keep a second, clean damp brush ready. Once the wash starts to set, repeated brushing tends to produce rough edges. If an acrylic wash dries too dark, it is usually safer to soften the effect with a thin layer of the base colour or a carefully controlled filter than to scrub at it.
For both formulas, black is not always the best answer. Dark brown gives a convincing finish on olive drab, sand, green and many camouflage schemes. Grey-brown or dark grey can be more believable than black on light grey aircraft. On very dark vehicles, a slightly lighter dusty tone may show the detail more effectively than a deeper shade.
Broad washes, filters and textured weathering
A broad wash is applied across a larger area to unify tones or emphasise texture. It needs a lighter touch than a pin wash. On a tank hull, for example, a thin earth-coloured acrylic wash can settle around weld seams, cast texture and tools. On a ship’s deck, a restrained grey-brown wash can reduce the toy-like look of a single flat colour.
The trade-off is coverage. A heavy wash can obscure subtle modulation, turn pale colours muddy and create an exaggerated finish that looks out of scale. Build depth through several thin applications rather than one dense coat. Let each layer dry fully and assess it under neutral light before adding the next.
Enamel washes are particularly effective for streaking. Place a small amount beneath a hinge, filler cap, rain guard or panel edge, then pull it down with a flat brush barely moistened with thinner. Vary the length and intensity. Real weathering is irregular, so repeated identical streaks look less convincing than a few restrained marks placed where water, oil and grime would collect.
Acrylic washes are well suited to textured groundwork, masonry, railway buildings and figures. They can settle into brick courses, fabric folds, chainmail, stowage and dry-brushed terrain, quickly defining the relief. On absorbent diorama materials, test first: plaster, foam and untreated wood may drink in the wash faster than expected.
Common problems and what they tell you
Tide marks usually mean the wash was too thick, pooled too heavily or dried on a matt surface. Thin it slightly, work in smaller areas and use a smoother varnish barrier for the next attempt. If the finish is already dry, carefully blend it with additional thin layers rather than trying to hide it beneath more heavy wash.
A wash that will not settle into the details is commonly a surface issue. Gloss varnish, a cleaner model surface and a more fluid mix normally improve flow. Conversely, a wash that runs everywhere may need less thinner or a more targeted brush application.
If panel lines look like a dark outline drawn with a pen, the contrast is probably too strong. Replace pure black with a related dark tone and clean back more of the wash. Weathering should support the model’s detail, not announce every engraved line from across the room.
When paint begins to soften during enamel clean-up, stop immediately. Let the area dry, assess the damage and review the layers used. More curing time, a tougher barrier coat or less aggressive thinner may be needed. Keep enamel and acrylic thinners clearly labelled and use each only with products intended to tolerate it.
A dependable finishing order
For a controlled, display-quality result, paint the model, apply decals, then seal them with the chosen clear coat before the wash stage. A gloss finish is usually best for a crisp pin wash. Once the wash is dry and refined, add further weathering such as filters, chips, pigments, streaks or dry-brushing. Finish with the final varnish that suits the real subject: flat for fabric, dusty armour and many military finishes; satin for a used but maintained surface; gloss for polished civilian subjects and selected maritime details.
This sequence is flexible rather than fixed. Some modellers prefer acrylic washes before decals on cockpits and small assemblies, while others add an enamel wash after initial chipping to tie separate effects together. Keep notes on the paints, varnishes and thinners that work well together. A repeatable process is more valuable than relying on luck from one build to the next.
A well-stocked workbench should include more than one wash colour and, ideally, both enamel and acrylic options. Scale Model Shop caters for that wider finishing workflow, from base colours and clear coats to weathering products, brushes and precision tools. Start with a spare part or paint mule, learn how one wash behaves on your preferred finish, and the same technique will soon feel at home on your next project.