
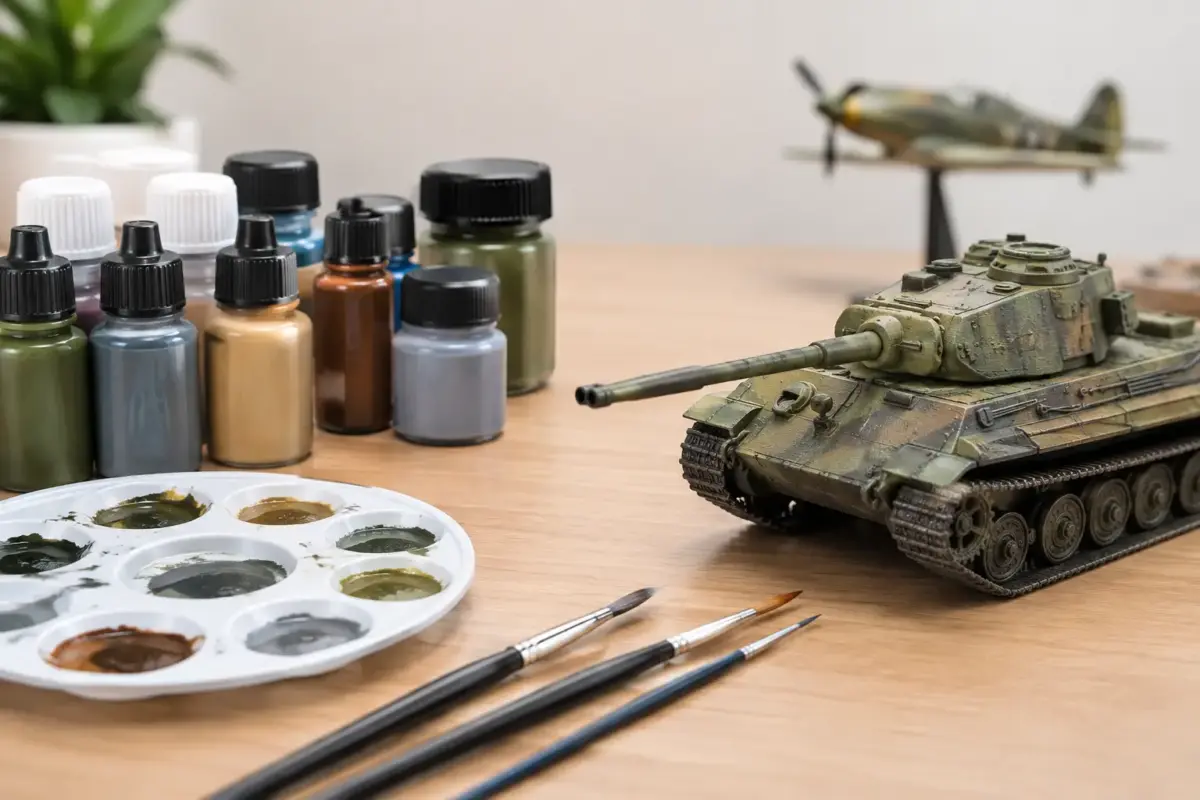
A finish can look perfect one evening and craze, wrinkle or lift from the model the following morning. Most of these failures come down to one issue: the products in the paint compatibility guide have been treated as interchangeable when their binders, solvents and curing times are anything but.
For scale modellers, paint compatibility is not simply a question of whether two products are both labelled acrylic, enamel or lacquer. It is about what is underneath, what goes over it, how fully each layer has cured, and whether the thinner or cleaner is more aggressive than the coating it touches. Get that order right and you can combine paints, washes, decals and varnishes with confidence. Get it wrong and a carefully prepared Spitfire, tank or figure may need stripping back.
Start with the paint system, not the colour
The broad labels on hobby paint are useful, but they do not tell the whole story. Water-based acrylics from Vallejo and many AK Interactive ranges are generally mild once dry, while alcohol-based acrylics such as Tamiya and Mr Hobby Aqueous behave differently and accept different thinners. Lacquer paints, including Mr Hobby Mr Color and many specialist metallics, use hotter solvents and usually form a tougher coating. Traditional enamel paints cure more slowly and need their own enamel thinner or white spirit-type products.
The safest working rule is to build from a tougher, more solvent-resistant lower layer towards milder upper layers. A fully cured lacquer primer can normally support acrylics, enamels and lacquer top coats applied sensibly. A water-based acrylic layer is much less forgiving beneath a wet lacquer coat or a strongly enamel-based wash.
That does not mean every lacquer must be avoided over acrylic, nor that every acrylic is automatically safe over enamel. Light mist coats, correct thinning and adequate cure time can change the result completely. Product instructions remain the first reference, particularly where a manufacturer specifies its own thinner, retarders or clear coats.
Primer compatibility comes first
Primer is the foundation of the whole finish. It gives paint something to grip, reveals seams and sanding marks, and helps create an even surface on plastic, resin, metal and photo-etch. It also determines how much solvent exposure the model can withstand later.
Lacquer-based primers are popular because they dry hard, sand cleanly and grip well. They are especially useful before airbrushing acrylic camouflage or applying metallic finishes. Use them with proper ventilation and a suitable respirator, as their fumes require more care than water-based products.
Water-based acrylic primers are convenient for indoor bench work and hand painting. Their main limitation is cure time. A primer that feels dry after half an hour may still be soft underneath. Leave it overnight where possible, and longer in cold or damp conditions, before masking or applying a solvent-based paint.
For resin, metal barrels and photo-etch details, wash parts first to remove release agent, oils and sanding dust. A compatible primer improves adhesion, but it cannot bond reliably to a contaminated surface. Handle primed parts with gloves or a clean holder once they are ready for paint.
Plastic, resin and metal need different preparation
Styrene kits usually accept most hobby primers after a wash or wipe-down. Resin is more variable, so a detergent wash and thorough rinse are worthwhile. Bare metal and photo-etch benefit from a dedicated metal primer or a well-proven lacquer primer. On flexible vinyl parts, test first: some primers and top coats can crack when the part bends.
Thinners are not universal
Using the wrong thinner is one of the quickest ways to create a grainy surface, curdled paint, poor adhesion or damaged plastic. Thinner does more than make paint sprayable. It controls drying speed, flow, levelling and how strongly the paint bites into the layer below.
Use the manufacturer’s recommended thinner whenever practical, especially with lacquer and alcohol-based acrylic ranges. Tamiya acrylic thinner, Mr Hobby Levelling Thinner, enamel thinner and water-based acrylic thinner are not direct substitutes for one another. Some combinations may appear to work in the cup but create trouble on the model.
Water alone can thin certain water-based acrylics for brushing, but it may reduce binder strength and encourage beading when airbrushing. A purpose-made acrylic thinner or flow improver usually gives a more consistent finish. Conversely, never use a lacquer thinner to revive water-based acrylic paint simply because it sprays well for a few passes.
Keep cleaning products separate from thinning products. Airbrush cleaner can be stronger than the correct thinner and may not be intended for mixing into paint. Clean the airbrush thoroughly between systems, particularly after lacquers or enamels, so old residue does not contaminate the next colour.
A practical paint compatibility guide for layering
The following sequence is a dependable starting point for most aircraft, armour, ship and figure projects. It is not a substitute for testing, but it reflects the way many experienced modellers protect lower layers as the finish becomes more detailed.
- Apply a properly cured primer suited to the material and paint range.
- Add base colours in thin coats, allowing each coat to flash off before the next.
- Protect delicate acrylic base paint with a compatible gloss or satin clear coat before decals and washes.
- Apply decals, then seal them if the next weathering stage uses a stronger solvent or requires handling.
- Finish with the desired matt, satin or gloss varnish only after all underlying products have cured.
A gloss coat before decals and panel-line work is often valuable because it reduces the risk of silvering and helps washes flow along recessed detail. However, gloss is not compulsory for every project. A figure painted for a flat, textured finish may need a different approach, while armour modellers may prefer selective gloss only around decals and wash areas.
The critical point is solvent strength. An enamel panel-line wash is generally safer over a fully cured acrylic or lacquer gloss barrier than directly over fragile matt acrylic paint. When removing excess wash, use a barely damp brush or cotton bud rather than flooding the surface with thinner. Even a strong clear coat has limits if solvent is allowed to sit on it.
Clear coats, decals and weathering products
Clear coats are protective layers, not armour plating. They can react with fresh paint beneath them, cloud in humid conditions, or crack if sprayed too heavily. Apply several light coats rather than one wet coat, and let the previous stage cure before adding decals, filters, oils or pigments.
Decal solutions deserve the same caution as paint. Mild setting solutions are suitable for many decals, but stronger softening solutions can mark certain clear coats or attack delicate printed decals. Apply them sparingly, avoid touching the decal as it softens, and test unfamiliar combinations on a spare marking first.
Pigments, acrylic washes and water-based streaking products are usually less risky over a cured varnish, though heavy rubbing can still burnish a matt finish. Oil paints and enamel effects offer excellent working time for filters and streaks, but they should be kept away from unsealed water-based acrylics. If a weathering product needs to be removed, use the mildest practical remover and work in small areas.
Test before committing to the model
A spoon, old kit hull, spare wing or piece of primed plastic card is the modeller’s best insurance policy. Spray the exact primer, base colour, clear coat and weathering product in the intended order. Leave each stage for the same length of time you plan to allow on the model, then try masking, decal solution and wash removal.
This matters most when mixing brands, using a newly released paint range, or returning to a product after a long break. Formulations can change, and the term “acrylic” covers products with very different chemistry. A ten-minute test can prevent hours of repair work.
If paint reacts, do not keep brushing or spraying in the hope that it will settle. Stop, allow the area to dry fully, then assess whether the fault is limited to the top coat. Sometimes gentle sanding and a re-spray will rescue it. Deep crazing, lifting or soft plastic often means the affected area needs to be stripped and re-primed.
Conditions at the bench matter too
Compatibility can appear worse when the real issue is temperature, humidity or application technique. Paint sprayed too wet can trap solvent and attack the layer below. Paint sprayed too dry can leave a rough finish that makes washes and decals harder to manage. Cold weather extends cure times, while high humidity can affect some clear coats.
Use thin, controlled coats and give each material the time it needs. Keep notes of successful combinations for your preferred subjects and brands. Over time, that record becomes more useful than a generic chart because it reflects your airbrush pressure, workspace and finishing style.
Scale Model Shop stocks paints, primers, thinners, varnishes and weathering materials across the leading hobby ranges, so it is easier to keep a proven system together for the whole project. When trying a new combination, begin on a test piece, respect the cure time, and let the model guide the next layer rather than rushing it.
