
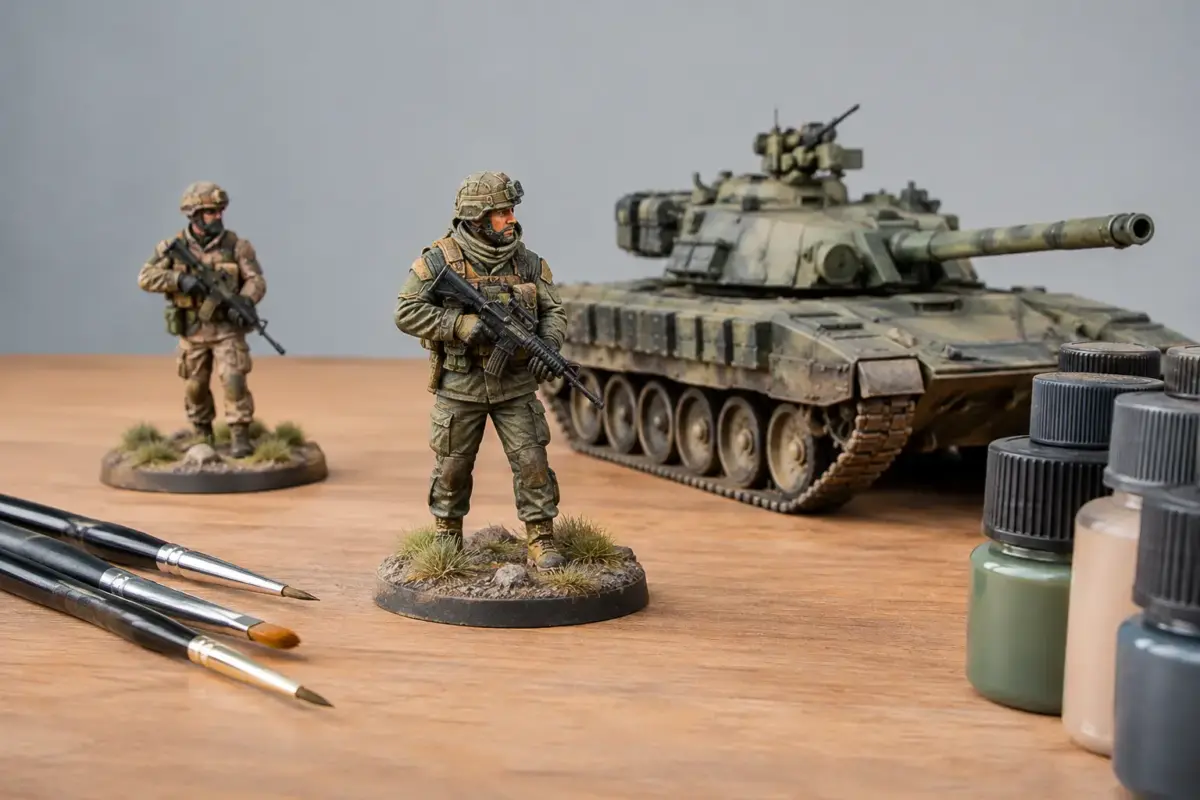
A well-painted figure can give an armour, aircraft or diorama project its sense of scale, purpose and story. Whether it is a lone tanker beside a vehicle or a full infantry section moving through a ruined street, military figure kits turn a carefully built model into a scene with human presence. The best choice is not simply the kit with the most parts. Scale, era, pose, material and the level of painting you enjoy all matter.
Choosing Military Figure Kits for Your Project
Start with the model or display you have in mind. A 1/35 soldier is the natural companion for 1/35 armour and military vehicles, while 1/48 figures suit many aircraft flight-line scenes. For smaller dioramas, 1/72 and 1/76 figures create convincing groups without requiring a large base. Mixing scales, even by a small amount, is one of the quickest ways to make a scene look wrong, particularly when figures stand next to vehicles, doors or stowage.
The subject should also match the moment you want to depict. A standing commander with binoculars works well beside a parked tank; a running infantryman has far more energy but needs a base that supports the movement. Consider uniform, equipment and theatre as closely as pose. A figure may be labelled broadly as Second World War British, German or US, but webbing, helmets, packs, cold-weather clothing and weapon choice can place it much more precisely within a period.
Plastic injection-moulded sets remain an excellent starting point. They are generally straightforward to prepare, offer useful value when building a group, and often include alternative arms, heads or equipment. Multi-part plastic figures do need careful dry-fitting, especially around separate arms and weapons, but that flexibility can help create a less repetitive arrangement.
Resin military figures often provide sharper facial detail, more natural fabric folds and highly specific subjects. They are especially appealing for a focal figure or a small vignette, where close inspection rewards the extra preparation. Resin can require washing before painting, and parts should be removed carefully from casting blocks. Use a suitable adhesive for resin components rather than relying on standard plastic cement.
Metal figures are common in wargaming and selected historical ranges. Their weight can be useful for stability, although pinning larger joins may be sensible. Whichever material you choose, test the pose before committing to glue. A slight adjustment to a wrist, head angle or rifle position can make the difference between a convincing interaction and an awkward stance.
Scale is more than a number
Scale affects both the level of detail and the painting experience. In 1/16 and 1/10, faces, insignia, leatherwork and fabric textures become centrepiece features. These larger figures reward deliberate colour modulation and fine brushwork, but they also reveal mistakes clearly. They are ideal if you want a standalone display piece rather than a populated diorama.
At 1/35, there is enough space to paint distinct webbing, badges and facial features while still allowing several figures to share a base with a vehicle. It is a practical, popular scale for armour modellers. In 1/48, detail is necessarily more restrained, but figures can transform an aircraft display without dominating it.
Smaller 1/72 and 1/76 figures call for a different approach. At this size, clean assembly, strong colour contrast and a readable silhouette matter more than painted buttons or complex facial shading. A line of figures that looks effective from normal viewing distance is a success, even if the individual miniatures are not intended for close-up inspection.
Preparing Figures Before Paint
Good figure painting begins before the first coat of primer. Remove mould seams with a sharp blade, fine sanding stick or scraper, taking particular care along arms, helmets and trouser seams. On a figure, a seam running through a cheek or boot is much more obvious than it may appear on the sprue.
Dry-fit separate limbs and equipment. If an arm does not sit naturally against the torso, correct it before paint rather than trying to force the join later. A tiny gap can be filled with modelling putty, then blended to restore a sleeve or jacket fold. For resin figures, wash parts in warm water with a mild detergent, rinse thoroughly and let them dry before priming.
Painting sub-assemblies is often easier than fully assembling the figure first. Heads, arms carrying weapons and separate packs can be painted independently, giving better brush access to collars, straps and chest equipment. The trade-off is that final assembly may leave small touch-up areas, so keep the same colours available until the figure is complete.
Prime the model in a colour that supports the intended finish. Black primer helps establish deep shadows and is useful for dark uniforms. Grey gives a neutral base for most schemes. White or light grey can make pale tropical uniforms, snow camouflage and brighter acrylic colours easier to cover. Apply primer lightly enough to retain facial detail, buckles and folds.
Painting Uniforms, Faces and Equipment
A convincing uniform is rarely one flat colour. Real cloth catches light on raised knees, shoulders, elbows and pocket edges, while recesses around belts and under equipment remain darker. Start with a reliable base colour, then build shadow and highlight tones gradually. Acrylic paints are particularly useful for controlled brush painting and quick drying, while enamel or oil-based products can offer longer working time for blending on larger figures.
For beginners, a restrained three-stage approach works well: base coat, darker shade in the recesses, and a lighter highlight on raised areas. Avoid making every fold equally bright. Selective highlights look more natural and prevent a figure from appearing striped. On smaller scales, a carefully placed wash followed by a light dry-brush can be more effective than trying to paint every crease individually.
Faces deserve patience, but they do not need exaggerated contrast. A warm mid-tone, subtle shadows around the eye sockets and under the nose, then a small highlight across the forehead, nose and cheekbones will usually read well. At 1/35 and below, eyes are often better suggested with shadow than painted as bright white ovals. A dark horizontal line beneath the brow can create more believable expression.
Equipment provides useful tonal variation. Canvas packs, leather boots, wooden rifle furniture, metal weapons and painted helmets should not all share the same finish. Even within a uniform colour family, vary the tone slightly between a jacket, puttees and webbing. This helps separate forms and reflects the mixed wear seen in service clothing.
Weathering Figures to Match the Scene
Weathering should connect the figure to the ground and vehicle, not cover every surface equally. A tanker operating from a dusty road may have light earth tones on boots, trouser hems and lower sleeves. An infantryman in a wet winter setting may need darker mud around the feet, damp-looking fabric and restrained splashes up the legs. Match the pigment, mud texture or dust shade used on the base so the figure belongs in the same environment.
Think about cause and effect. Dust settles horizontally on boots, knees and equipment ledges. Mud is thrown upwards from the ground and collects in creases. Rain can leave vertical streaking on long coats and darken absorbent fabric. Chipping on a helmet or weapon should be modest and placed on edges that receive handling, rather than scattered uniformly across the figure.
If several figures occupy one base, vary the weathering slightly. The soldier kneeling in cover will not carry the same dirt pattern as the man standing by a road wheel. These small differences make a group feel observed rather than repeated.
Building a Better Diorama with Figures
Figures work best when they have a relationship with something. A mechanic leaning towards an open engine bay, a commander speaking to a crewman, or infantry taking cover beside a wall immediately creates a reason for each pose. Arrange the scene before fixing anything down, viewing it from the intended display angle as well as from above.
Avoid placing every figure parallel to the vehicle or base edge. Turn shoulders, heads and equipment to direct the viewer’s eye through the composition. Leave enough space between poses for each silhouette to read clearly. A crowded base can be effective for a busy embarkation point or street battle, but only when the grouping still has a clear focal point.
Bases do not need to be elaborate to be effective. A textured patch of earth, a section of road, grass tufts and scattered equipment can provide context without distracting from the figures. For a first figure project, a single 1/35 soldier on a small groundwork base is often more rewarding than attempting a large scene immediately.
Military figure kits offer one of the most satisfying ways to develop painting skills while adding scale and character to a display. Choose a subject that genuinely interests you, keep the scene believable, and let careful preparation do much of the hard work before the paintbrush reaches the model.
