
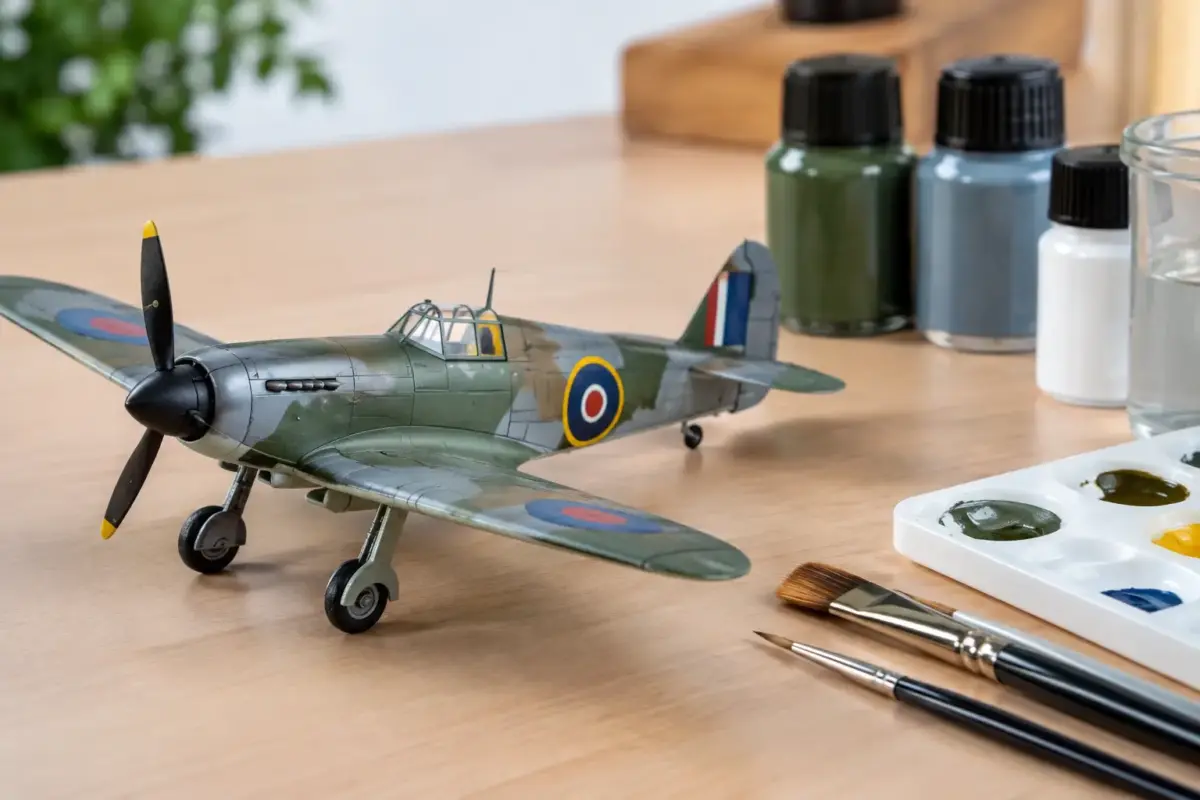
A half-finished kit does not always need stripping back to bare plastic. Can acrylics cover enamel paint? In most scale-modelling situations, yes – provided the enamel is fully cured, clean and stable. The key is treating the existing enamel coat as a finished surface, not simply another layer of wet paint.
This is a useful option when correcting a colour, adding detail painting, repainting an older build, or moving from an enamel base coat to acrylic camouflage colours. It can save considerable time, but paint chemistry, surface preparation and application method will decide whether the new coat grips properly or lifts, beads and cracks.
Can acrylics cover enamel paint safely?
Acrylic paint will usually sit successfully over cured enamel because the two paint types dry differently. Traditional enamel paint cures through solvent evaporation and oxidation, producing a comparatively hard film. Water-based acrylics dry as water and co-solvents evaporate, leaving acrylic resin on the surface. Once the enamel has cured, a carefully applied acrylic layer should not reactivate it.
The word cured matters more than dry. Enamel may feel dry to the touch after a day or two, yet still be soft beneath the surface. Masking tape, handling, or a new wet coat of paint can mark it. As a general workshop rule, allow enamel at least 48 to 72 hours before applying acrylics, and longer for a heavy coat, humid conditions or colder temperatures. A full week is sensible where you need maximum confidence, particularly before masking.
This approach is generally safest with water-based hobby acrylics such as Vallejo Model Colour, Vallejo Model Air, AK 3rd Generation Acrylics and Ammo by Mig acrylics. Alcohol-based acrylics can also work over properly cured enamel, but they deserve a lighter first coat because their stronger solvents may affect a marginal or freshly painted enamel finish. Acrylic lacquers are a separate category altogether and should be treated with more caution due to their hotter solvent systems.
The condition of the enamel coat comes first
An acrylic top coat can only perform as well as the enamel beneath it. If the older finish is flaking, cracked, greasy or poorly bonded to the plastic, covering it merely hides the problem for a while. The new paint may lift with the old layer when you remove masking later.
Start by examining the model under good light. A sound enamel finish should be firm, dry and free from tackiness. Press an inconspicuous area gently with a fingernail. If it leaves a dent, wait longer. If the enamel rubs off at an edge or has crazed over filler, it is usually better to remove or repair that area rather than paint over it.
Surface contamination is another common cause of poor adhesion. Fingerprints, sanding dust, polish residue and silicone-based household cleaners can prevent acrylic from wetting the surface evenly. Wash the model carefully with lukewarm water and a small amount of washing-up liquid, then allow it to dry completely. For local cleaning, a lint-free cloth lightly dampened with isopropyl alcohol can work, but test first and avoid soaking older enamel finishes.
A high-gloss enamel surface is not automatically unsuitable, although it gives acrylic less mechanical grip than a satin or matt one. For a broad repaint, a very gentle rub with a fine abrasive pad or 3000- to 4000-grit abrasive can provide a key. Use minimal pressure, especially around raised rivets, delicate decals and sharp panel edges. Remove the resulting dust before painting.
Applying acrylics over enamel: the reliable method
The safest first pass is not a wet, opaque coat. Whether brushing or airbrushing, establish adhesion with a thin layer first. It gives the acrylic something to hold on to without placing excessive moisture or solvent on the enamel.
For airbrushing, spray a light mist coat at roughly 15 to 20 psi, adjusted for your airbrush, needle size and paint range. It should look slightly dry at first rather than glossy and heavy. Leave it for several minutes, then build the colour through two or three thin coats. This method is especially useful on large aircraft fuselages, armour hulls and ship hulls where a wet pass can pool around details.
With a brush, avoid repeatedly working the same area as the acrylic starts to dry. Apply a smooth, thinned coat in one direction and let it level. A second or third coat will improve coverage far more cleanly than scrubbing thick paint into corners. Fine detail such as cockpit controls, road wheels, stowage and figure equipment is normally straightforward to paint in acrylic over enamel once the base is cured.
If you are changing a dark enamel colour to a pale acrylic shade, do not expect one heavy coat to solve it. Several thin layers are more durable and preserve the surface detail that makes a scale model convincing. A neutral acrylic primer can help with difficult colour changes, but it still needs to be applied lightly and tested first on the existing finish.
Compatibility depends on the paint range
The labels “acrylic” and “enamel” are useful starting points, not complete compatibility guarantees. Each manufacturer uses its own resin blend, thinner and drying additives. A water-based acrylic over a traditional enamel is one of the more forgiving combinations, while stronger acrylic lacquer products demand greater care.
The same applies to thinners. Use the recommended thinner for the acrylic paint you are applying, rather than assuming enamel thinner, cellulose thinner or a general-purpose solvent will be safe. The wrong thinner can turn a predictable paint job into a rough, grainy or attacked finish.
A practical test is worth more than any general rule. Paint a spare plastic spoon, an unused section of sprue, or the underside of a hull with the same enamel used on the model. Let it cure for the same period, then apply the intended acrylic, thinner and clear coat. Once dry, press low-tack masking tape onto the test piece and remove it slowly. If no paint lifts and the surface remains smooth, you can proceed with far more confidence.
Masking over the new acrylic layer
Masking is where a compatible-looking paint combination can still fail. Acrylic may feel dry within minutes, but it needs longer to gain handling strength. Leave it overnight where possible before applying tape, and longer for a large painted area or humid workshop.
Use a low-tack modelling tape rather than household masking tape. Burnish the edge only as firmly as needed to prevent paint bleed, particularly over panel lines and textured armour surfaces. Remove the tape slowly, pulling it back over itself at a low angle. This reduces stress on both the acrylic top coat and the enamel beneath.
For hard-edged camouflage, consider the order of work. If the enamel is an established base colour and the acrylic is the second colour, the system is workable. If you expect repeated masking, complicated mottle patterns or several corrective coats, allowing generous cure time between stages is more valuable than rushing through the painting session.
When you should not paint acrylic over enamel
There are occasions when covering the enamel is the wrong repair. If the finish has a strong orange-peel texture, dust trapped in it, severe brush marks or obvious crazing, every new coat will preserve those flaws. Stripping and repainting may take longer initially but often produces the better display result.
Avoid coating enamel that remains soft or smells strongly of solvent. Do not use acrylic as a quick fix for paint that has reacted with the plastic, melted fine detail, or failed around filler. Similarly, if the model has been finished with an unknown old paint, test before committing to the full airframe, vehicle or figure.
Decals require separate judgement. Acrylic paint can cover decals, but their edges may remain visible and a wet coat can encourage silvering or lifting if they are not properly sealed. A compatible clear varnish over fully settled decals is usually the safer foundation before any further painting or weathering.
A sound route for repainting and weathering
Layering acrylics over a cured enamel base can be particularly useful for scale effects. An enamel base colour may provide a durable foundation, while acrylics handle detail colours, tonal variation, dry-brushing and small corrections. Once the acrylic work has cured, a clear coat can unify the sheen before decals, washes and final weathering.
Keep each stage purposeful: cure the enamel, clean and test the surface, lay down light acrylic coats, then allow adequate drying time before masking or varnishing. That measured approach gives you more control over the finish and leaves the model ready for the enjoyable work – the details that bring the subject to life.
