
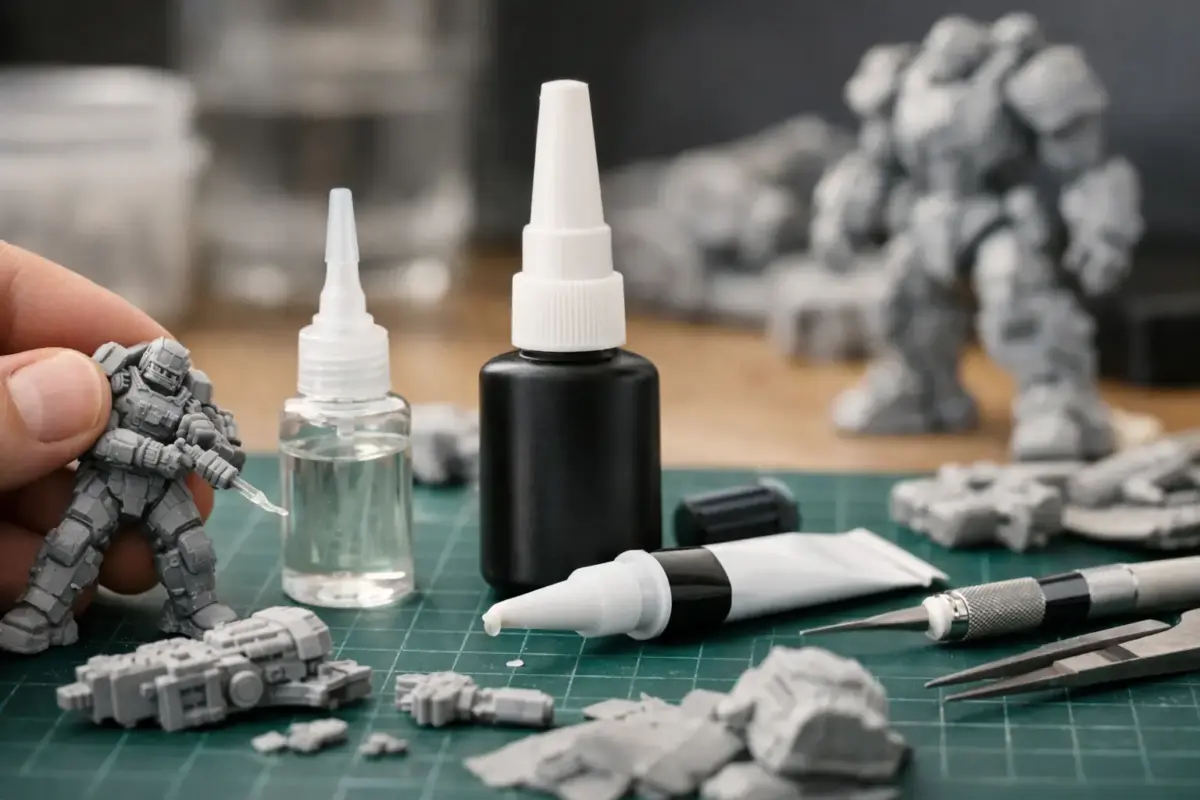
Resin kits punish the wrong adhesive fast. If you have ever cleaned up a promising part, test-fitted it nicely, then watched it shear off under its own weight, you already know that choosing the best glue for resin kits is less about brand loyalty and more about matching the adhesive to the job.
Unlike styrene plastic kits, resin does not respond to standard plastic cement. That catches out plenty of modellers, especially when moving from injection-moulded aircraft or armour into aftermarket conversions, figures, garage kits or full resin subjects. Resin needs a glue that bonds mechanically to the surface, and the right choice depends on part size, joint shape, working time and how much load the joint will carry.
For most small and medium resin parts, cyanoacrylate — commonly called CA or super glue — is the best all-round choice. Two-part epoxy is better suited to large, heavy or awkward assemblies, while PVA is useful for lightweight, scenic and non-structural work.
Best glue for resin kits depends on the joint
There is no single adhesive that covers every resin build. For most modellers, CA is the default. It is quick, widely available and suitable for the majority of small to medium resin parts. Quick is not always better, however. Large hull sections, heavy figure torsos, thin contact points and awkward alignments often benefit from slower adhesives with greater gap-filling ability.
- Thin CA: best for precise, close-fitting joints and small details.
- Medium or gel CA: a versatile choice for slightly uneven surfaces and general resin assembly.
- Two-part epoxy: suited to large components, load-bearing joints and assemblies that need adjustment time.
- PVA: useful for scenic materials, temporary positioning and lightweight non-structural parts.
In practice, a well-equipped resin builder will often keep more than one glue on the bench. Thin CA for precise joins, medium or gel CA for uneven contact surfaces and two-part epoxy for structural work will cover most projects.
Why plastic cement does not work on resin
Plastic cement works by softening styrene so the parts weld together. Resin is a different material, so there is nothing for the cement to melt. You may get the illusion of tack for a moment, but it will not create a reliable resin bond.
That matters because resin parts are often heavier than their styrene equivalents and can have less forgiving mating surfaces. If you are building a resin cockpit, stowage set, full figure or complete vehicle body, the bond has to cope with handling, priming, painting and display. A weak adhesive choice usually becomes apparent at the worst possible point — after painting.
Plastic cement remains useful when a resin conversion is being fitted to a styrene donor kit, but only for the styrene-to-styrene stages of the build. An adhesive such as Green Stuff World Cement Glue can handle those plastic kit joins, while the resin components should be secured with CA or epoxy.
Cyanoacrylate for resin models and miniatures
Cyanoacrylate is the standard starting point and, for many tasks, remains the best glue for resin models. It bonds quickly, works on small contact areas and suits clean, well-prepared resin parts.
Thin CA is useful when the fit is excellent and you want capillary action to draw the glue into a joint. It is particularly handy for small detail parts, etched brass added to resin and neat joins where excess adhesive would spoil surface detail. The trade-off is that it gives you very little repositioning time and can run where you do not want it.
Medium and gel CA are usually more forgiving. They provide a little more working time, fill slight gaps better and are easier to control on irregular joints. For many resin kits, medium-viscosity CA is the best all-round bench option because few resin castings are perfectly flat straight from the box.
CA does have limits. It can become brittle, especially on stressed joins. A heavy wing, a large figure arm carrying weight or a warped component being pulled into place can eventually pop free. Blooming or frosting is another annoyance, particularly around clear parts or finished paintwork.
Two-part epoxy for heavy resin assemblies
If CA is the everyday choice, two-part epoxy is the structural one. Epoxy takes longer to cure, but that extra time is often exactly what a resin kit needs. You can align larger parts properly, adjust angles and let the adhesive fill minor imperfections in the mating surfaces.
This makes epoxy especially useful for full resin fuselages, vehicle hulls, ship superstructures, figure torsos and bases, or any join that will carry weight. It is equally valuable when fitting substantial upgrades such as the Das Werk 1/35 resin wheel set for the 5t Einheitsanhänger. Once cured, epoxy generally offers a tougher, less brittle bond than CA. If you are joining a substantial resin conversion to a plastic donor kit, it is often the safer option.
The downside is speed and cleanliness. Epoxy requires mixing, can be messy if over-applied and needs proper clamping or support while curing. It is not ideal for tiny details and can slow down jobs where a fast tack is more useful than ultimate strength.
Where PVA still earns a place
PVA is not the best glue for resin kits when the part needs strength, but it is still useful around the edges of a project. It works well for temporary positioning, scenic materials, some clear parts and lightweight details where you want a non-aggressive adhesive with easy clean-up.
It is also useful for test positioning awkward accessories before committing with CA or epoxy. For diorama groundwork and related materials, explore the range of scenic sets and glues. If the part is structural, handled regularly or likely to be under tension, choose CA or epoxy instead.
Surface preparation matters as much as the glue
A good adhesive can still fail on a poor surface. Resin parts often carry mould-release residue, which can interfere with bonding and paint adhesion. Washing parts in warm water with a mild detergent before assembly is a sensible first step. Let them dry fully before gluing.
Next, clean up the mating surfaces properly. Remove casting blocks carefully, true up contact points and lightly abrade smooth joining faces with a fine abrasive if needed. A slightly keyed surface often helps CA and epoxy grip more reliably than a glossy one.
Dry fitting is equally important. Resin kits can vary from beautifully engineered to distinctly short-run in character. Checking alignment before adhesive touches the part saves stress, especially when CA gives you only seconds to position it correctly.
Pinning makes weak resin joints stronger
Sometimes the best adhesive is only half the answer. If a resin part is large, heavy or attached through a narrow contact point, pinning can transform the joint. Brass rod, steel wire or a cut paper clip inserted across the join provides mechanical strength that glue alone may struggle to deliver.
This is especially useful on figure limbs, wings, turrets, stowage loads and conversion parts. A pinned join secured with epoxy or medium CA is far more dependable than adhesive applied to a flat butt joint by itself. For serious resin work, pinning is less an advanced trick and more a standard workshop habit.
Common mistakes when gluing resin models
The most common mistake is assuming all super glues behave in the same way. They do not. Viscosity changes how the glue flows, fills and grabs, so matching thin, medium or gel CA to the task makes a noticeable difference.
The second mistake is using a fast glue where adjustment time is needed. Large resin parts rarely reward rushing. If alignment matters, epoxy may save time overall because you are less likely to break and remake the joint later.
The third is using too much adhesive. Excess CA can squeeze out, fog surrounding detail and create more clean-up work than the assembly itself. Excess epoxy can do much the same, only more slowly. Resin kits usually respond better to careful, controlled application than generous amounts.
What is the strongest glue for resin?
Strength depends on the shape, size and load of the joint. For large resin assemblies and components under stress, two-part epoxy is generally the strongest practical choice discussed here because it produces a tougher, less brittle bond and can fill small imperfections between mating surfaces.
Medium CA provides ample strength for most small and medium parts, especially when the contact surfaces fit closely. Pinning a narrow or load-bearing joint before adding CA or epoxy can make the finished assembly considerably more dependable.
So, what is the best glue for resin models?
For most small and medium resin parts, medium CA is the most useful general answer. It is quick, versatile and suits the majority of assembly tasks on figures, detail sets and smaller kit components. If you keep one adhesive specifically for resin, that is the safest place to start.
For large, heavy or awkward assemblies, two-part epoxy is often the better choice. Its slower cure gives you time to align parts properly, and the finished bond is usually more resilient under load. Thin CA remains excellent for precise joins and tiny details, while PVA is best reserved for non-structural jobs.
Experienced modellers rarely rely on a single bottle for every stage of a resin project. They choose the adhesive that matches the contact area, the weight of the part and the time needed to achieve the right fit. That is usually the difference between a resin build that feels fragile and one that is ready for primer, paint and the display cabinet.
Stocking up for a resin project? Treat adhesive in the same way as paints or abrasives: as a task-specific tool rather than a one-size-fits-all consumable. Browse craft resin and casting supplies alongside the adhesives and modelling tools needed to complete your next project with confidence.
