
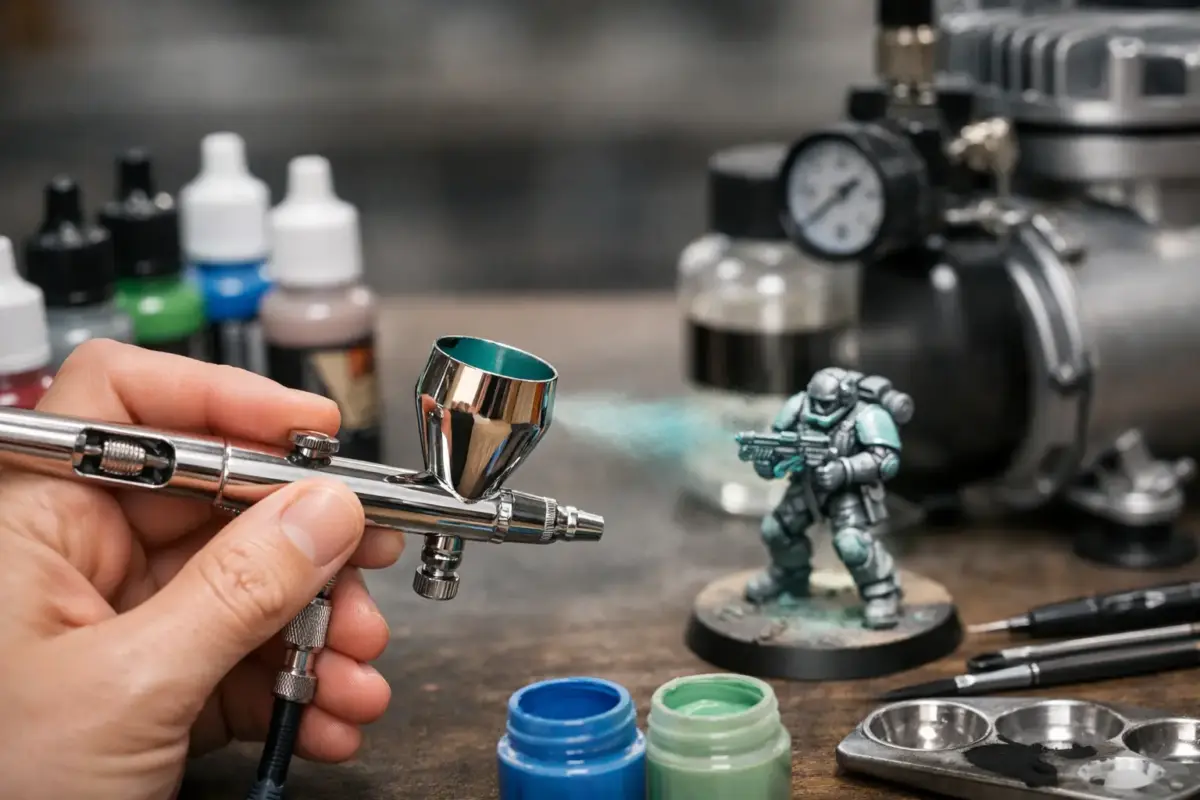
A bottle labelled Model Colour can look quite different from one labelled Model Air, but both can earn a place beside your compressor. So, can you airbrush Vallejo paint? Yes – provided you match the thinner, pressure and needle size to the particular Vallejo range. The paint is water-based acrylic, which makes it pleasant to use indoors with sensible ventilation, but its pigment load and drying behaviour mean it rewards a little preparation.
For most scale modelling work, Vallejo offers a dependable route from primer through base colours, detail painting, varnishing and weathering. The key is not treating every bottle as if it has the same consistency. A carefully thinned Model Colour behaves very differently from an already fluid Model Air colour, and that distinction prevents many of the familiar problems: tip dry, spitting, grainy finishes and blocked nozzles.
Which Vallejo paints can you airbrush?
Vallejo Model Air is formulated for airbrush application and is the simplest starting point. Its pigments are finely ground and the paint is supplied at a consistency suitable for most gravity-feed airbrushes. Shake it thoroughly, test it on a spoon, card or paint mule, and it will often spray straight from the bottle. Even so, a few drops of thinner can improve control when working through a fine 0.2 mm nozzle or painting broad, thin coats.
Model Colour is intended primarily for brush painting. It has a thicker body and excellent coverage, which is useful for figures, cockpit details, stowage and hand-painted markings. It can absolutely be airbrushed, but it needs more thinning and a little more patience. For a 0.3 mm nozzle, start around one part Model Colour to one part Vallejo Airbrush Thinner. Adjust from there rather than committing to a fixed recipe: some dense colours, especially whites, pale greys and certain reds, may need a touch more thinner.
Game Air is also designed for the airbrush and works well for wargaming figures, Gundam kits and vivid sci-fi finishes. Game Colour can be thinned much like Model Colour. Vallejo Metal Colour is among the easier metallic ranges to airbrush, producing a fine, convincing metallic finish when applied in light passes. It is particularly effective on aircraft exhausts, natural-metal panels and metallic details, although a smooth gloss black base is often worthwhile where maximum shine is wanted.
Vallejo primers and polyurethane varnishes are airbrush-friendly too. These products are convenient, but they still benefit from checking the spray pattern first. Temperature, humidity, nozzle size and how long a bottle has sat on the bench can all affect the result.
How to airbrush Vallejo paint with consistent results
Begin by shaking the bottle far more thoroughly than feels necessary. Acrylic pigment settles, and metallics settle especially heavily. A paint mixer or stainless-steel agitator ball helps, but vigorous hand-shaking is still useful. If the paint has been stored for a while, stir the material at the bottom of the bottle before shaking.
Add paint and thinner to the airbrush cup, then mix gently with a brush handle or cocktail stick. For Model Air, try it neat first or add roughly 10 to 20 per cent Airbrush Thinner. For Model Colour, a 1:1 starting mix is sensible. The aim is not a magic ratio but a paint consistency that atomises cleanly while remaining sufficiently opaque to build colour in several light coats.
Vallejo Airbrush Thinner is the safest default because it is made to preserve the paint’s binder and drying characteristics. Distilled water can be useful in small quantities, particularly in a thin mix, but too much can weaken adhesion and make the paint behave unpredictably. Flow Improver has a different job: it slows drying at the needle and helps reduce tip dry. Use only a few drops in a cup, not as the main thinning medium.
For general 1/35 armour, 1/48 aircraft and 1/24 vehicle work with a 0.3 mm nozzle, begin around 18 to 22 psi. A 0.2 mm nozzle and fine camouflage demarcation may favour 15 to 18 psi with a thinner mix. A larger 0.4 mm nozzle is useful for primers, varnishes and larger subjects, where 20 to 25 psi can give reliable coverage. These are starting points, not rules. If the finish is sandy or dry before it reaches the model, reduce pressure, move closer or add a little thinner. If it pools or spiders across the surface, increase distance, reduce the amount of paint or use slightly less thinner.
Keep the airbrush moving and build colour gradually. Vallejo acrylics are best applied as controlled, semi-transparent layers rather than one wet, heavy coat. This preserves surface detail on fine rivets, cockpit parts and figure folds, while giving you better control over modulation and pre-shading.
Prime before colour coats
A sound primer coat makes a noticeable difference, especially on bare plastic, resin, photo-etch and 3D-printed parts. Vallejo Surface Primer is a practical option for many projects and can be sprayed in thin passes. Let it cure properly before masking or applying hot weathering products.
Primer colour matters. Black supports metallics and strong shadows, grey is a neutral all-round choice, and white helps pale yellows, reds and bright civilian colours cover more efficiently. For a highly polished natural-metal finish, inspect the primer under a strong light and gently correct any dust or roughness before spraying metallic paint.
Avoiding tip dry and clogging
Tip dry is the most common frustration when airbrushing Vallejo paint. Acrylic paint begins drying on the exposed needle tip, gradually disrupting the spray pattern. It is not usually a sign that the paint range is unsuitable. It simply means the mix, airflow or working conditions need attention.
Check the needle tip regularly and wipe it carefully with a cotton bud dampened with cleaner. Do not force dried paint from the nozzle with a hard tool, as a damaged nozzle or bent needle causes permanent spraying problems. A few drops of Flow Improver, a slightly thinner mix and lower pressure will usually extend spraying time between wipes.
A blocked airbrush often comes from dried paint inside the nozzle rather than the cup. If spray becomes intermittent, stop and clean it before increasing pressure. Pushing harder through a partial blockage can create a sudden splatter across an otherwise tidy camouflage finish. Filtering paint through a fine mesh filter is worthwhile when using older bottles, heavily pigmented colours or a very fine nozzle.
Cleaning after Vallejo acrylics
Do not leave acrylic paint in the airbrush while you make tea or work on another assembly stage. Empty unused paint back into a suitable container only if it has not been contaminated, then wipe the cup with a lint-free cloth. Flush with water or airbrush cleaner until the spray runs clear, followed by a small amount of dedicated cleaner to remove residue around the nozzle and needle.
At the end of a session, remove the needle carefully, wipe it clean from back to front, and inspect the nozzle. Regular, gentle cleaning is more effective than waiting for a serious blockage and reaching for aggressive solvents. Vallejo Airbrush Cleaner is designed for this task; for stubborn dried acrylic, soak removable metal parts according to the cleaner’s instructions, keeping rubber seals in mind.
Can you mix Vallejo ranges?
You can mix compatible Vallejo acrylic colour ranges for custom shades, but test the mixture before committing it to a model. Model Air and Model Colour combine well in practice, with the latter adding opacity or shifting a shade while the former retains a fluid character. The final mix will still need thinning according to how much thicker paint has been added.
Be more cautious with products that use different binders or purposes, such as primers, varnishes, washes and weathering effects. Mixing a varnish into a colour may alter sheen and durability in ways that are difficult to predict. It is usually better to keep each stage of the finishing process separate.
A dependable setup for your next build
If you are new to airbrushing Vallejo, use Model Air through a 0.3 mm gravity-feed airbrush at about 20 psi, over a properly cured primer. Spray a test piece first, apply several light coats, and clean the needle tip as you work. Once that feels familiar, Model Colour opens up a much wider palette for bespoke camouflage shades, figures and detail colours.
Vallejo paint is forgiving when used with the right expectations: thin enough to atomise, low enough pressure to retain control, and a clean airbrush throughout the session. Keep notes on successful mixes for your preferred nozzle and subjects. That small habit makes it easier to repeat a finish across an entire squadron, armour column or display shelf.
