
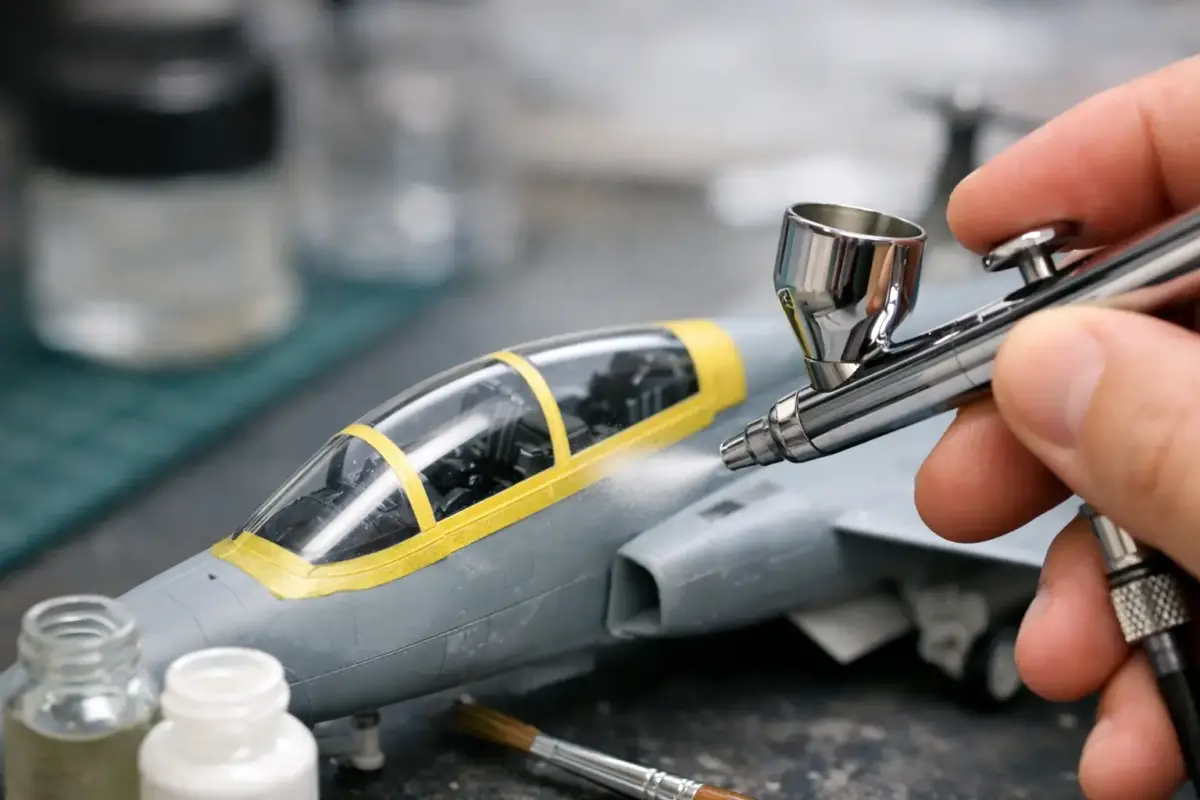
A well-painted canopy can make an otherwise excellent aircraft model look convincing, while a fogged screen, thick frame line or stray fingerprint draws the eye immediately. Knowing how to paint clear canopies is therefore less about finding a single magic product and more about controlling preparation, masking, paint thickness and handling from start to finish.
Most injection-moulded canopies respond well to the same careful process, whether you are building a 1/72 fighter with a framed hood or a larger 1/32 aircraft with extensive glazing. The details change with the kit, the type of paint and whether the canopy will be open or closed, but patience is always quicker than trying to repair dried paint on transparent plastic.
Prepare clear parts before any paint
Remove the canopy from the sprue with sprue cutters, leaving a small amount of plastic attached rather than cutting tight against the part. Trim the remaining gate carefully with a sharp blade or fine sanding stick. Clear styrene marks more easily than opaque plastic, so avoid twisting parts from the sprue or using coarse abrasives.
Wash the canopy in lukewarm water with a small amount of washing-up liquid, then let it air dry under a dust cover. This removes mould-release residue, sanding dust and skin oils that can spoil paint adhesion. From this point onwards, hold the part by an edge, use clean tweezers where practical, or wear nitrile gloves.
If the clear part has a faint seam line, do not assume it must remain. On many two-part moulded canopies it can be removed. Work progressively through very fine abrasives or polishing pads, then restore clarity with a dedicated plastic polish. Test this approach on a spare clear part first if you have not done it before. Some delicate or unusually thin parts are better left alone than aggressively polished.
A clear gloss dip can improve the appearance of slightly soft kit glazing and provide modest protection during masking. It is optional, not essential. Allow any coating to cure fully before masking, ideally for at least 24 to 48 hours according to the product instructions. Applying tape to a soft surface is a reliable way to lift the finish.
Choose the right masking method
The canopy frame should determine the masking method. Pre-cut masks are usually the fastest and most consistent option for popular aircraft kits, particularly where frames have compound curves or very narrow panes. They save time, reduce the chance of irregular borders and are especially worthwhile on multi-framed bombers, helicopters and modern jets.
For canopies without a dedicated mask set, good-quality low-tack masking tape remains the dependable choice. Burnish a small piece of tape over one pane with a cocktail stick, then use the raised frame line as a guide for a fresh scalpel blade. Use very light pressure. The aim is to cut the tape, not score the canopy beneath it.
Liquid masking fluid is useful for irregular windows, small circular observation panels or areas where tape will not lie flat. It is less precise for sharp, straight canopy frames and can tear if applied too thinly. If using it, build up an even coat and leave a small tab at an edge to make removal easier.
Whichever method you use, inspect every edge under a bright lamp. Press the mask down along the frame edges with a wooden cocktail stick or silicone shaper. Paint only creeps under masks where there is a gap, excessive wetness or both.
Mask the inside where it will be visible
An open canopy exposes its interior surface, so mask both sides if the inside will remain unpainted. This is also sensible on large, clear windscreen sections. A closed canopy often needs only exterior masking, provided it is fitted after the cockpit is complete and the inside has been kept clean.
Before committing to paint, dry-fit the canopy. Some kits need the windscreen installed before fuselage painting, while a sliding hood can be painted separately. Understanding that sequence early avoids trying to force a finished canopy into a tight opening later.
Paint the interior frame colour first
This is the step that gives canopy frames their believable depth. On a real aircraft, the inside of the frame is often visible through the glazing. Spray or brush the cockpit interior colour first over the masked exterior. When viewed through the clear plastic, that first coat becomes the inner frame colour.
The exact shade depends on the aircraft and period. Many RAF subjects use an interior green or black cockpit framing, while other types may use dark grey, zinc chromate-style primers or a cockpit colour specific to the airframe. References matter here, because interior and exterior framing were not always identical.
Keep this initial coat light. It only needs enough coverage to read consistently through the glazing. Acrylic paints are convenient because they dry quickly, but lacquer and enamel systems can also work well when used in thin coats and with compatible primers. The main rule is not to flood the frames.
Once the interior shade has dried, apply the exterior camouflage or airframe colour. If the canopy joins a painted fuselage, spraying it at the same time is the best way to match the finish. A windscreen painted separately can look subtly different in tone or sheen, even when the same paint reference is used.
Spray lightly or brush with control
Airbrushing produces the finest canopy frame finish, but it is not the only workable route. Use a low-to-moderate pressure, a well-thinned paint appropriate to your chosen range, and several light passes. Start the spray off the part and move across it steadily. Wet paint is more likely to pool along mask edges and create a raised ridge when the mask comes away.
If you are brush painting, use a good fine brush with a sharp point and paint away from the tape edge rather than pushing paint into it. Two or three thin coats are far better than one heavy coat. Do not repeatedly brush over paint that has started to dry, as this can pull up the first layer and leave texture.
For hand-painted frames without masks, use the moulded frame as your guide and rest both hands on the bench for stability. This approach suits a small number of broad frames, but it becomes difficult on heavily glazed canopies. Paint pens can be useful for minor corrections, although their paint is often too thick for a primary finish.
Do not use cyanoacrylate near exposed glazing
Standard superglue can release vapours that leave a white bloom on clear plastic, especially inside a closed cockpit. Use a canopy-specific adhesive, PVA-based glue or another clear-parts adhesive instead. These dry more slowly, but they allow adjustment and clean up with water before curing.
If a canopy must be attached before painting, run a neat bead of suitable adhesive along the joint and let it dry fully. Mask the surrounding fuselage as needed, then paint as part of the airframe. A clear adhesive can also fill small gaps, though large gaps are better dealt with using plastic strip, filler or a properly adjusted fit before the canopy goes on.
Remove masks at the right time
Take the masks off when the paint is dry to the touch but not fully hardened. For many acrylics this may be within an hour or two, but always follow the paint manufacturer’s guidance and allow longer in cold or humid conditions. Removing tape too late can increase the chance of a hard paint edge tearing away.
Lift one corner with a wooden toothpick or fine tweezers and pull the mask back over itself at a low angle. Do not tug it upwards. Work slowly, especially around thin frame intersections. Keep the removed masks away from the canopy, as a tacky piece of tape can leave residue if dropped onto clear glazing.
A tiny amount of paint seepage is normal and rarely a disaster. Carefully scrape it away with a sharpened wooden cocktail stick, a damp microbrush or a fine brush carrying a little of the appropriate thinner. Use the minimum amount of thinner needed and keep it away from canopy joints. If the frame edge is uneven, remask only that section and apply a light corrective coat rather than repainting the whole part.
Finish the glazing to suit the aircraft
A perfectly glossy canopy is not always correct. Operational aircraft glazing can show light dust, rain marks and a slight reduction in shine, but heavy weathering usually looks out of scale. If the airframe receives a matt or satin clear coat, protect the transparent panes carefully. A final gentle polish can restore clarity if overspray has dulled them.
For an open hood, paint the exposed frame edges and add any visible handles, mirrors, demisting pipes or internal bracing only after the main painting is complete. These small additions reward careful work, but they should not compromise a clean installation. It depends on the scale: in 1/72, a convincing frame finish matters more than adding every interior fitting; in 1/32, those extra details can be worthwhile.
Clear canopies reward a deliberate pace. Prepare the plastic, choose masking that suits the frame layout, paint the interior shade before the exterior colour and keep every coat thin. If you need compatible masks, canopy adhesives, fine sanding materials or aircraft colours for the next build, Scale Model Shop can help you assemble the finishing supplies in one place. The final touch is simple: place the completed model under a strong light, view the glazing from several angles, and enjoy the crisp frames that bring the cockpit to life.
