
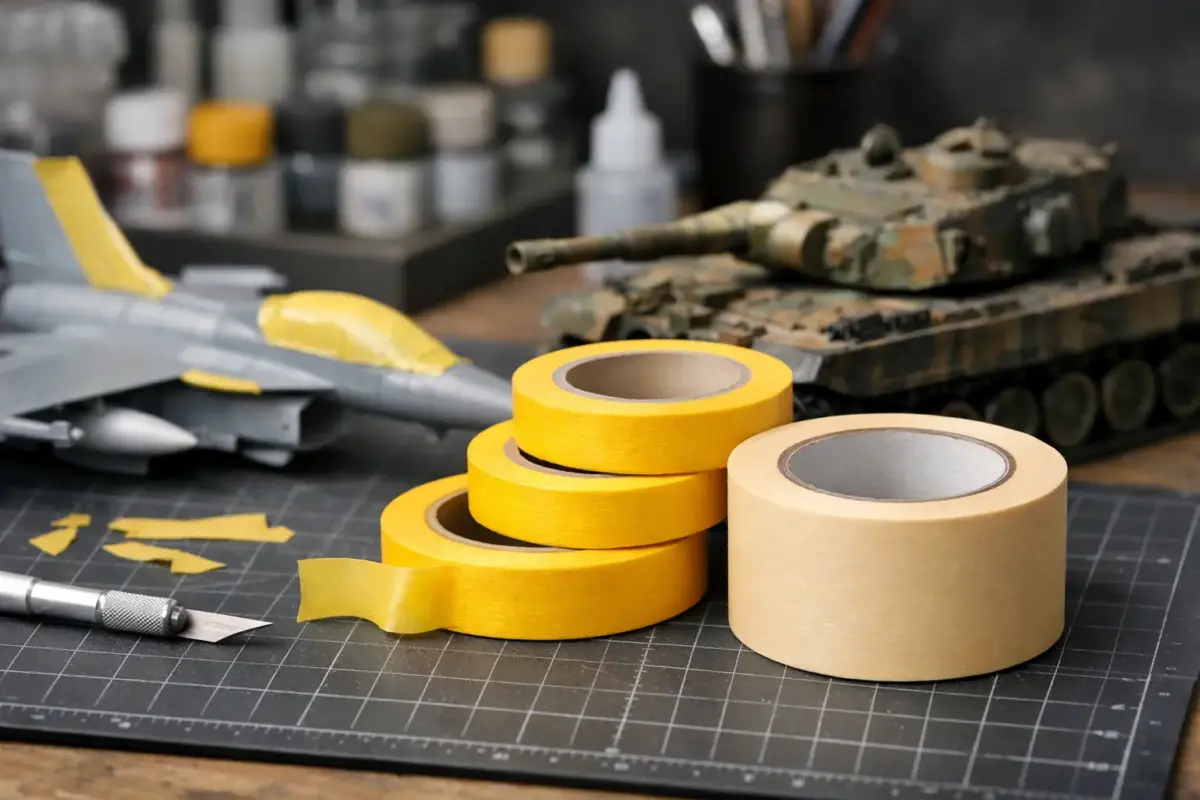
A sharp camouflage line or clear canopy frame can make a model look properly finished. The best masking tapes for models are not simply the stickiest rolls on the bench: they need to follow the surface, seal against paint bleed and lift away without pulling up the layer beneath. The right choice depends on the task, the paint system and how delicate the model is.
For most aircraft, armour, ship and miniature projects, a small selection of quality hobby masking tape is more useful than one large general-purpose roll. Fine tape handles canopy frames and narrow demarcations, wider tape covers open areas, and flexible tape earns its place whenever a curve is involved. Explore the full range of masking tape and masking fluid to find practical options for each stage of your build.
What makes a masking tape suitable for models?
Modelling tape uses a low-tack adhesive designed to hold securely for painting while reducing the risk of damaged paint, decals or fine surface detail. It should have a clean-cut edge, a stable backing and enough flexibility to settle around rivets, panel lines and gentle contours.
Ordinary household masking tape is tempting because it is inexpensive and readily available, but it is rarely the best option for a painted kit. Its paper can be thick and fibrous, the adhesive can be inconsistent, and the edge may allow paint to creep underneath. On a carefully primed and painted model, that false economy soon becomes a frustrating repair job.
The tape also has to suit the paint. Lacquer paints, especially when sprayed wet, can find the smallest gap beneath a mask. Acrylics are generally kinder, although they can still lift if applied over an inadequately cured base coat. Enamel finishes take longer to harden, so they deserve particular patience before masking.
Best masking tapes for models by job
Fine paper tape for everyday masking
High-quality thin paper tape is the dependable starting point for most builds. Tamiya-style masking tape is widely used because it offers controlled tack, crisp edges and a thin backing that sits closely against plastic. It is an excellent all-round choice for aircraft camouflage, armour colour separation, wheel hubs, ship superstructures and masked detail work.
Narrow widths are especially useful. A 1mm, 2mm or 3mm strip can follow panel lines, frame canopy sections and define a hard-edged camouflage boundary without requiring you to cut a slender strip from a wider roll. Wider sizes are more efficient for protecting surrounding areas once the paint edge has been established.
Paper tape is best on relatively flat or gently curved surfaces. It will cope with the nose of a fighter or the turret of a tank if applied in short sections, but it will resist tight compound curves. Forcing it into place can create wrinkles and gaps.
Flexible tape for curves and colour bands
Flexible masking tape is the better choice for curved demarcations. Vinyl and PVC-style fine-line tapes bend cleanly around spinners, fuselages, car bodies, roundel masks and the flowing camouflage boundaries often seen on RAF aircraft. They are also useful for curved stripes on racing subjects and neat tyre sidewalls.
The trade-off is that flexible tape is not always ideal for covering large areas. It can stretch, and stretched tape may try to straighten or lift at the ends. Apply it gently without tension, burnish the edge with a cotton bud or soft tool, then fill the protected area with wider paper tape or masking film.
For very tight curves, use short lengths rather than attempting one continuous run. Overlap the ends slightly and keep checking the overall line from a normal viewing distance. A technically smooth curve is not much help if it does not look balanced on the finished model.
Patterned masking tape for camouflage
Pre-cut patterned tape provides a convenient way to introduce more complex shapes without cutting every mask by hand. The DSPIAE Precut Squiggle Pattern Masking Tape PMT-SP is designed for flowing patterned effects, while the DSPIAE Precut Digital Camouflage Masking Tape PMT-DC provides ready-cut geometric shapes for digital camouflage schemes.
Apply patterned tape over a properly cured base coat and press the edges down carefully before spraying. Build the next colour with thin, controlled passes to reduce the chance of paint collecting against the mask.
Pre-cut masking sets for canopies and wheels
For aircraft canopies, complex wheel hubs and certain multi-part glazing, pre-cut masks can save considerable time. They are typically cut from thin kabuki-style material or flexible film to suit a specific kit. On a heavily framed canopy, they can be more accurate than applying and trimming tape by hand.
Pre-cut masks still require care. The set needs to match the exact kit tooling rather than simply the aircraft type or scale. Position each section carefully before pressing it down, particularly around curved canopy panels. If a mask leaves a narrow exposed edge, supplement it with fine tape.
A mask set is a convenience product, not a substitute for preparation. Clean clear parts, secure them properly and give the adhesive a firm but gentle press around every frame line.
Masking film and low-tack sheets for larger areas
When masking a wing, hull, baseboard or large camouflage area, tape alone can become wasteful. Low-tack masking film, sheets and paper are useful for covering the bulk of the surface after the critical edge has been defined with fine tape. This reduces the risk of overspray while keeping adhesive away from areas where it is not needed.
Film is particularly practical for airbrushing. It can protect broad areas quickly and conform over raised details when held at the edges. For a large aircraft wing, run quality tape along the camouflage boundary first, then overlap film or paper onto the tape. Do not rely on the covering material alone to create the paint edge.
Broad masking materials are also useful when painting diorama bases. They can protect completed sections and scenic details, including areas finished with model grass, leaves and foliage, while nearby groundwork or structures are airbrushed.
Liquid mask for irregular details
Liquid masking products have a place on awkward shapes, small glazing panels and textured areas where tape cannot sit flat. They can be useful for preserving clear lenses, figure insignia or fine raised details during a surrounding spray session. Some modellers also use them to create chipped-paint effects, although that is a separate finishing technique.
Their limitation is precision. A liquid mask rarely gives the same reliably sharp boundary as a properly burnished tape edge. Apply it with a fine brush or cocktail stick, allow it to dry fully and avoid leaving it in place for long periods. It is best treated as a specialist companion to tape rather than a replacement.
Choosing masking tape widths
A sensible masking tape selection does not need to be excessive. Fine widths handle the detail work, while a medium roll and a broad roll cover most of the remaining surface. Many modellers find that a narrow tape for edges, a 6mm or 10mm general-purpose tape and a wider roll for coverage will see them through the majority of projects.
Scale affects the decision. In 1/72 scale, even a 3mm strip can represent a substantial band across a fuselage. In 1/24 aircraft or 1/35 armour, wider tape is more practical for large panels, but fine tape remains valuable around periscopes, tools, vision blocks and canopy frames. For wargaming miniatures and figures, narrow tape and flexible strips tend to be more useful than broad rolls.
How to prevent paint bleed
Clean edges come from technique as much as from the tape itself. Start with a fully cured paint surface. Dry to the touch is not always fully cured, particularly with enamel and some acrylic finishes. If a finish feels soft, smells strongly of solvent or marks under gentle pressure, give it more time.
Apply the tape in manageable sections and press only the edge that will receive paint. A cocktail stick, silicone shaper or cotton bud can help burnish the line without gouging delicate plastic. Avoid excessive pressure over decals, photo-etch or fragile raised detail.
When airbrushing, begin with a light mist coat aimed away from the edge. This first pass helps seal the boundary. Follow with thin, controlled coats rather than flooding the paint onto the surface. Thick, wet coats are the main cause of paint creeping under otherwise good tape.
How to reduce the risk of lifted paint
Give primer, paint and clear coats enough time to cure before applying tape. Strong paint adhesion starts with a clean, properly prepared surface, and each layer needs to be stable before the next masking stage begins.
Remove the masking once the fresh paint has set enough not to flow rather than waiting for it to become completely hard. Pull the tape back slowly over itself at a low angle. This places less upward force on the painted surface than lifting the tape vertically.
If paint has bridged from the tape to the model, score carefully along the edge with a fresh scalpel blade before lifting it. This is particularly helpful over clear coats and metallic finishes.
Masking canopies cleanly
Canopy masking rewards a sharp edge and a light touch. Use narrow paper tape to outline each frame, then fill the centre of larger glazed panels with additional tape or liquid mask. Burnish the boundary gently so paint cannot creep underneath.
On complex curves, several short pieces will usually sit more cleanly than one long strip. Pre-cut masks can make heavily framed glazing faster to prepare, while hand-cut tape remains useful for adjustments and small uncovered areas.
A practical masking setup for the workbench
For most projects, start with trusted low-tack paper tape in several widths and add flexible tape when the subject includes curved markings or flowing boundaries. Keep masking film available for broad overspray protection, and choose kit-specific masks when a canopy has enough framing to make hand-cutting inefficient.
Before using an unfamiliar tape on a prized build, test it on a painted spoon or spare piece of plastic. This quick trial shows how it behaves with your primer, paint and clear coat.
A clean paint edge is rarely down to luck. Match the masking material to the job, apply paint in controlled coats and give each layer the time it needs. With the right combination of fine tape, flexible tape, film and liquid mask on your bench, crisp camouflage and neatly framed canopies become far easier to achieve.
