
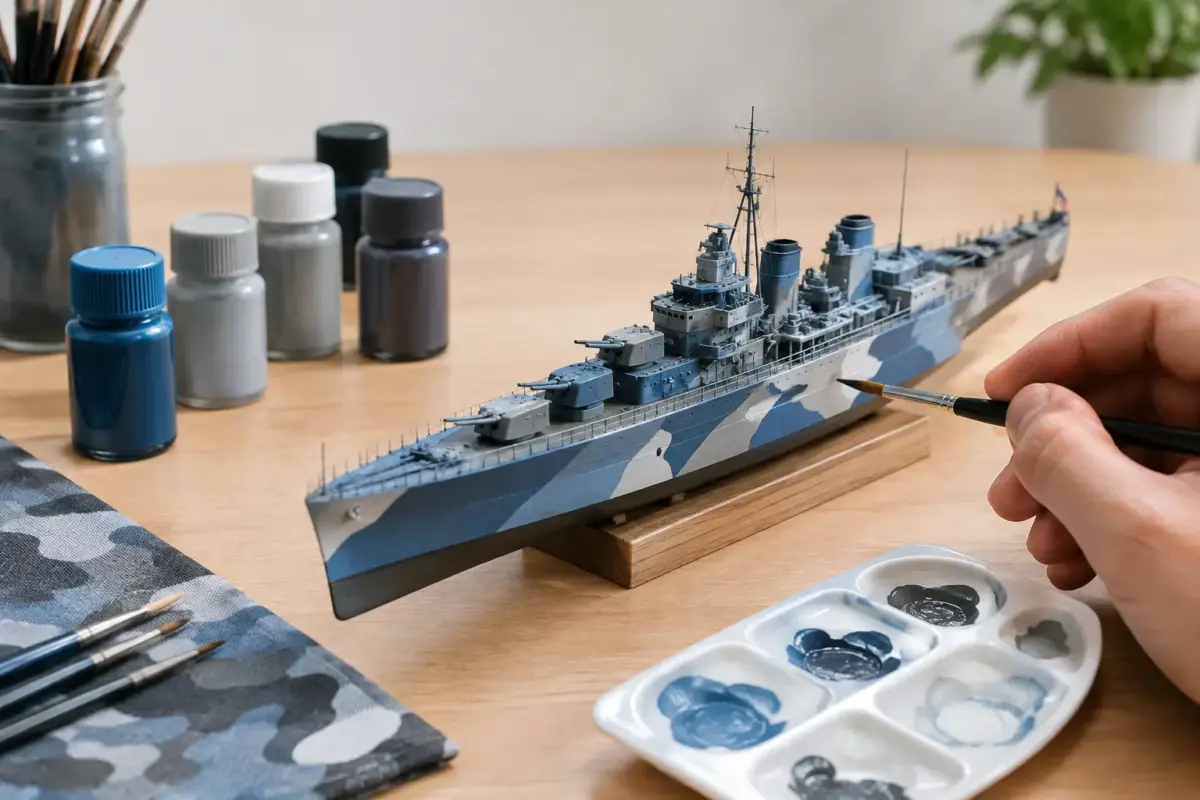
A naval camouflage scheme can make a straightforward ship kit look like a specific vessel on operations, but it also exposes every uneven mask, oversized demarcation and poorly chosen grey. Learning how to paint naval camouflage is less about collecting the most colours and more about controlling scale, contrast and the order of work. A disruptive pattern must look purposeful from normal viewing distance, while still rewarding a closer look.
Naval subjects are particularly unforgiving because their hulls offer long, flat runs of plating and their superstructures contain dozens of interruptions. The good news is that a careful plan, good reference material and sensible masking will produce far cleaner results than attempting to correct a complex scheme once the paint is down.
Start with the right camouflage reference
Do not assume that two ships from the same class carried the same finish. Naval camouflage changed with theatre, date, refit status and available paint stocks. A vessel may have worn an overall home-fleet grey early in its service, then received a disruptive scheme, a lighter tropical finish or an entirely different pattern after repair.
Find photographs or a reliable profile for the precise ship and period you are modelling. Look for port and starboard views where possible. The pattern was rarely symmetrical, and a drawing that shows only one side should not be copied onto both hull sides without checking. Photographs also reveal where paint boundaries meet deck edges, funnel faces, bridge wings and splinter shields.
Treat colour call-outs in kit instructions as a starting point, not proof. Manufacturers sometimes simplify schemes, particularly on older moulds. Period photographs are often monochrome, of course, so use them to establish pattern placement and tonal contrast rather than trying to identify an exact shade from a single image. Dedicated naval paint ranges from brands such as AK Interactive, Colourcoats, Mr Hobby and Vallejo can provide useful historically matched starting points, but scale effect and weathering still matter.
Plan how to paint naval camouflage before assembly
It is tempting to build every rail, mast, crane and small boat before reaching for the airbrush. For a single-colour ship that can work well. For a multi-colour disruptive scheme, it can turn masking into an unnecessary test of patience.
Paint the hull and major superstructure blocks first, then add the most delicate photo-etch and fittings later where the kit allows. Separate main turrets, director towers, boats and aircraft are usually easier to camouflage off the model. Check the instructions before committing: some parts must be fitted early to avoid awkward gaps or compromised alignment.
Before painting, wash the parts to remove sanding residue and mould-release agents. Apply a smooth primer in a neutral grey. Primer gives subsequent coats a consistent surface and makes seam repairs obvious, which is valuable on hull joins. It also lets you check whether your chosen greys have enough visible separation.
For most naval camouflage projects, prepare the following before you begin:
- a fine airbrush capable of controlled, low-pressure spraying;
- low-tack masking tape in several widths, plus a sharp scalpel and cutting mat;
- thin paper, masking film or putty for larger, softer-edged areas;
- reference copies marked with the order in which colours will be sprayed.
A simple colour map saves time. Mark every area by colour, including horizontal deck surfaces and the inside faces of obvious bulwarks. Decide which colour covers the greatest area and use that as the base coat. This reduces the amount of masking needed later.
Choose colours for scale, not just the paint chart
Real naval camouflage was designed to disrupt a ship’s outline at distance. On a 1/700 destroyer, the same contrast can become too harsh if each colour is used straight from the bottle. At 1/350, there is more room for subtle variation, but pure black and brilliant white are still usually too severe except where the reference clearly demands them.
A practical approach is to lighten the main camouflage colours slightly with an appropriate pale grey or off-white, especially on smaller scales. The aim is not to make the model look faded before weathering, but to prevent the finish becoming visually heavy. Test the colours on a primed plastic spoon or scrap card and view them at arm’s length. If two greys merge completely, increase their tonal separation a little. If the pattern dominates the model like a wargaming miniature, reduce the contrast.
Deck colours deserve equal care. Weathered wood, dark grey non-slip surfaces and painted steel decks all respond differently to washes and dry-brushing. Paint deck sections before attaching fragile railings where possible, and mask the hull-deck join carefully. A crisp boot topping can transform the whole waterline profile.
How to paint naval camouflage with clean masks
Spray the base colour in several thin coats. Allow it to cure properly before masking; dry-to-touch paint is not always ready to accept tape. Acrylics may need only a short wait in favourable conditions, while enamels and lacquers often need longer. The exact timing depends on the product, primer and room temperature, so follow the paint manufacturer’s guidance.
Transfer the pattern in manageable sections. For hard-edged Royal Navy and US Navy disruptive schemes, low-tack tape is the most reliable option. Lay a length of tape onto the surface without stretching it, then burnish only the edge that must seal. A cocktail stick, cotton bud or soft wooden tool works well around raised detail without damaging it.
Avoid trying to cut a complex shape directly on the model with a blade. It is very easy to score plastic or slice through the previous paint layer. Instead, draw or cut the shape on tape laid over a cutting mat, then lift it with tweezers and position it. Use narrow tape strips to form curves and angles, filling the larger masked areas with wider tape or paper.
For a soft-edged scheme, such as a pattern applied with less precise shipyard spraying, use rolled masking putty or raised paper masks. Keep the mask just above the surface and spray lightly at low pressure. The farther the mask sits from the model, the softer and wider the edge becomes. Practise this on scrap first: a 1/700 model needs far less softness than a 1/35 landing craft.
Spray each new colour away from the tape edge rather than directly into it. Build opacity gradually. Heavy wet coats are the usual cause of paint creep, particularly around rivets, ladders and moulded-on doors. Remove masking slowly once the paint has set but before it becomes excessively hard. Pull the tape back over itself at a low angle. If a small edge lifts, let the area dry fully, gently smooth it and touch in the repair with a fine brush.
Keep the finish convincing with restrained weathering
Camouflage should remain readable after weathering. This is where many otherwise excellent ship models lose the character of the original scheme: filters, washes and salt effects are applied so heavily that every panel becomes the same grim brown-grey.
Protect the camouflage with a clear gloss or satin coat before decals and enamel or oil washes. A controlled pin wash around hatches, deck breaks, scuttles and major structural joints adds depth without staining every broad surface. Then return to a satin or matt finish according to the subject and your reference. Operational ships were rarely dead flat, especially on frequently handled or salt-sprayed surfaces.
Use fading selectively. Lightened versions of the camouflage colours can be sprayed or brushed in thin, broken passes across large hull panels and upper surfaces. Keep the original pattern visible. Vertical streaking should follow gravity and water run-off from scuttles, hawse pipes, anchor areas and deck drains, not appear evenly across every side.
Rust is another area where restraint pays off. Warships received regular maintenance, and heavy orange corrosion across the entire hull can look theatrical unless you are depicting a neglected wreck or a very specific hard-worked vessel. Focus instead on anchor chains, scuppers, damaged paint edges and areas around fittings where water collects.
Common problems and practical fixes
If the pattern looks wrong despite accurate colours, stand back and assess its scale. Demarcations may be too wide, or the contrast may be excessive. A thin mist coat of the base grey can gently unite the finish, although it is better to test this technique first than risk obscuring the scheme.
If paint has bled under masks, do not immediately cover the area with more paint. Let it cure, then carefully refine the line with a fine pointed brush. For a sharper result on a future model, spray a light coat of the underlying base colour along the mask edge first. Any seepage will be the base colour and will help seal the edge before the new colour is applied.
If decals cross a camouflage boundary, apply them over a gloss surface and use setting solutions sparingly. Once sealed, a small amount of careful brushwork can tone down a marking that appears too bright or new for the surrounding finish.
A well-executed naval camouflage scheme is built in layers: accurate research, controlled masking, thin paint and weathering that supports rather than hides the pattern. Gather the paints, tools and finishing materials before starting, keep your reference visible at the bench, and give each coat time to cure. If you need help matching products for a particular scale or period, the team at Scale Model Shop can help you assemble a practical paint and finishing list for the project.
