
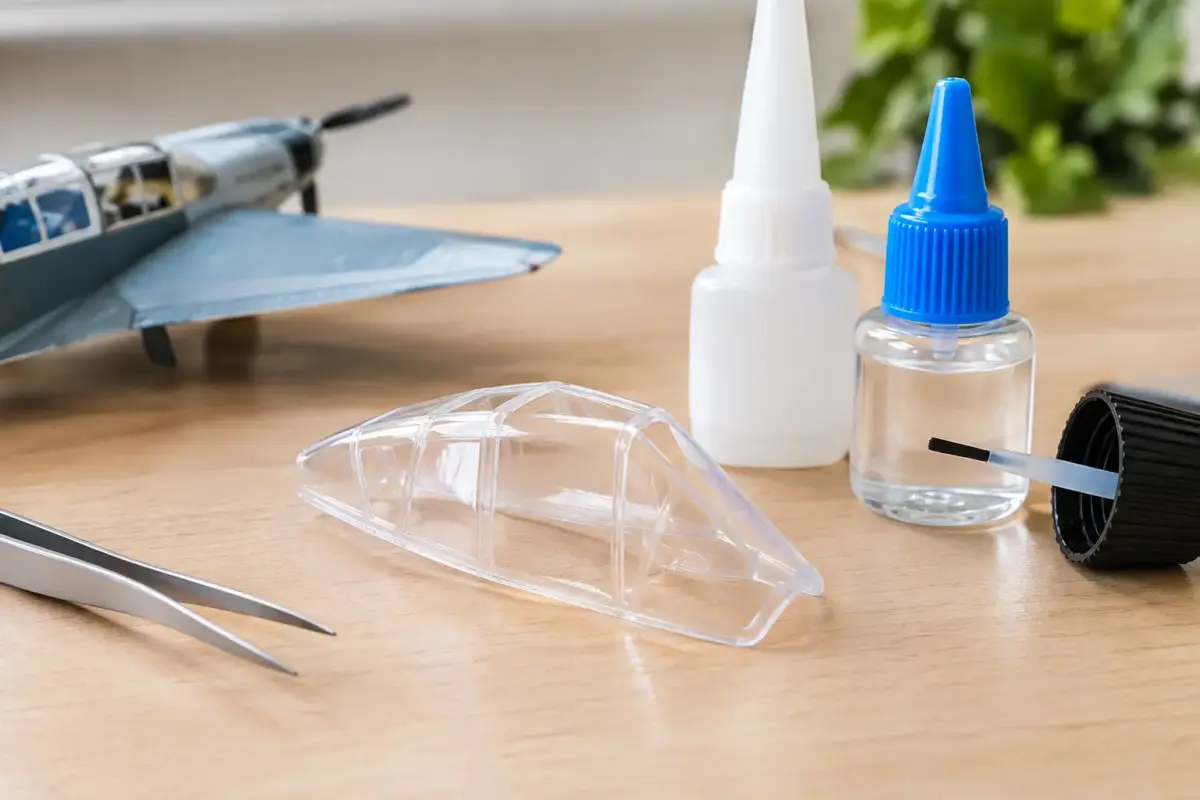
A beautifully painted cockpit, a carefully detailed interior or a fully weathered vehicle can be spoiled in seconds by one cloudy windscreen. If you are asking which glue suits clear parts, the short answer is usually a specialist canopy adhesive or a clear-drying PVA. The right choice still depends on the fit of the part, the material of the kit and how much strength the joint needs.
Clear styrene, acetate and acrylic glazing behave differently from ordinary kit parts. They show every fingerprint, every adhesive smear and every trace of vapour. The aim is not simply to make the part stay in place. It is to secure it with a tidy, invisible bond that remains clear over time.
Why clear parts need a different adhesive
Most plastic cements work by softening polystyrene so that the two surfaces fuse. That is ideal for a wing join or hull seam, but clear plastic is far less forgiving. A little too much cement can wick across a canopy, craze the surface or leave a permanent mark inside the glazing where it cannot be polished away.
Cyanoacrylate, commonly called CA or super glue, presents a different problem. As it cures, its vapour can settle on nearby clear plastic as a white bloom. This fogging is especially noticeable on enclosed aircraft canopies, vehicle periscopes and ship bridge windows. Even when the joint looks fine at first, a tightly sealed cockpit can reveal fogging later.
For most transparent parts, choose an adhesive that dries clear, gives you time to position the piece and can be cleaned away with water before it sets. That generally means PVA-based canopy glue. Use stronger or solvent-based products only where the joint and the application method genuinely call for them.
Which glue suits clear parts best?
Canopy glue and clear-drying PVA
Specialist canopy glues are the dependable first choice for most model aircraft glazing and other clear parts. They are usually water-based, dry transparent and have enough initial grip to hold a canopy, window or lens while they cure. Products sold as canopy glue, clear parts cement or watch crystal cement are made for exactly this task.
They work particularly well for a closed canopy with a reasonable locating edge, multi-part cockpit glazing, car windscreens, ship windows and transparent navigation lights. Apply a fine bead to the frame or mounting lip, not across the visible face of the part. A cocktail stick, fine brush or stretched sprue gives far better control than squeezing adhesive directly from the bottle.
The chief trade-off is strength. PVA is not the best option for a clear part that carries weight, is under tension or has only a tiny contact point. It also takes longer to fully cure than liquid cement. Leave the model level and undisturbed, and support an awkward canopy with low-tack tape until the adhesive has set. The wait is worthwhile when the alternative is a fogged cockpit.
Some modellers also use ordinary quality PVA for larger glazing, particularly on railway buildings and diorama structures. It can work well, but a dedicated canopy adhesive generally has better grab and a clearer finish. Test an unfamiliar PVA on spare transparent sprue first, as formulations vary.
Liquid plastic cement, used with care
Liquid cement is not automatically forbidden for clear styrene. It can produce a very strong, neat bond when a clear piece has a substantial polystyrene locating tab that will be hidden after assembly. The key is control. Place the part dry, then touch the very edge of the joint with a fine brush carrying only a tiny amount of extra-thin cement. Capillary action should draw it into the seam.
This method is most useful where the contact area is concealed, such as a clear lens inserted from behind or a canopy with a firm internal mounting ledge. It is a poor choice for a loose-fitting windscreen, a large unframed panel or any joint where cement could run onto the visible surface.
Never brush liquid cement over clear plastic to improve the fit, and do not flood the seam. The familiar milky crazing can appear immediately or develop as the solvent evaporates. If the part needs adjustment, remove it promptly and allow both surfaces to dry fully before trying again.
Cyanoacrylate for small, structural jobs
CA earns a place at the bench, but it should be a selective choice around clear parts. It is useful for attaching a tiny clear light to a painted resin wingtip, fixing a small periscope where there is minimal contact area, or securing clear parts to resin, metal or photo-etch where plastic cement has no effect.
Use the smallest possible amount, preferably a gel or medium-viscosity CA placed with a wire applicator. Keep the model in a ventilated area and allow the joint to cure in open air before enclosing it. Odourless CA can reduce the risk of blooming, but it is not a guarantee, so test it on spare clear material.
Avoid CA accelerator near transparent parts. Accelerators can make the adhesive cure abruptly and increase the chance of whitening. If a fragile lens needs more grip than PVA can offer, an odourless CA applied sparingly is usually safer than standard thin super glue, but it remains a calculated risk.
Epoxy, UV resin and other alternatives
Two-part epoxy offers strength and a longer working time, making it useful for large clear components or parts fitted to resin kits. It can bridge small gaps, but it is relatively bulky and excess is difficult to remove once cured. Some epoxies can also yellow with age, so reserve them for hidden or structural joints rather than prominent windscreens.
UV-curing clear resin has become useful for small lenses, light covers and filling shallow gaps around transparent parts. It can be very clear, but only cures where the UV light reaches it and can leave a raised edge if over-applied. It is better regarded as a specialist finishing material than a universal canopy adhesive.
Acrylic gloss varnish can help secure extremely light items such as tiny position lights or acetate instrument faces. Its bond is weak, yet it is easy to control and unlikely to damage the part. For a display model, that may be all the strength required.
A clean method for fitting canopies and glazing
Good adhesive cannot compensate for a poor dry fit. Before painting, test the canopy against the fuselage and check that cockpit coamings, instrument panels and ejector seat tops are not pushing it upward. Sand or adjust those hidden obstructions before the clear part is involved.
Wash clear sprues in lukewarm water with a small amount of washing-up liquid, then let them air dry. This removes mould-release residue and finger oils. Handle parts by the edges where possible, and keep a soft microfibre cloth nearby for dust rather than rubbing the plastic with a paper towel.
For an aircraft canopy, mask and paint it before final attachment whenever the kit design allows. Once the paint is properly cured, run a thin line of canopy glue around the mating edge. Seat the canopy, check the alignment from the front and both sides, then remove any squeeze-out immediately with a clean damp brush. Do not keep wiping after the adhesive starts to grab.
If the fit leaves a narrow gap, canopy glue can often fill it in several light applications. Allow each layer to dry clear before adding the next. This is far safer than forcing the gap closed with cement, which risks stress cracks or a smeared frame line.
For individual windows, place the adhesive around the opening rather than onto the pane. A fine bead gives a more convincing gasket effect and reduces the chance of adhesive being visible through the clear part. On building kits, work a few panes at a time so the glue does not skin over before each piece is positioned.
Preventing fogging, scratches and visible glue marks
The simplest preventative step is to keep solvent cement and standard CA away from the visible face of glazing. If you must use either, apply it from the hidden side with a fine tool and use much less than feels necessary. Adhesive spreads farther than expected once the part is pressed home.
A protective dip in a suitable acrylic clear coating can improve the appearance of some canopies and add a little resistance to fine scratches. It will not make them immune to solvent or CA, however. Let the coating cure completely before masking or gluing, and test compatibility first.
If PVA dries with a visible residue, it can often be softened with a damp cotton bud and carefully removed. If plastic cement has crazed the surface, the repair is more involved: progressively polish the affected area with fine abrasive pads, then restore clarity with a plastic polish or clear coat. Deep internal fogging is rarely worth repairing, which is why choosing the correct adhesive at the start matters so much.
For a model with prominent glazing, keep a dedicated clear-parts adhesive beside your masking tape and fine applicators. It is a small addition to the bench, but it protects some of the most visible work on the finished build. If you are unsure about a particular kit material or resin conversion, the Scale Model Shop team can help you narrow down a compatible option before the canopy goes on.
