
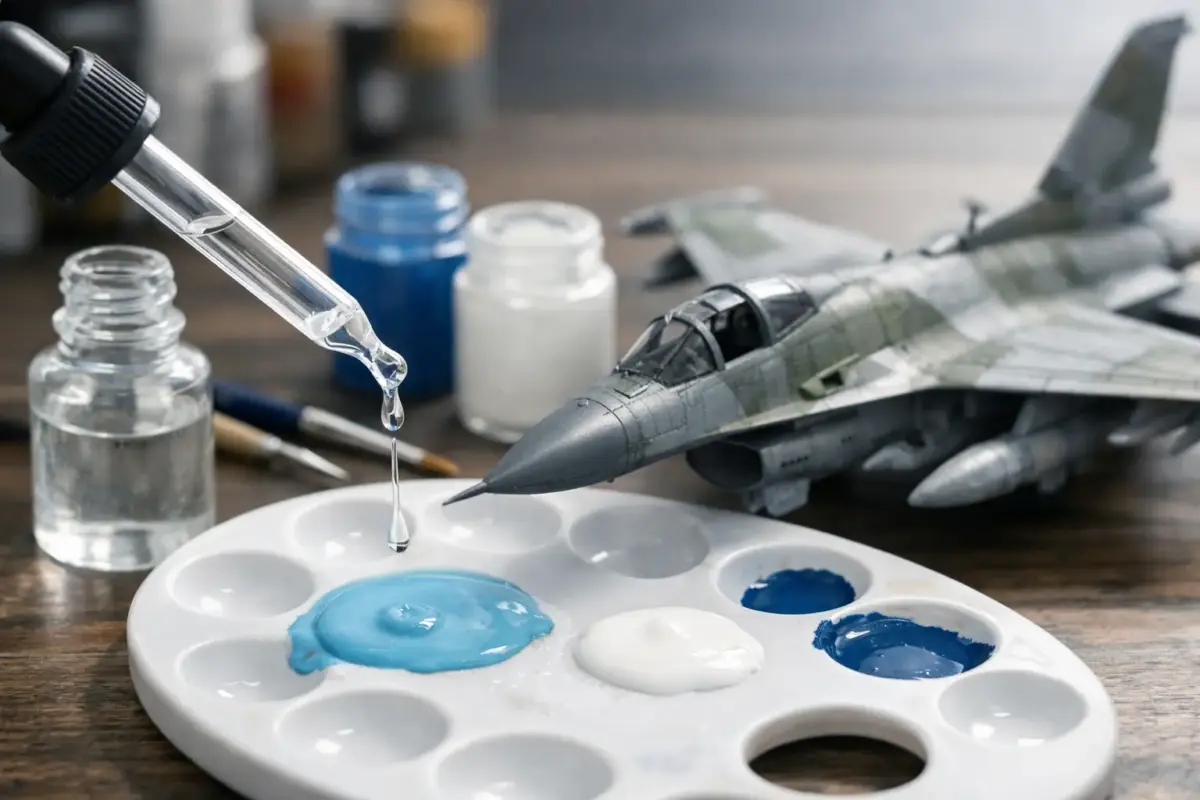
Acrylic paint that looks fine in the pot can turn awkward very quickly once it hits the model. Too thick, and you get brush marks, clogged airbrushes and soft detail disappearing under a grainy coat. Too thin, and coverage breaks up, runs form around raised detail, and the finish dries patchy. If you are working out how to thin acrylic paints for scale models, the real aim is control rather than a fixed formula.
That matters because acrylic ranges do not all behave the same way. Tamiya, Vallejo, AK Interactive, Ammo by Mig, Mr Hobby and Revell each have their own binders, pigments and flow characteristics. The right thinning approach depends on the paint brand, whether you are brush painting or airbrushing, the size of the part, and the finish you want on the model.
Why acrylic paints need thinning
Most hobby acrylics are supplied slightly thicker than ideal for direct application. That is deliberate. A paint that stores well in the bottle is not always ready for a fine, even coat on a 1/72 aircraft wing or a 28mm figure face.
Thinning improves flow and helps the paint level out before it dries. For brush work, that usually means fewer streaks and less dragging. For airbrushing, it helps atomisation, reduces tip dry and gives you finer control over coverage. The trade-off is simple – as paint gets thinner, it becomes easier to apply smoothly, but it also becomes easier to overdo and lose opacity.
How to thin acrylic paints without guesswork
The most dependable method is to thin in small increments and test before committing to the model. A mixing palette, paint cup or separate pot makes this much easier than working straight from the bottle.
Start with a small amount of paint, add a few drops of thinner, and mix thoroughly. What you are looking for is not a magic ratio but a change in behaviour. The paint should move freely, mix evenly, and leave a smooth coat on a test spoon, scrap part or old sprue without pooling or breaking apart.
If the paint forms ridges when brushed, it is still too thick. If it beads up, looks watery around the edges or struggles to cover after several passes, it is probably too thin. A lot of modellers describe the target consistency as similar to semi-skimmed milk for airbrushing, but that is only a rough guide. Some brands need less reduction, while heavily pigmented paints may need more.
What to use to thin acrylic paints
The safest option is the manufacturer’s own thinner. That is usually the best starting point when you want predictable behaviour, especially with airbrush work. Proprietary thinners are designed to match the binder system in that specific range, so they tend to improve flow without weakening adhesion or causing odd drying issues.
Water can work, but it depends on the paint. Many water-based acrylics will tolerate a little clean water for brush painting. It is useful for minor adjustment, especially on a wet palette. Even so, too much plain water can weaken the paint film, reduce coverage and leave a chalky finish. It is less reliable for airbrushing, where the wrong balance can encourage clogging or a rough spray pattern.
Flow improver and retarder also have a place, but they are not the same as thinner. Flow improver helps paint move more smoothly and can reduce brush marks or tip dry. Retarder slows drying time, which can help with blending and prevent acrylics from drying on the needle too quickly. Used sparingly, both are useful. Used heavily, they can make paint slow to cure or leave a tacky surface.
One caution is worth stating clearly – not all acrylics are interchangeable. Tamiya and Mr Hobby aqueous paints behave differently from Vallejo Model Colour or Ammo by Mig acrylics. If a brand recommends a dedicated thinner, there is usually a reason.
How to thin acrylic paints for brush painting
Brush painting usually needs less thinner than airbrushing. You want the paint to level out, not turn into a wash. For most hobby acrylics, a small reduction is enough to improve flow while keeping good coverage.
A good starting point is roughly 10 to 20 per cent thinner, then adjust from there. On large flat areas such as aircraft fuselages or vehicle side armour, you may want a touch more so the paint does not drag. On smaller parts, cockpit details or figure equipment, slightly thicker paint often gives better control.
The best result normally comes from two or three thin coats rather than one heavy coat. Let each layer dry properly before the next. If the first coat looks a little translucent, that is not a problem. In most cases it is a sign the paint is going on smoothly enough to preserve surface detail.
When brush painting, keep an eye on the brush as well as the paint. If acrylic is drying at the ferrule or building up near the tip, rinse more often and avoid overworking the same area. Acrylics start to set quickly, and going back over half-dry paint is one of the fastest ways to create a rough finish.
How to thin acrylic paints for airbrushing
Airbrushing needs a thinner mix because the paint must pass through the nozzle cleanly and atomise evenly. A common starting range is around 1:1 paint to thinner, though some paints spray well at 60:40 or 70:30 depending on nozzle size, air pressure and the effect you want.
Fine mottling on Luftwaffe camouflage, subtle modulation on armour, or light post-shading often benefits from a thinner mix sprayed in controlled passes. Base coating larger areas can usually tolerate slightly thicker paint for better opacity. Again, this is where testing saves time. A quick spray on a mule or spare part tells you far more than any ratio printed online.
If the airbrush splatters, clogs quickly or produces a sandy finish, the paint may be too thick, the pressure may be off, or the thinner may not suit the paint. If it spider-webs across the surface, the mix may be too thin or the air pressure too high for the distance you are spraying.
For most scale modelling work, it is better to build colour slowly with several light passes. Flooding the surface rarely improves the finish and usually creates more work later.
Brand differences matter more than many beginners expect
This is where a lot of frustration starts. Modellers often assume all acrylics behave like each other, then wonder why one range sprays beautifully while another clogs or tears when masked.
Vallejo Model Colour is primarily aimed at brush painting and often needs careful thinning if used through an airbrush. Vallejo Model Air is pre-thinned for spraying, though it may still need adjustment depending on your setup. Tamiya acrylics are famous for airbrushing well with the right thinner, but many brush painters find them less forgiving without practice. Mr Hobby aqueous paints also respond well to proper thinners and are widely used for smooth sprayed finishes. AK Interactive and Ammo by Mig offer ranges geared towards modellers, but even within one brand, different lines can vary.
That is why experienced builders usually test each paint range on its own terms. The label may say acrylic, but the working properties can be very different.
Common mistakes when thinning acrylic paints
The biggest mistake is chasing a single ratio for every situation. Paint thickness changes with age, room temperature and even how long the bottle has been sitting on the bench. A fresh bottle and a half-used one may not need the same treatment.
The next issue is under-mixing. If pigment has settled, adding thinner to the top of poorly mixed paint gives inconsistent results straight away. Shake thoroughly, stir if needed, and only then start adjusting consistency.
Another common problem is adding too much thinner too quickly. It is easier to add another drop than to rescue an over-thinned mix. Working in small batches keeps waste down and helps you stay consistent across the job.
Finally, do not ignore the primer and surface underneath. Even perfectly thinned paint struggles on greasy plastic, glossy bare surfaces or poorly prepared resin. Good surface prep makes paint behaviour far more predictable.
A practical way to build consistency
If you want repeatable results, keep notes. That sounds obvious, but it saves a surprising amount of trial and error. Write down the paint range, thinner used, rough ratio, nozzle size and whether the mix was for brush painting, base coating or fine airbrush work.
Over time, you build your own reference for the paints you actually use. That is far more useful than generic advice because it reflects your tools, your room conditions and your modelling style. For many hobbyists, that is the point where paint stops feeling temperamental and starts feeling manageable.
At Scale Model Shop, we see this all the time – the right thinner, matched to the right acrylic range, makes the whole finishing stage more straightforward. Once you know how a paint wants to behave, thinning stops being guesswork and becomes just another part of the build you can trust.
If a paint is fighting you, do not force it on the model. Adjust it, test it, and let the paint tell you what it needs before you commit to the final coat.
