
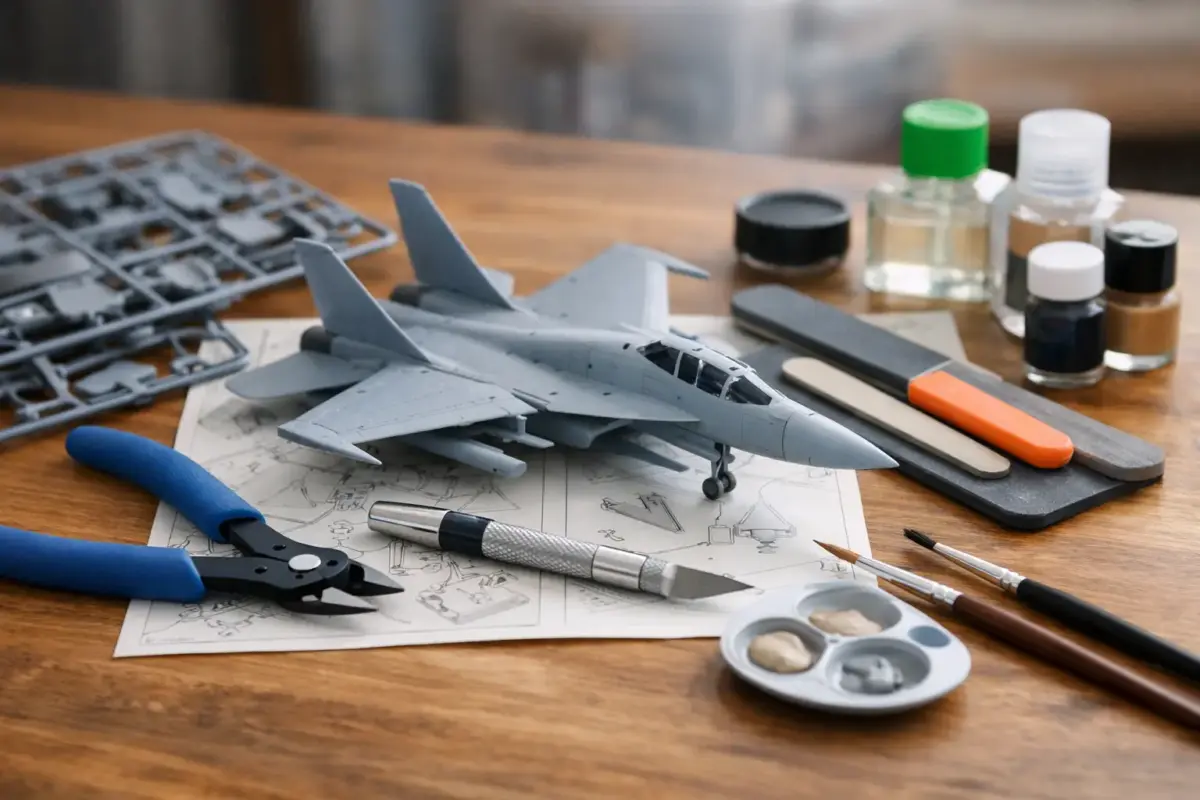
A first kit rarely goes wrong because the parts are too complex. More often, it stalls because the basic setup is missing. If you are looking for model kit tools for beginners, the aim is not to buy everything at once. It is to build a small, reliable tool set that makes assembly cleaner, painting easier, and early mistakes less frustrating.
The good news is that you need less than many new modellers expect. A strong beginner setup covers cutting parts from the sprue, cleaning mould lines, handling small components, applying cement accurately, and preparing surfaces for paint. Beyond that, it becomes a question of what you build, how often you build, and how far you want to push the finish.
Model kit tools for beginners – start with the essentials
If you are building plastic aircraft, armour, cars, ships or Gundam kits, the essentials are broadly the same. A few specialist areas such as resin, photo-etch or figure painting add extra requirements, but they do not need to be your first purchases.
The core tool every beginner should consider first is a good pair of side cutters. This is the tool that removes parts from the sprue, and it has a direct effect on how much clean-up you need afterwards. Cheap cutters will still work, but they can crush or stress the plastic, especially on finer parts. A dependable entry-level pair gives a much cleaner cut and reduces the chance of damaging delicate components such as aerials, gun barrels or suspension parts.
Next comes a modelling knife. This is not there to hack parts free – the cutters should do most of that work. A knife is for trimming the remaining nub, tidying flash, and gently scraping seam lines. For beginners, control matters more than brute force. A comfortable handle and sharp blades are far more useful than applying extra pressure with a blunt edge.
You will also want sanding tools. Sanding sticks or sanding sponges in a few grades are more practical than loose sheets for most first projects. They let you smooth cut points, refine joins and prepare surfaces before primer. Coarser grades remove material quickly, while finer grades help you avoid gouging the plastic. If you only buy one type, choose a mixed set rather than a single grit.
Tweezers are another genuine basic. Small parts have a habit of disappearing at the exact moment you think you have them under control. Fine-point tweezers help with placement, especially for cockpit details, wheels, stowage, track links, decals and photo-etched parts later on. They are also useful simply for keeping glue and paint off your fingers.
Finally, buy the right adhesive. This is one of the most common beginner mistakes. Not all glue behaves the same way, and the wrong choice can make even a straightforward kit feel awkward.
Choosing glue, rather than just buying glue
For most standard plastic kits, liquid plastic cement is the best starting point. It flows into joins, gives a neater bond than thick tube glue, and usually leaves less mess if applied carefully. A brush-in-cap bottle is especially beginner-friendly because it gives better control over where the cement goes.
Tube glue still has a place, particularly for larger contact areas, but it is easier to over-apply. Too much adhesive can soften surface detail, squeeze out of seams and create extra sanding work. For that reason, many modellers move quickly towards liquid cement as their default option.
Super glue is different again. It is useful for resin, metal parts, some clear parts applications, and photo-etch, but it is not the best all-round first adhesive for ordinary polystyrene kits. It bonds fast, which sounds helpful until a part lands slightly crooked. Beginners usually benefit from a little working time.
If you are only buying one adhesive for your first plastic kit, choose liquid cement. If you are building mixed-media kits or adding aftermarket parts, then super glue becomes far more relevant.
The tools that make painting much easier
A build can be assembled with very little, but painting is where a few sensible tools save a lot of trouble. You do not need an airbrush to start well. Plenty of beginners achieve strong results with brushes if they use the right supporting items.
A cutting mat is one of them. It protects your work surface, gives you a cleaner area to organise parts, and makes the whole process feel more controlled. It is not glamorous, but it is one of those purchases you appreciate every time you sit down to build.
Brushes matter too, though not in the way newcomers sometimes assume. A giant brush set is rarely the smartest buy. A few dependable brushes in practical sizes are more useful than a large pack of inconsistent ones. For most beginners, a small detail brush, a medium round brush and a slightly broader flat brush will cover a great deal of work.
You should also think about paint preparation. A simple mixing palette, paint stirrers and a pipette or dropper are inexpensive but helpful. They make it easier to thin paints properly, mix consistent batches and avoid contaminating entire pots. If you are using acrylics, this becomes especially important, as paint that is too thick is one of the main causes of visible brush marks.
Primer is not a tool in the strict sense, but it belongs in the same conversation. It improves paint adhesion, reveals flaws before final colour coats, and gives a more even surface. Many beginners skip it to save time, then wonder why the finish looks patchy. If you want an easier painting experience, primer is worth treating as part of the basic setup.
What can wait until later
This is where many starter guides become unrealistic. They present a professional bench as if it were the minimum. It is not.
You do not need an airbrush for your first few builds, although it becomes a strong upgrade if you plan to paint camouflage, large surfaces or smooth gloss finishes regularly. You do not need a motor tool, specialist chisels, punch-and-die sets, precision saws or advanced weathering tools on day one either. These all have value, but they solve more specific problems.
Likewise, premium single-blade nippers are excellent, especially for finer plastics and display-focused work, but a dependable standard cutter is enough for most beginners. The same goes for glass files, scribers and specialist seam removal tools. They can improve efficiency and finish quality, but they are not compulsory at the start.
If your budget is limited, spend first on tools that affect every single build. That generally means cutters, a knife, sanding tools, tweezers, liquid cement, a cutting mat and a small set of sensible brushes.
Matching tools to the type of kit you build
Not every beginner is building the same subject, so there is some variation worth considering. Aircraft builders often benefit from sanding options that handle long seams cleanly, especially around fuselages and wing roots. Armour modellers may find tweezers and precise cutters particularly useful because of the number of smaller detail parts, tools and accessories. Figure and miniature painters usually need to think a little more carefully about brush quality earlier on, as finish and control are central to the result.
Gundam builders sit in a slightly different position. Many kits are designed for assembly without glue, so side cutters, a knife and sanding tools become the main priorities. In that case, adhesive may be less urgent initially, while clean nub removal becomes more important.
Resin kits need a different warning. Standard plastic cement will not bond resin, so super glue becomes necessary, and sanding resin requires more care. Beginners can absolutely build resin subjects, but the tool list changes and preparation is more demanding.
Buying better, not just buying more
There is a practical middle ground between bargain-bin tools and top-end specialist kit. For a beginner, consistency is often more valuable than chasing the most expensive option available. A reliable cutter that gives a clean result every time is better than three cheap pairs that wear poorly. A decent sanding set used properly will do more for your build than a drawer full of tools that rarely leave the bench.
This is also where shopping by task helps. Instead of asking what a modeller’s bench should look like, ask what your next build requires. Do you need to remove parts cleanly, fill and sand a seam, apply primer, paint a cockpit, or place tiny decals? Buying by workflow keeps your setup practical and stops your first tool order becoming clutter.
For many hobbyists, that is the real advantage of using a specialist retailer such as Scale Model Shop. You can choose tools alongside paints, fillers, adhesives and finishing products that actually suit the project, rather than guessing across unrelated categories.
A sensible first tool kit
For most new modellers, a sensible first setup is straightforward: side cutters, a modelling knife with spare blades, sanding sticks in mixed grades, fine tweezers, liquid plastic cement, a cutting mat, and a small selection of good brushes. Add primer and a basic palette, and you have a workbench that can handle a wide range of kits without wasting money.
From there, let your builds guide the upgrades. If you start masking complex schemes, better tape and precision cutters make sense. If you move into resin or photo-etch, super glue and specialist handling tools become more important. If painting becomes the part you enjoy most, then an airbrush setup may be the next logical step.
The best beginner tool collection is not the biggest one. It is the one that lets you finish your first kit neatly, enjoy the process, and feel ready to start the next.
