
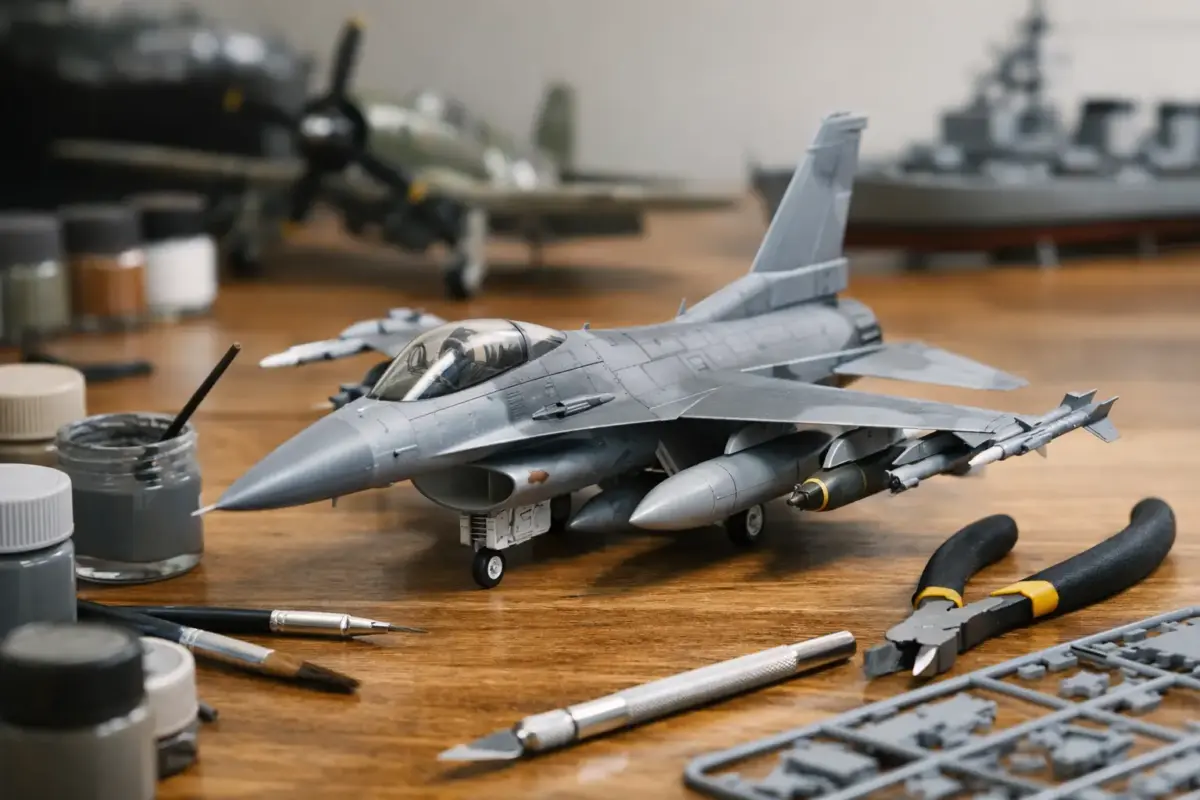
A Revell model kits review needs to start with one useful distinction: Revell is not a single type of kit. The range runs from straightforward starter builds to highly detailed large-scale aircraft, armour, ships and motorsport subjects. That breadth is one of the brand’s strengths, but it also means the experience can vary considerably between an older reissue and a modern-tool release.
For UK modellers, Revell remains a practical and familiar choice. The catalogue covers popular subjects that are not always available elsewhere, instructions are generally clear, and the brand’s level system gives newcomers a helpful first indication of complexity. Choose by the individual kit rather than the logo alone, however, and a Revell project can be anything from a relaxed weekend build to a serious display-piece campaign.
Revell model kits review: the short verdict
Revell kits are worth building, particularly when the subject, scale and tooling suit your aims. Modern releases can offer sharp surface detail, well-engineered assemblies and excellent value for money. Older moulds may need more preparation, test-fitting and a willingness to improve details, but they can still make rewarding models in subjects with real appeal.
The brand is especially strong for builders looking for variety. Aircraft are a major part of the range, from Luftwaffe types and RAF favourites to civilian airliners and modern jets. There are also cars, lorries, ships, military vehicles, space subjects and occasional specialist releases. A modeller who enjoys moving between genres can stay within one manufacturer while tackling very different projects.
The trade-off is consistency. A kit’s release date, original manufacturer and scale can influence fit, finesse and decal quality more than the Revell name on the box. Before buying, look at the tooling information, the parts count, the suggested skill level and reference photographs of completed examples where available.
Understanding the Revell difficulty levels
Revell’s level system is useful, but it should be read as a guide to parts count and construction complexity rather than a guarantee of ease. A Level 3 kit may be ideal for a careful beginner, while a Level 5 or 6 release can involve multi-part assemblies, fine exterior parts, complex painting stages and a substantial decal session.
A lower-level kit is not automatically less satisfying. For a first aircraft or car build, fewer parts often mean more time to concentrate on clean assembly, seam work and paint control. Those skills matter more to the finished result than simply choosing the most complicated box.
Higher-level kits reward a more methodical approach. Expect cockpit or cabin detail, separate undercarriage components, optional position parts and more involved masking. On aircraft, the challenge often lies in achieving a neat canopy, correctly aligned landing gear and a convincing finish rather than in the basic fuselage assembly alone.
If you are returning to modelling after a break, a Level 3 or 4 subject in a familiar scale is often a better route than jumping straight into a very large 1:32 aircraft or a complex 1:24 car. It gives you a manageable project while still leaving room to refine the finish.
Tooling age matters as much as the subject
The most common mistake when judging Revell is assuming every kit follows the same engineering standard. The range includes brand-new moulds, established Revell tools and reboxed kits originating from other manufacturers. None of those categories is automatically good or bad, but they call for different expectations.
Modern tooling is more likely to provide restrained engraved panel lines, positive locating points and parts designed around a logical build sequence. On a recent aircraft kit, dry-fitting the major components before cementing should usually confirm the intended alignment. You may still need to deal with seams, of course, but the basic engineering tends to support a clean build.
Older tooling can feature raised panel lines, thicker clear parts, simpler cockpits and joins that benefit from shimming or filling. That is not a reason to dismiss it. Many classic subjects are available only in these forms, and older kits can be enjoyable if approached as traditional modelling rather than a shake-and-bake assembly. Sanding sticks, filler, a scriber and patience become part of the project plan.
For accuracy-focused builders, check the exact kit before investing in aftermarket parts. A well-shaped older kit with a basic cockpit may respond brilliantly to belts, wheels and a replacement decal sheet. Conversely, a newer kit may need very little beyond careful painting and weathering.
Fit, detail and instructions
At their best, Revell kits offer sound fit and crisp detail at a sensible price point. The company often engineers assemblies so that internal components support the external shape, which is particularly welcome on fuselage halves, vehicle hulls and car bodyshells. A careful dry run is still essential. Never assume locating pins alone will guarantee a perfect join, especially around intakes, wing roots and multi-part chassis sections.
Surface detail is generally strongest on newer aircraft and vehicle releases. Fine recessed panel lines take a wash well after gloss coating, while separate control surfaces and optional open panels can add interest. The decision to display everything open should be made early, though. Closed panels frequently fit best when the surrounding structure is assembled exactly as the instructions intend.
Revell instruction booklets are usually visual and structured clearly, with paint references supplied throughout the build. The call-outs commonly point to Revell Aqua Colour or enamel paints, which is convenient if you use that system. There is no need to restrict yourself to it: the relevant part is the stated colour reference and finish. Match it to your preferred acrylic, lacquer or enamel range, then test the shade against photographs and period references where accuracy matters.
Pay close attention to paint symbols that identify mixing ratios, small detail colours and optional parts. Car interiors and modern aircraft cockpits can look flat if every component receives the same dark shade. A few carefully chosen tonal variations, a satin clear coat and restrained dry-brushing often produce more depth than excessive weathering.
Decals and finishing potential
Revell decal sheets are often comprehensive, particularly on aircraft kits where stencilling can be extensive. Registration is commonly good, but decal performance can vary by production run and kit age. A gloss surface, warm water and a compatible setting solution remain the safest route. Test one of the smallest decals first if you are working with an older sheet.
Large airliner markings and motorsport decals deserve special patience. Cut close to the printed design, work in manageable sections and avoid trying to force a large decal over compound curves in one go. For car bodies, a polished gloss finish beneath the decals and a gentle final clear coat can make a modest kit look markedly more convincing.
The kit’s finishing potential is where Revell often offers strong value. A cleanly built 1:72 aircraft with carefully painted cockpit framing, subtle panel variation and a restrained wash can look excellent in a display cabinet. A 1:24 car can become a focal point with good paint preparation, polished clear coat and attention to tyres, lights and trim. The plastic provides the foundation; the result depends heavily on the builder’s preparation and chosen level of detail.
What to buy alongside a Revell kit
The essentials depend on the subject, but a complete project is easier when planned before the first sprue is removed. Plastic cement and a fine applicator suit most assemblies, while liquid cement is especially useful for long fuselage and hull seams. Keep sanding sticks in several grades, a quality side cutter, a sharp hobby knife and a small amount of filler close by.
For painting, identify the required colours before ordering. Primer is worthwhile on large car bodies, metallic finishes and parts that have needed filling. Aircraft builders may also want masking tape for canopies, a gloss varnish for decals and a matt or satin finish to suit the real subject. Armour and ships benefit from carefully selected washes, pigments and chipping products, used with restraint and reference in mind.
If a kit includes extensive clear parts or fine aerials, consider a canopy adhesive and fine elastic rigging or line where appropriate. These are modest additions, but they can prevent avoidable damage at the final stage. Specialist retailers such as Scale Model Shop are useful here because paints, tools, weathering materials and detail accessories can be selected around the same project rather than sourced piecemeal.
Who should choose Revell?
Revell is a strong option for beginners who want a recognisable subject with a clear route through the build, as well as experienced modellers seeking a particular scale or variant. It is less suitable for anyone expecting identical quality across every release without checking the individual kit first. The best purchase is the one that matches your available time, preferred finishing techniques and appetite for correction work.
Choose a newer release when you want predictable engineering and a refined out-of-box result. Choose an older or reissued kit when the subject matters more than convenience, and treat preparation as part of the enjoyment. Whichever route you take, read the instructions fully, dry-fit the important joins and gather your paints before starting. That quiet preparation gives a Revell kit every chance to earn its place on the shelf.
