
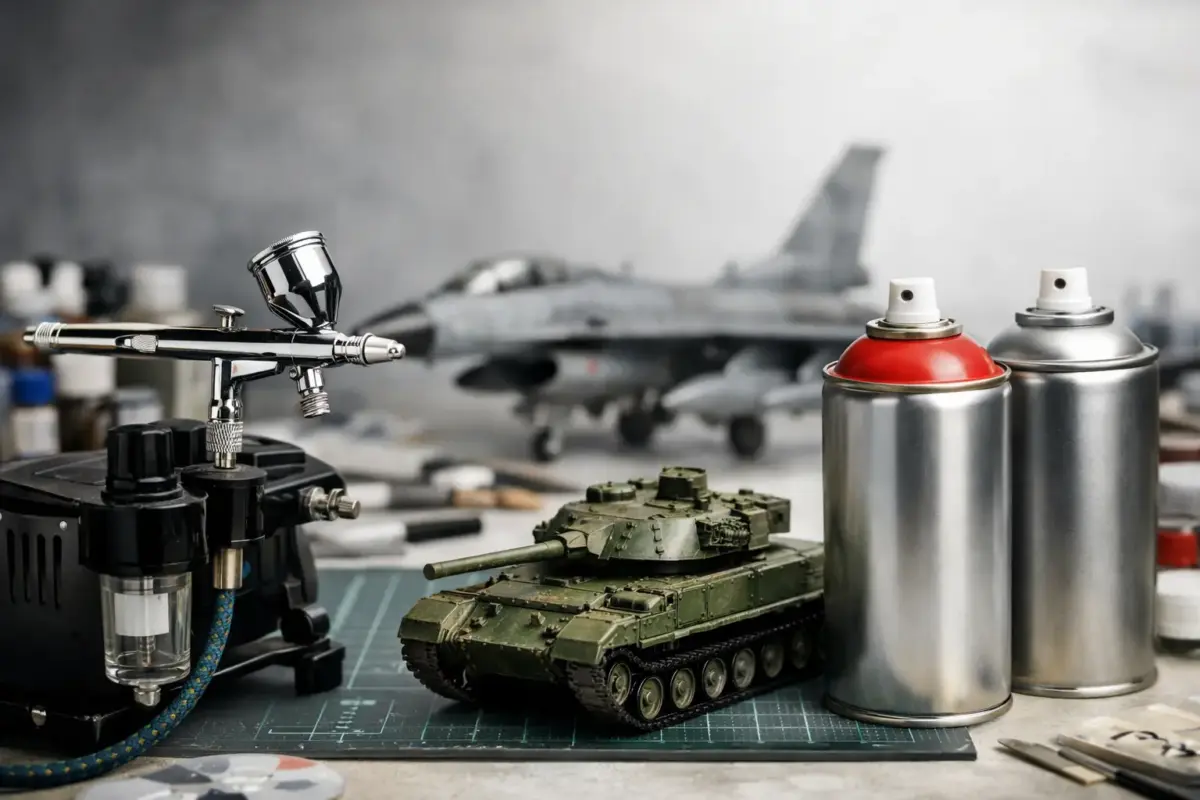
A 1/72 fighter fuselage can look superb under a spray-can primer, while the same model may need an airbrush for soft-edged camouflage and restrained exhaust staining. That is the real question behind airbrush vs spray cans: not which tool is universally better, but which one suits the job on the bench, the finish you want and the space available to you.
Both methods have a proper place in scale modelling. Aerosols are quick, dependable and excellent for broad, even coverage. An airbrush brings finer control, greater paint choice and effects that are difficult to achieve any other way. Choosing well can save paint, prevent frustrating rework and make the finishing stage far more enjoyable.
- Choose spray cans for convenient priming, solid base colours and broad coverage.
- Choose an airbrush for camouflage, shading, colour mixing, weathering and precise paint placement.
- Use both when you want the speed of aerosols and the control of an airbrush at different stages.
Airbrush vs spray cans: the core difference
A spray can delivers paint at a fixed pressure through a relatively broad spray pattern. You cannot adjust its paint flow or air pressure, but a quality modelling aerosol can lay down a very smooth coat quickly. It is particularly effective on large, uncomplicated surfaces where consistency matters more than fine placement.
An airbrush separates the air supply from the paint. With the right compressor, needle and nozzle combination, you can adjust pressure, paint dilution and trigger control to suit the task. This makes it possible to spray a broad primer coat one moment, then move to delicate mottling, panel fading or close-in detail work the next.
The trade-off is preparation. A can is ready after a vigorous shake and a test spray. An airbrush needs paint thinning where required, a clean cup, suitable pressure and thorough cleaning afterwards. The extra effort pays off when precision is needed, but it is not always necessary for a simple single-colour finish.
Where spray cans are at their best
Aerosols are sometimes underestimated by modellers who see an airbrush as the only route to a high-quality result. In reality, a good modelling spray can is one of the most useful tools for priming and base coating.
They are especially effective on larger subjects such as 1/24 car models, armour hulls, aircraft fuselages, ships and diorama bases. A primer coat applied in several light passes can be remarkably even, with less risk of brush marks or inconsistent coverage. Spray cans also make sense for single-colour schemes, gloss automotive bodies and large areas of black, white, grey or metallic paint.
Their speed is a significant advantage. If you only paint occasionally, do not have a permanent airbrush area or want to prime several sub-assemblies without mixing paint, an aerosol is straightforward. There is no compressor to prepare and no airbrush to strip down afterwards.
That convenience comes with limits. The spray pattern is relatively wide, so cans can be wasteful on small parts and awkward for precise work. They can also flood recesses, obscure delicate raised detail or produce a rough finish if sprayed from too far away. Cold paint, high humidity and poor technique can lead to graininess, poor adhesion or a dull, uneven surface.
For the best results, warm the can gently in lukewarm water before use, shake it thoroughly and spray outdoors or in a properly ventilated spray area. Apply light passes rather than trying to cover the plastic in one heavy coat. Start spraying just before reaching the model, move steadily across it and release the nozzle after passing the far edge.
Dedicated ranges such as Mr Hobby spray cans provide a convenient route to aerosol-applied model colours, while Tamiya primer spray cans are suited to preparing model surfaces before colour coats.
When an airbrush is worth the setup
An airbrush earns its place when the finish depends on control. Luftwaffe mottling, RAF camouflage with soft demarcations, armour modulation, figure shading and subtle weathering are all easier when you can regulate exactly where the paint lands.
It is also more economical over time for regular builders. Bottled paint lets you mix the precise shade required, use small quantities and return to the same colour for later touch-ups. This matters when working with varied camouflage colours, custom mixes, filters and translucent effects. You are not restricted to colours produced in aerosol form.
For many scale modellers, primer is the first task that justifies an airbrush. A correctly thinned primer sprayed at a sensible pressure reveals seams, sink marks and sanding scratches without burying fine rivets or surface texture. The same control is valuable for varnishes, particularly gloss coats before decals and thin matt coats over finished weathering.
An airbrush does have a learning curve. Paint that is too thick can clog the nozzle, while paint that is too thin can spider across the surface. High pressure may make overspray worse, while low pressure can cause inconsistent atomisation. These are manageable issues, but practice on a plastic spoon, old kit part or paint mule is worthwhile before committing to a prized build.
Cleaning is essential. Flush the airbrush between colours, clean the nozzle and needle at the end of each session and avoid allowing acrylic or lacquer paint to dry inside it. A simple, repeatable cleaning routine takes only a few minutes and prevents most performance problems.
Finish quality depends on technique
It is tempting to say an airbrush always produces the finer finish. It can, but only when set up and used correctly. A badly thinned paint mix or poorly cleaned airbrush will not outperform a well-handled aerosol.
Likewise, spray cans can produce exceptionally smooth finishes when used within their strengths. Automotive-style model finishes often benefit from the broad coat an aerosol can provide, as long as the model is prepared well and the paint is allowed to cure fully between stages.
Scale is important too. On a 1/144 aircraft or 28mm figure, the broad output of a spray can may be too blunt for anything beyond primer and a basic base coat. On a large tank, car body or railway structure, an aerosol can cover broad areas efficiently before an airbrush is used for tonal variation and detail.
Paint chemistry also affects the decision. Acrylics are generally easier to use indoors with appropriate extraction, although they still require sensible ventilation and respiratory protection. Lacquer-based paints often atomise beautifully through an airbrush and dry quickly, but their stronger fumes demand careful handling, suitable thinners and proper extraction. Never assume a hobby paint is harmless simply because it is water-based.
Airbrush and spray-can costs
Spray cans have a lower entry cost. Buy the colour, primer or varnish you need and you can begin immediately. This can be sensible for a modeller completing a few kits each year, especially if the finish mainly calls for solid colours.
An airbrush setup costs more at the outset. You need an airbrush, compressor, hose, cleaning supplies and ideally a spray booth or reliable extraction arrangement. A compressor with a moisture trap and air tank is a worthwhile choice because it provides steadier airflow and helps stop moisture from reaching the paint.
For modellers ready to establish a complete setup, the AS-186 and SMS-212 Compressor and Airbrush Bundle with Hose brings together the main equipment needed to begin airbrushing.
Over several projects, however, the numbers can change. Bottled paint usually offers more colours per pound spent and far less waste on small parts. An airbrush also gives access to primers, varnishes, metallics, clear colours, weathering tones and specialist paint ranges in a way aerosols cannot match.
Space, ventilation and overspray
Space may be the deciding factor, but neither method should be used casually in a closed room. Aerosols need generous ventilation because their overspray travels widely. Airbrushes create less overspray when used carefully, especially at lower pressure, but still benefit from a spray booth, extraction and a suitable mask.
An Airbrush Spray Booth BD-512 provides a dedicated work area for airbrushing and helps make a home modelling setup more practical.
If your available painting area is a shared kitchen table or a poorly ventilated spare room, plan how you will manage extraction and overspray before using either system.
Can spray cans replace an airbrush?
Spray cans can handle primers, clear coats, single-colour finishes and broad base coats very effectively. For builders who mainly complete straightforward colour schemes, they may cover most routine spraying needs.
They cannot offer the same control over pressure, paint flow, colour mixing and line width as an airbrush. Soft-edged camouflage, mottling, close shading and controlled translucent effects are where the airbrush has a clear advantage.
The practical answer depends on the models you build. A car modeller applying smooth, solid body colours may use aerosols for much of the finish. An aircraft or armour modeller working with complex camouflage and tonal variation is more likely to benefit from an airbrush.
A sensible approach for most workbenches
Many experienced modellers use both. Spray cans handle primers, broad base coats and quick projects; the airbrush manages camouflage, shading, varnish, touch-ups and weathering. This is not duplication for its own sake. It is choosing the efficient tool for each stage.
If you are starting out, a couple of reliable modelling aerosols can get kits finished quickly and teach valuable lessons about surface preparation, spraying distance and patience. If you find yourself wanting softer camouflage edges, more varied finishes or the freedom to mix colours, an airbrush is a natural next investment.
For a first airbrush, prioritise dependable control and easy cleaning over chasing the smallest possible nozzle. A versatile setup will cover almost every aircraft, armour, figure and wargaming task, while a specialist fine-detail airbrush can come later if your projects demand it.
The best finish is rarely the result of owning the most equipment. It comes from clean preparation, compatible paint layers, light coats and giving each stage time to cure. Build your painting setup around the models you genuinely enjoy making, and let each tool do the work it does best.
