
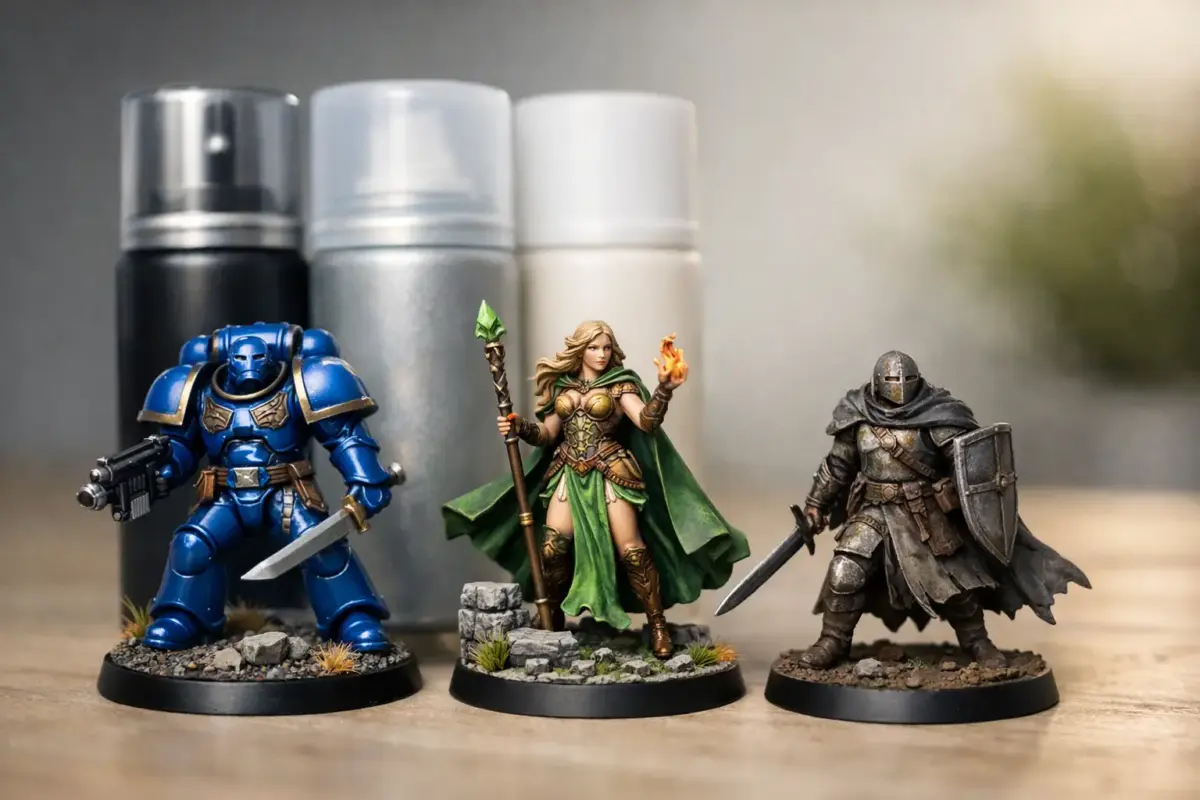
A clear coat for miniatures is the stage that decides whether a carefully painted model looks finished, survives handling, or develops an unwanted chalky haze. It is not simply a protective layer. The sheen you choose changes the apparent scale, the depth of colour, the way decals settle into the surface, and how convincingly weathering reads on the completed piece.
For display aircraft, armour, ships and scale figures, varnish is usually applied in several purposeful stages rather than as one final coat. For gaming miniatures that see regular table use, durability may be the priority. The right approach depends on the paint system beneath it, the finish you want, and how the model will be handled.
What a clear coat does for miniatures
Clear coats, often sold as varnishes, protect paint from fingerprints, light abrasion and the wear caused by handling. They are particularly useful over metallic finishes, raised details and models that will be transported or played with. Protection is valuable, but it has limits: a varnish will not make delicate antennae, etched parts or poorly bonded paint indestructible.
Just as usefully, a clear coat gives you control over surface sheen. Gloss creates a smooth, reflective finish; satin sits between gloss and matt; matt reduces shine. On a full-size vehicle, surface finishes vary across panels, fabric, rubber, painted metal and oily mechanical areas. Replicating some of that variation in miniature is often more convincing than coating every surface in one uniform finish.
A gloss layer also provides the best foundation for decals and pin washes. Its smoother surface reduces the chance of air becoming trapped beneath a decal – the familiar silvering effect – and lets enamel or oil washes flow more cleanly along recessed detail. A final satin or matt coat can then restore the appropriate appearance.
Gloss, satin and matt clear coat for miniatures
Gloss for decals, polished subjects and wash stages
Gloss clear coat is the practical choice before applying decals, particularly on aircraft with large national markings or racing subjects with prominent graphics. A glossy surface gives decal solutions the best chance of drawing the carrier film down into panel lines and rivet detail. It is also ideal before a controlled panel-line wash, because excess wash can be removed more easily from the smooth surface.
Gloss is not only a working layer. It suits polished civilian vehicles, certain fresh naval finishes, wet effects and selected painted details. However, a fully gloss military aircraft or tank can look toy-like unless the reference subject genuinely calls for it. Scale effect matters: broad, unbroken reflections can make a small model appear less realistic.
Satin for a controlled, in-service finish
Satin is often the most versatile final clear coat for miniatures. It retains a little life in painted surfaces while avoiding the hard glare of gloss. Modern aircraft, many vehicle finishes, painted ship surfaces, character figures and Gundam kits can all benefit from a restrained satin finish.
It is also a sensible option when you want to preserve the richness of darker colours and metallics. Heavy matt varnish can flatten these finishes noticeably. A satin layer protects them while still making the overall model look far less glossy than an unvarnished paint surface.
Matt for weathered military models and figures
Matt varnish is widely used on operational aircraft, armour, artillery, cloth uniforms and wargaming miniatures. It softens shine, helps weathering powders and drybrushed highlights feel integrated, and gives a model the subdued look associated with painted metal, fabric and dusty service conditions.
The trade-off is that matt clear coats are less forgiving. Applied too heavily, in damp conditions, or over an incompatible layer, they can turn cloudy or produce an excessively dead finish. Very matt varnish can also reduce the depth of black, dark green and metallic paint. Consider leaving lenses, polished metal, wet mud, tyres and selected equipment in different sheens rather than flattening the entire model.
Choose a compatible clear coat system
The safest route is to stay within one paint family where possible and test any new combination on a spoon, old kit part or painted scrap plastic. Water-based acrylic varnishes are generally straightforward over fully cured acrylic paints. Lacquer-based clear coats can produce excellent, hard finishes, but their stronger solvents demand more care over delicate acrylic, enamel or hand-brushed layers.
Dry to the touch is not the same as cured. Acrylic paint may feel dry quickly but still need more time before masking, decalling or receiving a solvent-based wash. Enamels and oils can need considerably longer. Rushing this stage is one of the main reasons for fingerprints, softened paint, crazing and lifted finishes.
If you are combining brands, apply the first coat lightly and let it dry before committing to a wetter coat. This is especially relevant when using a stronger clear over decals or unfamiliar paint. A thin mist coat can provide a barrier while you confirm that the surface remains stable.
Applying clear coats by airbrush and brush
An airbrush gives the most even finish on larger scale models and is particularly helpful with matt varnish, where an overly wet application can cause problems. Mix the product thoroughly, including any matting agent settled at the bottom of the bottle. Follow the manufacturer’s thinning guidance, then spray several light, even passes rather than trying to achieve coverage in one heavy coat.
Keep the airbrush moving and maintain a consistent distance from the model. If the surface looks wet enough to pool around raised detail, stop. Allow each pass to flash off before building the next. On a 1/72 aircraft or a 28 mm gaming figure, too much product can quickly obscure fine detail.
Brush application remains useful for small parts, terrain pieces, gaming miniatures and local repairs. Use a soft, clean brush and avoid repeatedly working an area as the varnish begins to dry. Brush marks are often caused by overworking, not by the brush itself. Two thin coats are usually safer than one thick one, especially over raised edges and textured surfaces.
Before spraying, remove dust with a soft brush or air blower and make sure the model is free of fingerprints. A clean, dry work area matters more than many modellers expect. Dust trapped in a clear coat is difficult to remove without sanding and reapplying the finish.
A reliable finishing sequence for scale models
For a typical aircraft, armour or vehicle build, paint first and allow it to cure fully. Apply a gloss coat if the paint surface is not already smooth enough for decals. Add decals with the appropriate setting solutions, then let them dry properly before sealing them with another light gloss coat. This protects the markings and creates a consistent surface for panel-line washes, filters or carefully controlled oil weathering.
Once those stages are complete and fully dry, apply the final sheen. Matt is often appropriate for the main finish, but it need not cover everything. Add selective gloss or satin afterwards to represent navigation lights, periscopes, instrument faces, damp areas, oil stains or polished metal. This final variation is subtle, but it gives a model much more believable material contrast.
For gaming miniatures, a tougher sequence can be preferable: a durable gloss or satin protective layer followed by a light matt coat to reduce shine. This combines a harder protective base with the visual finish most players prefer. It does add time, so display-only figures may not need the extra layer.
Avoid frosting, clouding and other varnish problems
Clouding is most common with matt varnish. Humidity, cold conditions, poor mixing, spraying too heavily and excessive thinner can all contribute. Spray in a stable, well-ventilated area and avoid coating a model when the air is very damp. Warm the varnish gently to room temperature if it has been stored in a cold garage or shed, but never heat it directly.
If a matt coat dries with a pale, dusty bloom, do not immediately strip the model. In some cases, a very light application of satin or gloss can restore clarity, followed by a carefully applied matt coat under better conditions. Test this remedy away from the most visible area first.
Orange peel texture usually means the varnish is drying before it levels, while pooling suggests it is being applied too wet. Adjusting thinning, air pressure, spray distance and room temperature can solve either issue. Keep notes when a combination works well – paint, thinner, pressure and finish – because repeatability is valuable on larger projects.
Use sheen as part of the modelling, not an afterthought
The best clear coat is not automatically the flattest or toughest one. It is the one that supports the subject and the next stage of your build. A gloss coat makes decals and washes easier; satin preserves depth and offers a convincing all-round finish; matt brings weathered subjects and fabric-heavy figures under control.
Choose the varnish alongside your paints, decals and weathering products rather than at the end of the project. With a compatible system, thin applications and a little patience between stages, the final coat becomes more than protection: it is the layer that makes the whole finish look intentional.
