
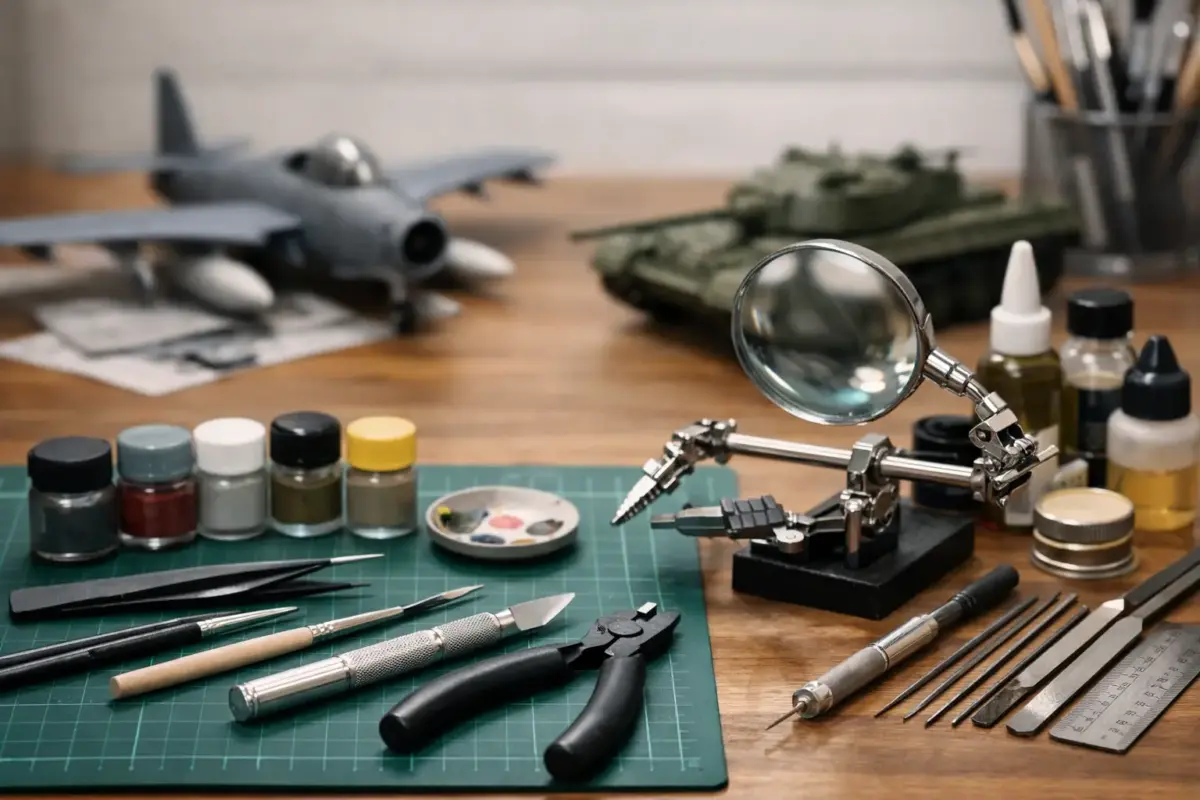
A clean canopy, a sharp camouflage edge or convincing worn paintwork rarely comes down to the kit alone. The difference is usually in the preparation. The right scale model tools help you remove parts without damage, assemble them accurately and finish the model with control rather than compromise.
It is tempting to fill a workbench with every specialist item at once, particularly when moving from a first starter kit to aircraft, armour, ships or figures. Most modellers will get better results by building a dependable core toolkit first, then adding task-specific equipment as their projects demand it. A 1/72 aircraft, 1/35 tank and 28mm figure all use many of the same fundamentals, but the priorities change.
Start with scale model tools for clean preparation
Preparation affects every stage that follows. If a part is torn from the sprue, the attachment point may need filling. If the mould seam remains, paint and weathering will make it more visible, not less. Good cutting and sanding tools are therefore not glamorous purchases, but they are often the most useful ones.
A sharp hobby knife with replaceable blades is essential for trimming sprue gates, removing flash and cleaning small details. Change the blade when it begins to drag. A blunt blade needs more pressure, which makes it far easier to slip or dig into delicate plastic. Use a self-healing cutting mat beneath the work, both to protect the bench and to keep blades sharper for longer.
Side cutters are the quickest way to separate plastic parts from a sprue. For ordinary kit parts, make the first cut slightly away from the component, then trim the remaining gate carefully with the knife or sanding stick. Fine single-blade nippers are particularly useful for Gundam kits and fragile pieces, where a clean gate cut can reduce the risk of stress marks in coloured plastic.
Sanding sticks, sanding sponges and fine abrasive sheets cover different jobs. A rigid stick is useful for levelling a join on a wing or hull, while a flexible sponge follows curved surfaces such as aircraft fuselages and vehicle turrets. Keep several grades to hand. Coarser abrasives remove material quickly, but finer grades are what restore a smooth surface ready for primer or paint.
Assembly tools: choose adhesives for the material
Plastic cement is not simply glue. It softens polystyrene so the two surfaces fuse together, making it ideal for standard injection-moulded plastic kits. A thin liquid cement can be touched along a well-fitted seam, where capillary action draws it into the joint. A thicker cement gives more working time and can help with parts that need gentle adjustment.
The key is fit. Dry-fit major assemblies before applying cement, especially hull halves, fuselage sections and suspension parts. If a joint is fighting you, investigate the locating pins, sprue remnants or paint on the contact surface before reaching for more adhesive. Excess cement can soften surrounding detail and leave marks that take longer to repair than the original problem.
Cyanoacrylate adhesive, usually called super glue, is needed for photo-etched brass, resin, metal parts and some clear components where plastic cement will not work. It sets quickly and suits small contact areas, though it can become brittle and may bloom on transparent parts. Apply it sparingly with a fine applicator, wire or cocktail stick rather than directly from the nozzle.
A small selection of clamps, elastic bands and low-tack tape makes assembly calmer. Clamps are useful on large fuselage or ship hull joins, but use light pressure. Too much force can distort thin plastic or squeeze cement out of the seam. Tweezers are equally valuable, particularly fine-point types for photo-etch, small wheels, cockpit controls and decals.
Filling and restoring detail
Even well-engineered kits can leave a seam, sink mark or gap. A fine surface filler is suitable for shallow imperfections, while a two-part epoxy putty or thicker modelling putty is more appropriate for larger gaps and reshaping work. Apply only what is needed, then sand progressively once cured.
Before sanding a panel line away, consider how it will be restored. A scriber, flexible guide tape and a steady hand allow recessed lines to be reinstated after filling. This is especially useful on modern aircraft and armour models with prominent welded seams, hatches and panels. The objective is not to add detail everywhere, but to preserve the kit detail that gives the subject its character.
Painting tools should match your preferred finish
Brush painting remains a highly capable method for details, figures, interiors and complete smaller models. Choose quality brushes with a good point, and keep separate brushes for fine work, broader coverage, dry brushing and any products that may shorten brush life. A size 0 or 00 is not always the best detail brush: a slightly larger brush with a sharp point often carries paint more smoothly and leaves fewer strokes.
For airbrushing, the essential tools extend beyond the airbrush itself. A suitable compressor, air hose, cleaning pot, thinner and cleaning brushes form part of the working setup. A gravity-feed dual-action airbrush offers excellent control for general scale modelling, from priming and camouflage to careful post-shading. Needle and nozzle size depend on the task: a larger setup is more forgiving for primer and varnish, while a finer nozzle supports tight mottling and figure work.
Paint compatibility matters. Acrylic, lacquer and enamel ranges each have their strengths, but they need the correct thinner, cleaner and sensible handling. Do not assume that one brand’s thinner is suitable for every paint type. Test unfamiliar combinations on a spare spoon or plastic card before committing to a finished model, particularly if applying washes or varnishes over an earlier layer.
Masking tape is another quiet essential. High-quality low-tack tape produces cleaner demarcations and is less likely to lift cured paint. Burnish the edge gently with a cotton bud or wooden tool, but avoid pressing so hard that the tape marks a soft finish. For complex aircraft camouflage, flexible masking materials and liquid mask can be useful additions, although they require a little practice.
Tools for decals, weathering and final details
Decals benefit from patience more than force. Keep a soft flat brush, tweezers, a small dish of clean water and absorbent tissue nearby. A decal softening solution can help markings conform to recessed panels, rivets and uneven surfaces, but use it gradually. Once applied, the decal may wrinkle temporarily as it settles. Resist the urge to move it repeatedly.
Weathering tools should support the scale and condition of the subject. Fine brushes, makeup sponges, short-bristled brushes and cotton buds are useful for filters, pin washes, dry brushing, chipping and pigment work. On a 1/72 vehicle, heavy sponge chipping can look oversized; on a hard-used 1/35 tank, subtle layered chips and dust may be exactly right. Reference photographs are the best guide to where wear, fuel staining and dirt would actually appear.
A pin vice and micro drill set are worthwhile once you begin adding aerials, gun barrels, rigging or aftermarket parts. Drilling out a solid exhaust, machine gun or navigation light can add far more realism than its size suggests. Work slowly and start with a fine bit, particularly around thin plastic.
Build a toolkit around the projects you make
There is no single perfect tool list because scale, subject and building style all matter. An aircraft modeller may prioritise sanding tools, masking products and an airbrush for smooth finishes. Armour builders often add sprue cutters, weathering brushes, pigments and tools for tracks. Figure painters may invest sooner in high-quality brushes, a wet palette and magnification. Railway and diorama builders may need larger cutting tools, adhesives for scenic materials and terrain applicators.
A sensible first purchase is a core set: knife and spare blades, cutters, tweezers, sanding grades, plastic cement, super glue, filler, a cutting mat and a few dependable brushes. Add equipment when a project creates a genuine need. That approach leaves more budget for the kit, paints and finishing products that suit the subject you actually want to build.
At Scale Model Shop, the practical advantage of choosing specialist supplies is being able to match tools, paints, adhesives and detailing materials to the same project. If you are unsure whether a product suits plastic, resin, photo-etch or a particular paint system, asking before you start can save a stalled build and a damaged part.
The best workbench is not the one with the most tools. It is the one where every tool earns its place, is kept clean and is ready when the next small detail deserves proper attention.
