
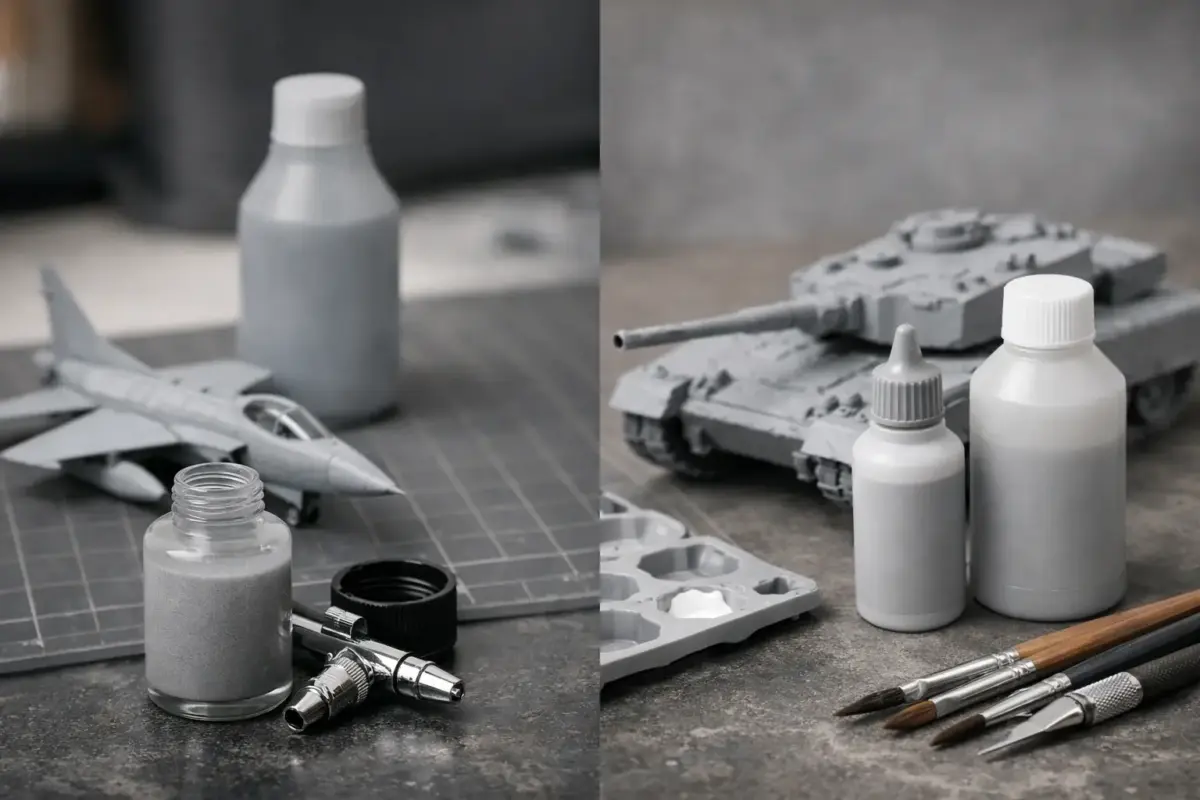
A primer coat can be the difference between paint that looks like part of the model and paint that sits on top of it. In the lacquer vs acrylic primer debate, there is no universal winner: the best choice depends on the kit material, the finish you want, your painting space and the paints that will follow.
For many aircraft, armour and car modellers, lacquer primer is the reliable route to a hard, smooth surface that reveals every seam. Water-based acrylic primer is often the more practical option for indoor work, figures and builders who prefer lower-odour products. Knowing where each excels will save time at the sanding stage and avoid compatibility problems later in the build.
What separates lacquer and acrylic primer?
Lacquer primer uses comparatively hot solvents. Applied correctly in light coats, those solvents slightly bite into polystyrene and leave a tough, fine film once they have flashed off and cured. This is why products such as Mr Surfacer-style primers are so widely used for traditional scale modelling. They adhere well, sand cleanly and provide an excellent base for lacquer, enamel and acrylic colour coats.
Acrylic primer is a broader term, so check the bottle rather than relying on the front label alone. In this context, it usually means water-based acrylic-polyurethane primer, which is thinned and cleaned with water or a suitable acrylic thinner. It forms a coating over the surface rather than biting in as aggressively. It has a milder smell, but needs sound surface preparation and enough curing time to reach its best durability.
There are also acrylic lacquer products. These are solvent-based paints despite the word acrylic, and should be treated much more like lacquer than a water-based primer. Always follow the manufacturer’s thinning, cleaning and safety guidance.
Lacquer vs acrylic primer: the practical differences
Lacquer primer is usually the stronger choice when surface finish is the priority. Its self-levelling quality makes it particularly useful on large aircraft fuselages, vehicle hulls and glossy civilian subjects. A thin coat will expose sink marks, sanding scratches, ejector-pin marks and imperfect joins that bare plastic can conceal. Once cured, it can be wet sanded or dry sanded carefully to create a very smooth foundation.
It is also valuable when working with photo-etch, white metal and many resin accessories. Degrease those materials first, then use light coats. The primer gives subsequent paint something more dependable to grip than bare metal or resin alone.
The trade-off is solvent strength. Heavy, wet lacquer coats can damage fine plastic detail, craze some clear parts and attack poorly prepared resin or 3D-printed components. The fumes require proper ventilation, an appropriate respirator and sensible spray-booth practice. Lacquer thinner is not a substitute for a safe workspace.
Water-based acrylic primer is more forgiving for modellers painting at a bench in the house, provided there is still ventilation. It is a popular choice for figures, wargaming miniatures, railway details and smaller sub-assemblies where quick colour changes and easier clean-up matter. It can be sprayed with an airbrush or brushed onto small parts, although brushing may leave texture on broad, flat panels.
Its main limitation is mechanical toughness during the first few hours. Acrylic primer may feel dry rapidly but can still lift under masking tape, scratch while handling or clog paper if sanded too soon. Give it proper curing time, especially in a cold garage or humid room. Several thin coats are safer than trying to cover the whole model in one pass.
Adhesion and durability
On clean styrene, a well-applied lacquer primer generally offers the most dependable adhesion. It is a sensible choice for a model that will receive extensive masking, marbling, chipping effects or repeated handling during a long paint process. It is also helpful where filler and plastic meet, because the uniform surface makes it easier to judge whether the repair has disappeared.
Acrylic primer can still be very durable. The key is preparation: wash the model to remove mould-release residue, sanding dust and skin oils, allow it to dry completely, and avoid touching the surface immediately before spraying. A light scuff with a fine abrasive can help on particularly smooth plastic, resin and metal.
Do not assume a primer makes any surface indestructible. Aggressive tape, thick paint layers and hurried handling can defeat either type. Reduce tack on masking tape where appropriate and pull it back slowly over itself rather than lifting straight upwards.
Sanding and surface refinement
If your aim is a polished finish beneath natural metal or high-gloss automotive colours, lacquer primer has a clear advantage. It sands predictably after curing and can be built up around small flaws. Use fine abrasives, check the repair under strong light and re-prime only the worked area if necessary.
Acrylic primer is not incapable of sanding, but it rewards patience. Let it cure fully, use a light touch and avoid generating heat through excessive rubbing. If it starts to roll, tear or clog the abrasive, leave it longer. For many military finishes, a perfectly polished primer is unnecessary anyway: a consistent, matt surface is enough for camouflage and weathering.
Choosing primer by project type
For a 1/72 aircraft with filled wing roots and a planned metallic finish, lacquer primer is usually the efficient option. It will show remaining flaws early and can be refined before the metallic coat makes every imperfection obvious.
For an armour model destined for a textured, weathered finish, either primer can work well. Lacquer remains useful if you intend to use strong masking, hairspray chipping or a mixture of paint types. Acrylic primer is perfectly capable where low odour and straightforward clean-up are the priority.
For resin figures and gaming miniatures, water-based acrylic primer is often a comfortable starting point, particularly if you brush prime details or spray in short sessions. Ensure resin parts have been washed thoroughly. For metal miniatures, use a primer specifically intended to grip metal and let it cure before painting.
For clear parts, neither standard primer belongs on glazing. Mask the transparency carefully and prime the surrounding frame only. If a clear part needs tinting, use a compatible transparent paint system and test it on a spare piece first.
Compatibility matters more than the label
A primer is part of a paint system, not an isolated product. Lacquer primer can normally sit beneath acrylic, enamel and lacquer top coats, but heavy applications of a hot top coat can still cause trouble. Apply the first colour coats lightly, especially over delicate plastic or filled areas.
Acrylic primer works happily beneath many acrylic paints and can also support enamel or oil-based weathering once fully cured. The risk comes when strong solvent products are sprayed or brushed heavily over a young acrylic layer. If you plan to use lacquer colours over acrylic primer, test the exact combination on a plastic spoon or old kit part before committing to the model.
The same rule applies to thinners. Use the manufacturer’s recommended thinner first. A thinner that improves flow in one product can turn another grainy, brittle or prone to tip dry. Keep notes on ratios, air pressure and curing times for combinations that work well in your own workshop.
Application tips that prevent most problems
Whichever primer you choose, preparation does much of the work. Remove dust from sanding, wash parts where needed and make sure the model is completely dry. Spray light, controlled coats rather than trying to achieve an opaque grey finish immediately. Primer should preserve panel lines and rivets, not soften them.
With lacquer primer, use suitable thinner, good extraction and a respirator rated for organic vapours. Keep the airbrush moving and avoid flooding recessed detail. With acrylic primer, begin with the manufacturer’s recommended pressure and thinning ratio, then adjust gradually. Too much pressure can leave a rough, dry finish; too little can lead to spitting or pebbly coverage.
Inspect the primed model from several angles under a strong lamp. This is the moment to correct joins, scratches and blemishes, not after the camouflage is complete. A spare spoon or scrap plastic card is useful for testing spray pattern, paint compatibility and masking strength before each unfamiliar product combination.
The right primer is the one that supports your planned finish and fits the way you build. Keep a dependable lacquer option for hard, sandable surface work, and an acrylic option for convenient lower-odour sessions. A little testing before the main kit gives you confidence when the model on the bench really matters.
