A snapped undercarriage leg, a fiddly photo-etch bracket and two clean styrene fuselage halves do not need the same adhesive. That is where plastic cement vs superglue becomes less of a beginner question and more of a build-quality decision. Use the right one and assembly is cleaner, stronger and far less frustrating. Use the wrong one and you can end up chasing poor fit, fogged clear parts or joints that fail when you start handling the model for paint and weathering.
For most scale modellers, the real answer is not choosing one over the other for every job. It is knowing what each adhesive actually does, where it performs best and where it creates avoidable problems.
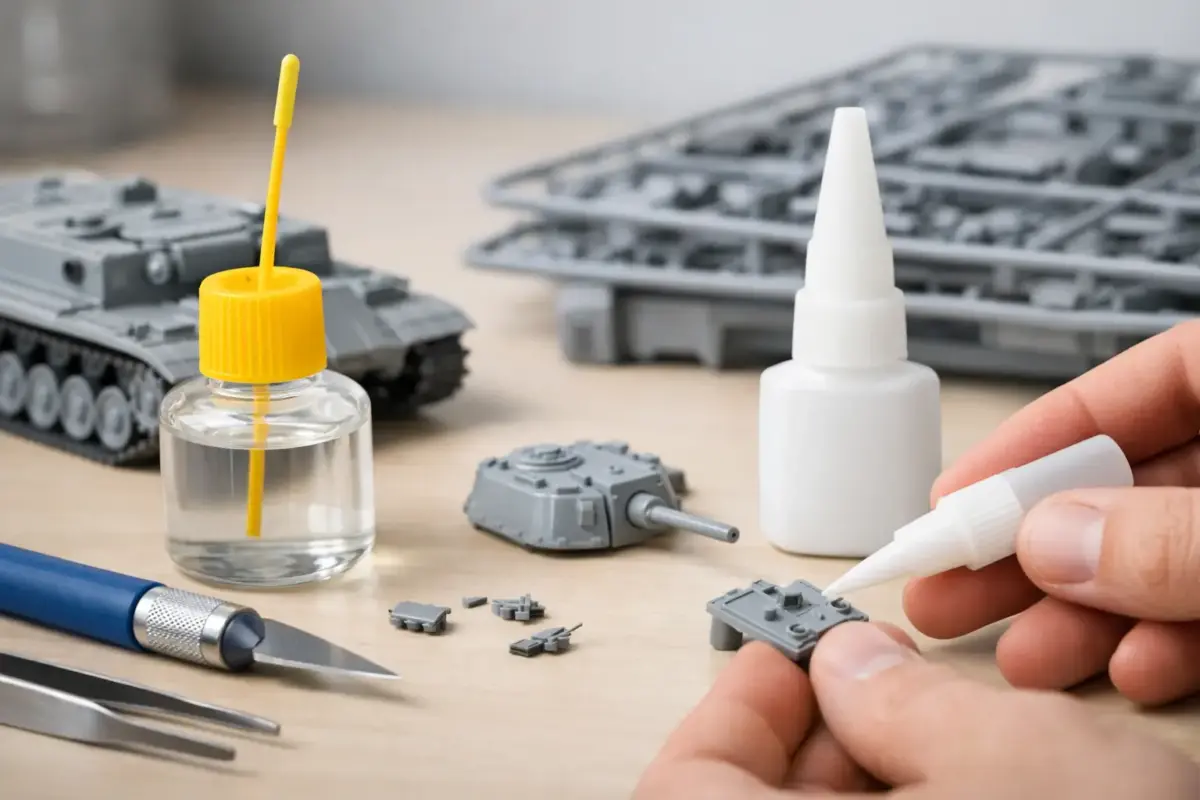
Plastic cement vs superglue – what is the difference?
Plastic cement is designed for polystyrene kit parts. Rather than acting like a simple sticky layer between two pieces, it softens the surface of the plastic so the parts weld together. Once cured, the joint becomes part of the plastic itself. That is why it is usually the first choice for mainstream injection-moulded kits from brands such as Airfix, Tamiya and Revell.
Superglue, or cyanoacrylate, works differently. It bonds by curing into a hard adhesive layer between surfaces. It does not melt styrene and it does not create the same welded joint. What it does offer is speed, versatility and the ability to bond materials that plastic cement cannot touch, including resin, metal, rubber and many mixed-media parts.
That difference in chemistry matters because it affects strength, working time, clean-up and finish. A styrene-to-styrene hull seam usually benefits from plastic cement because it gives you time to align the parts and can be sanded like the surrounding plastic. A resin cockpit upgrade or brass detail part needs superglue because plastic cement simply will not bond it.
When plastic cement is the better choice
If you are building a standard plastic kit, plastic cement should handle most of the core assembly. Fuselage halves, tank hulls, wing joins, running gear, internal bulkheads and other styrene components generally go together best with a proper modelling cement.
The main advantage is control. Thin plastic cements flow into a joint by capillary action, which is ideal when parts are already dry-fitted and clamped. That gives a neat seam with less squeeze-out. Medium and thicker cements can be useful where you need a little more open time or where the fit is not perfect.
Plastic cement also tends to forgive careful sanding and filling better than superglue on large structural seams. Because the joint is welded, you are not sanding through a brittle adhesive line sitting between two parts. On aircraft fuselages and ship hulls, that makes a visible difference.
There is a trade-off, though. Plastic cement only works on suitable plastics, and it can mark detail if overapplied. Flood a delicate area and softened rivets, panel lines or raised moulding can disappear. It also needs a little patience. The initial bond may grab quite quickly, but true strength develops as the softened plastic cures.
Best uses for plastic cement
Plastic cement earns its place on jobs where alignment and finish matter. Long seams, load-bearing joins in styrene kits and assemblies that need a little adjustment during fitting are where it shines. It is especially useful when you want to press parts together slightly to raise a fine bead of melted plastic along the seam, which can then be smoothed back for a cleaner join.
For many builders, a thin cement and a thicker one cover most situations. Thin cement for capillary seams and clean assembly, thicker cement for slightly awkward joins or parts that need a touch more positioning time.
When superglue is the better choice
Superglue comes into its own the moment your build includes resin, photo-etch, turned metal barrels, magnets, white metal accessories or mixed materials. It is also useful for quick tack jobs, small contact points and repairs where waiting for a slower weld is not practical.
Resin conversion sets are the obvious example. Plastic cement will do nothing here, so cyanoacrylate is the standard option. The same applies to photo-etch seatbelts, grilles, brackets and ship railings. On these parts, a tiny amount is all you need. More glue rarely means a stronger result – it usually means a messier one.
Superglue can also help when a part has minimal locating area. A tiny antenna, a figure arm with a small pinning point or a stowage item on an armour build may simply bond faster and more securely with CA. Gap-filling formulas can be useful too, though they are not a substitute for proper preparation.
The trade-off is brittleness and speed. Superglue can grab before a part is truly aligned, particularly on small components. On stressed joints it can snap rather than flex, and excess glue can leave shiny residue or frosting, especially around clear parts.
Best uses for superglue
Use superglue where materials demand it or where speed matters more than weld strength. It is often the right answer for detail parts, aftermarket upgrades and spot repairs. It is also handy at the painting and finishing stage when fully painted sub-assemblies need attaching and you do not want a solvent cement damaging the paint or bare plastic underneath.
Plastic cement vs superglue on common modelling jobs
On a typical aircraft kit, plastic cement is usually best for the cockpit tub, fuselage, wings and tailplanes if all the parts are styrene. Superglue is better for resin seats, metal pitot tubes and photo-etch harnesses. Clear canopies are a special case – neither standard plastic cement nor ordinary superglue is ideal if appearance is critical, because one can craze clear styrene and the other can fog it.
On armour builds, plastic cement is the usual choice for hull construction, turrets and styrene accessories. Superglue is useful for etched brass engine grilles, tow cable fittings, resin stowage and any after-market metal replacements.
For figures and wargaming miniatures, the material decides the answer. Plastic miniatures generally favour plastic cement. Resin and metal figures need superglue. If you are assembling gaming pieces that will be handled often, pinning with wire plus superglue can add worthwhile strength.
For railway buildings and scenic structures, plastic cement works well on styrene kits where neat corners and clean wall seams matter. Superglue is useful for mixed-media scenic items, small detail additions and quick repairs.
Working time, strength and finish
A lot of confusion comes from the idea that superglue is always stronger because it sets fast. In practice, strength depends on the materials and the joint design. On styrene-to-styrene joins, plastic cement often gives the more durable result because it creates a true weld. On resin or metal, superglue is the practical choice because there is no weld option available.
Working time matters just as much as raw strength. Plastic cement gives you time to nudge alignment, check symmetry and clamp properly. That is a real advantage on wings, hulls and body shells. Superglue rewards accuracy but punishes hesitation. Once it bites, repositioning can become difficult very quickly.
Finish matters too. Plastic cement usually gives the cleaner seam on visible styrene joins. Superglue has its place for filling very small gaps or reinforcing joins from the inside, but on an exterior seam it can be harder and more brittle to sand cleanly.
Common mistakes to avoid
The first is using superglue for all plastic kit assembly because it feels faster. That often creates harder seams, poorer alignment and a more awkward clean-up process than necessary. The second is assuming plastic cement is a universal modelling adhesive. It is not – it is material-specific.
Another frequent issue is overapplication. Too much plastic cement softens detail and distorts parts. Too much superglue squeezes out, marks surrounding surfaces and can trap parts in the wrong position before you notice the misalignment.
Surface preparation is often overlooked as well. Resin and metal parts benefit from clean mating surfaces, and resin especially should be washed if mould-release residue is present. Good adhesive choice helps, but it cannot compensate for greasy or badly fitting parts.
Which should you keep on the bench?
For most modellers, the answer is both. Plastic cement should be your main assembly adhesive for styrene kits, especially if you want clean seams and proper working time. Superglue should be alongside it for resin, photo-etch, metal parts, painted sub-assemblies and quick fixes.
If you only keep one adhesive, you will eventually force it into jobs it is not suited to. That usually costs more time than it saves. A well-stocked bench is not about buying every specialist product available. It is about having the right tool for the materials in front of you.
At Scale Model Shop, that is often how we help customers narrow things down – not by asking which glue is best in general, but by asking what kit they are building, what materials are involved and what stage of the project they are at. A 1/72 Spitfire, a resin figure bust and a brass-detailed ship build simply do not ask the same thing from an adhesive.
If you are choosing between plastic cement vs superglue, start with the material, then think about joint size, working time and finish. That small decision early in the build usually pays you back all the way through assembly, painting and final handling.