
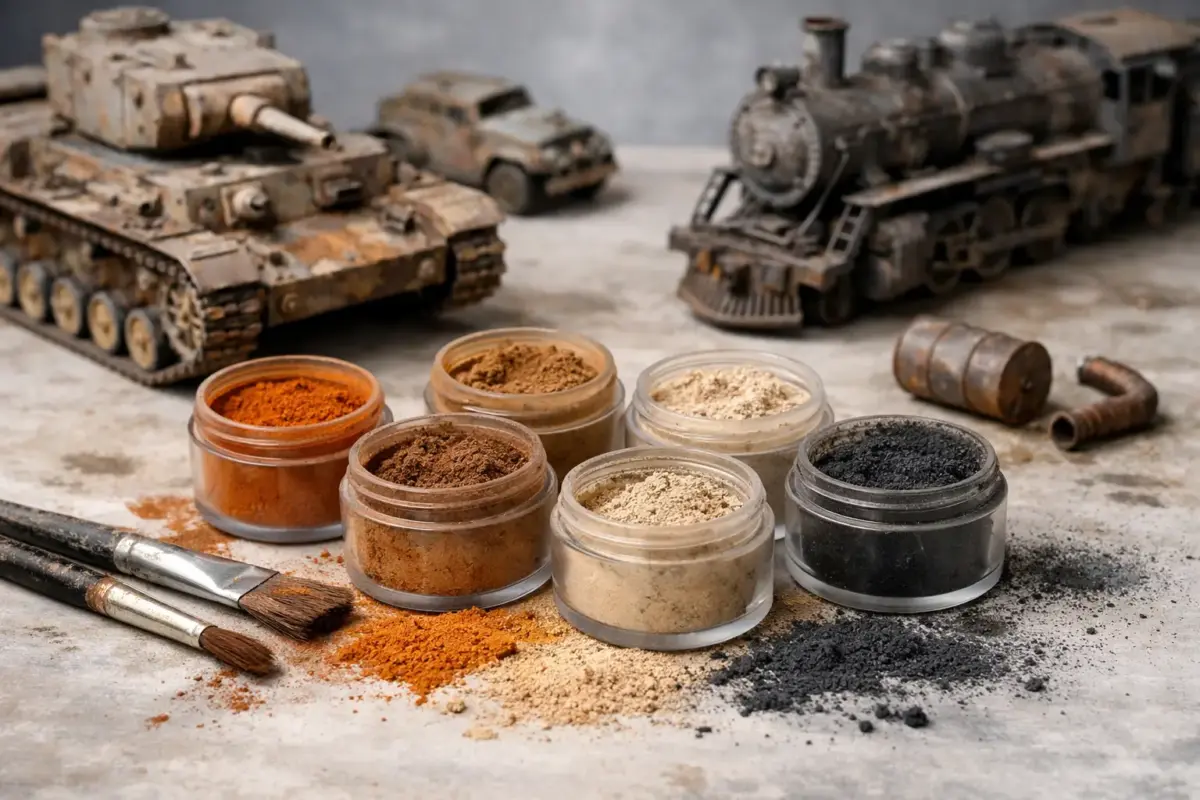
A desert dust effect can make a 1:35 tank convincing in minutes, but the same pale pigment can leave a 1:72 aircraft looking chalky and overdone. The best weathering powders for models are not necessarily the most expensive set or the one with the widest colour range. They are the powders whose grain, shade and handling suit the subject, scale and finish you are trying to recreate.
Weathering powders, often called pigments, are finely milled coloured powders used to represent dust, soil, soot, rust, ash and accumulated grime. They offer a softness that paint struggles to match, especially on flat surfaces, around running gear and in recessed detail. Used with control, they add the final layer of lived-in realism without hiding the work already invested in painting and decals.
What makes a weathering powder worth using?
A good modelling pigment has a very fine, consistent grain and a strong concentration of colour. Coarse craft pigments can look granular at normal viewing distance, particularly in smaller scales. Specialist weathering ranges are designed around believable earth, oxide and soot tones, so a small amount usually gives a more convincing result than a heavy application of a bright, generic powder.
The best choice also depends on how you prefer to work. Loose dry pigments are excellent for building dusty, faded deposits and can be removed or softened easily before they are fixed. Pigments used with water, enamel thinner or a dedicated pigment fixer create heavier, more durable mud and staining. Neither approach replaces the other. Most experienced modellers keep a selection of neutral dust, darker earth, rust and soot shades, then vary the method rather than relying on one colour for every job.
Best weathering powders for models by finish
Dry earth and road dust
For armour and military vehicles, lorries, farm machinery and railway stock, start with pale earth, sand, buff, light brown and grey-beige pigments. These shades reproduce dry soil caught in wheel hubs, track links, lower hulls and panel corners. A light pigment applied with a soft, worn brush also works well over the tyres and undercarriage of aircraft models operating from rough strips.
AK Interactive and Ammo by Mig offer broad pigment ranges built around specific environmental effects, from European earth to desert dust and urban debris. Their focused shades are useful when a vehicle needs to suggest a particular theatre or ground condition. For a more flexible starter selection, choose a light dust, medium earth and dark earth rather than several very similar browns.
Dry dust should normally be lighter towards the lower surfaces, but not uniformly so. Real vehicles pick up dirt where airflow, crew traffic and splash patterns place it. Work from the recesses outward, leaving sections of the base colour visible. A clean, soft brush can blend the edges and lift excess powder before it becomes too dense.
Wet mud and textured soil
Dark earth, damp soil and clay pigments are better for fresh mud, deep ruts and track build-up. On their own, powders create colour but little physical depth. To make convincing textured mud, mix pigment with a suitable acrylic texture product, plaster, fine sand or a dedicated mud effect. The pigment then adjusts the colour and prevents the mixture looking like a single painted brown layer.
Use a darker mix in the deepest areas, such as suspension arms, track guards and wheel centres. Add a lighter dry pigment once the texture has cured to show dried mud on exposed edges. This two-stage treatment gives the surface depth and avoids the common problem of a vehicle that appears to have been dipped in one uniform puddle.
For smaller scales, reduce both grain size and contrast. Heavy, clumped mud can be effective on a 1:16 vehicle, but it can overwhelm a 1:72 tank or a 28 mm wargaming miniature. In those cases, use pigment staining and restrained texture rather than large lumps.
Rust, oxide and faded metal
Rust pigment is most effective when it is varied. Fresh oxidation can lean orange-brown, while older corrosion is usually darker, duller and often mixed with dust. A useful palette includes a dark red-brown oxide, a mid rust and a small amount of light orange for fresh chips or exposed edges.
Vallejo pigments and AK Interactive weathering powders are particularly useful choices for controlled layered rust work because their ranges include several related oxide shades. Apply the dark tone first in pits, seams and around bolts. Place the brighter shade sparingly over selected high points or beneath an area of damaged paint. If every rusted area is orange, the finish will read as an effect rather than corrosion.
On ships and railway models, remember that rust follows water paths, joints and neglected fittings. On armour, it is usually more restrained on well-maintained operational vehicles than on abandoned wrecks. Reference photographs matter more here than the name on the pigment jar.
Soot, smoke and exhaust staining
Black is rarely the best first choice for exhausts. A mix of dark grey, brown-black and a touch of pale dust looks more convincing than a solid black patch. Soot accumulates most heavily at the source, then softens as it travels across the surface. The direction of airflow is as important as the colour.
Tamiya Weathering Master sets are a practical option for light soot, oil staining and general tonal variation. Their compact applicators make them particularly approachable for aircraft exhausts, ship funnels and figure equipment, although a soft brush often provides a more diffused edge. Loose pigments give greater freedom for larger areas and more layered effects.
Use soot carefully over a matt surface. A little pigment will catch raised texture and panel lines quickly. Build it in several light passes, stepping back regularly to check the model at normal display distance.
Choosing a pigment range for your subject
Buying a large weathering set can be tempting, but a smaller, purposeful selection often sees more use. For most armour and military vehicle builds, light dust, medium earth, dark earth, dark rust and soot will cover the majority of jobs. Aircraft modellers may get more value from pale dust, dark grey, exhaust brown-black and restrained earth tones for tyres and undercarriage.
Figure and wargaming painters often benefit from pigments that match their scenic bases. A miniature standing on red-brown earth will look more grounded if a little of the same dust is carried onto boots, trouser hems and equipment. Railway modellers may want coal black, ash grey, brick dust, oil-stained brown and trackside earth. Diorama builders can justify a wider palette because the groundwork sets the colour logic for the whole scene.
Brand compatibility is rarely a concern with dry application. AK Interactive, Ammo by Mig, Vallejo and other specialist pigment ranges can be mixed freely to create a custom shade. The greater consideration is the fixing medium. If you are using enamel thinners or a pigment fixer, test the method on a spare painted part first, especially over delicate acrylic finishes, decals or unvarnished metallics.
Application and sealing without losing the effect
Apply dry weathering powder with an old soft brush, makeup brush or modelling brush, or short-bristled flat brush, depending on the effect. Work a tiny amount into the bristles, tap off the excess and build colour gradually. For dust, brush downward with the direction of gravity and airflow. For dirt trapped around details, stipple the pigment into corners and blend the perimeter with a clean brush.
Fixing pigments is useful on handling areas, running gear and models that will travel to shows, but it changes their appearance. Most fixers deepen the colour and reduce the powdery surface. A pigment that looks like pale dust when dry may look like damp earth once saturated. Apply fixer by touching it into the pigment with a fine brush or allowing it to wick from the edge. Flooding the area can cause tide marks and erase subtle variation.
A matt varnish sprayed over pigments can also reduce their contrast. If you need to seal the whole model, allow for this by applying the powders slightly more strongly than the desired final finish. For display models that will not be handled often, leaving selected dry pigment areas unsealed can preserve the most natural dusty look. Keep the model protected in a cabinet and handle it by its base or strongest structural points.
Common mistakes to avoid
The most frequent mistake is using weathering as an all-over filter. Dust and dirt need a reason to be where they are. Study how wheels throw mud, where crew climb, where water gathers and how exhaust gases travel. A largely clean vehicle with convincing localised wear often looks more realistic than one covered from turret to tracks in the same brown pigment.
Avoid applying powders straight onto a glossy finish unless you are deliberately using the surface to create a specific stain. Pigments grip and blend better over matt or satin varnish. Equally, do not assume weathering must be the final stage. You may want to add chips, oil streaks or further dust after the first pigment layer, particularly on a layered armour finish.
Finally, keep a record of mixes that work. A note of the pigment shades, thinner and application order can save time when you return to the same theatre, regiment, railway setting or scenic palette.
The most useful weathering powder is the one that helps your model belong to its setting. Choose a few credible tones, test them on a spare surface, and let the subject’s scale, service history and environment guide the final finish. If you need help matching pigments, textures and finishing products for one project, the team at Scale Model Shop can help you build a practical weathering selection rather than a drawer full of unused jars.
