
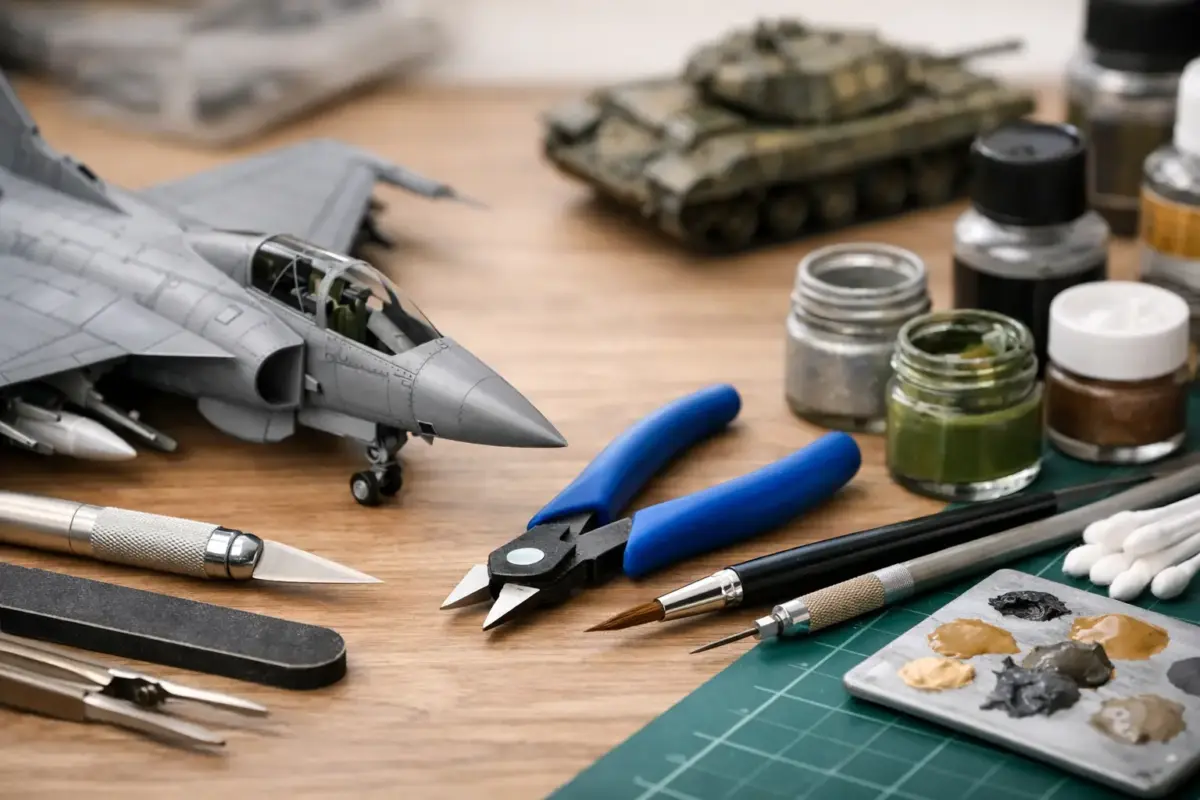
A well-chosen kit is only the starting point. The modelling accessories on your bench determine how cleanly parts fit, how convincing the finish looks and whether a simple weekend build becomes a display piece worth returning to. From the first cut from the sprue to the final matt coat, the right supplies make each stage more controlled and more enjoyable.
The best approach is not to buy every specialist product at once. Build a practical set around the type of models you make, the scale you work in and the finish you want to achieve. An aircraft modeller working in 1/72 has different needs from a 1/35 armour builder, while a figure painter may place brushes and acrylic colour range above an airbrush setup.
Choosing modelling accessories for your project
Start with the kit instructions, but look beyond the paint call-outs. Consider the construction method, the number of small parts, the surface detail and the intended setting. A modern jet with fine recessed panel lines benefits from careful sanding, masking and controlled washes. A WWII tank offers more opportunity for textured mud, chipped paint and stowage. A railway building or diorama needs scenic materials that work together in scale.
Compatibility matters as much as product quality. Check the scale before ordering photo-etch, resin upgrades, decals, figures or vehicle accessories. A 1/48 seat belt set will not look convincing in a 1/72 cockpit, however well made it is. The same principle applies to paint systems: primers, acrylics, lacquers, enamels, thinners and varnishes should be selected with their intended use in mind.
It is also worth deciding how far you want to take the build. Out-of-the-box projects can be highly satisfying with good assembly and paintwork alone. Detail sets are most useful when they improve an area that will remain visible, such as an open cockpit, engine bay, ship deck or vehicle interior. Adding every available upgrade can slow a project down and introduce unnecessary fitting work.
The core tools that earn their place on every bench
Precision starts with preparation. A dependable hobby knife with fresh blades, a sprue cutter designed for plastic parts, sanding sticks and a selection of files cover most basic clean-up work. The aim is to remove parts without stressing them, then eliminate mould seams and attachment points before glue is involved.
A sanding selection is more useful than one coarse abrasive. Lower grits handle stubborn seams and filler, while finer grades refine the surface before primer. For clear parts, work gradually and avoid rushing. A scratch on a canopy can be removed, but it takes more effort than preventing it in the first place.
Adhesives should be chosen for the material and task. Thin plastic cement is ideal for clean styrene joins where capillary action can draw glue along the seam. A thicker cement gives more working time for larger assemblies. Cyanoacrylate is valuable for photo-etch, resin and small repairs, but it can fog clear parts and sets quickly. PVA-style glue is often the safer choice for canopies, transparent lenses and small scenic items.
Good lighting, a cutting mat and tweezers may seem modest additions, yet they make detailed work far less frustrating. For small-scale aircraft, armour fittings or ship railings, a magnifier can help you position parts accurately without forcing your eyes to do all the work.
Filling, shaping and restoring detail
Few kits go together without a seam somewhere. Modelling putties, acrylic fillers and sprue goo all have a place, depending on the gap and surrounding detail. A fast-drying filler is useful for minor blemishes; a slower-setting putty can be shaped over larger joins. Apply the minimum needed, because every extra layer means more sanding.
When sanding crosses panel lines or rivet detail, restoration tools become worthwhile. A scriber, flexible guide tape and a fine rivet tool can bring back detail that would otherwise disappear beneath paint. This is a patient stage, especially on aircraft fuselages, but it has a noticeable effect once a wash is applied.
Paint, masking and finishing supplies
Paintwork rewards a planned sequence. Primer reveals seams, sanding scratches and imperfect joins before the main colours make them harder to correct. It also gives the paint a consistent surface to grip. Use a primer suitable for the material, particularly when resin, metal and plastic are combined in one build.
Brush painting remains an excellent option for interiors, figures, detail work and compact projects. Quality brushes with a fine point, a suitable palette and the correct thinner will produce a much cleaner result than trying to force thick paint straight from the pot. Several thin coats are usually better than one heavy coat that obscures detail.
For larger areas and smooth camouflage, an airbrush offers more control, but it comes with extra requirements: a compressor, suitable thinner, cleaning products and a regular cleaning routine. It is not essential for every modeller. A carefully brushed 1/72 aircraft or 28mm figure can look excellent, while an airbrush is particularly useful for soft-edged camouflage, modulation and larger-scale bodywork.
Masking tape is one of the most effective modelling accessories for sharper results. Use narrow strips around curves and canopy frames, burnish the edge gently, then remove the tape once the paint has begun to set rather than leaving it until fully hardened. Liquid masking can help with irregular glazing, though it is less predictable on very fine frames.
Gloss, satin and matt varnishes are not merely final coats. A gloss layer creates a smooth surface for decals and washes, helping reduce silvering around decal film. A final varnish then brings the finish back to the correct sheen. Keep scale and subject in mind: a factory-fresh racing car, a weathered tank and a naval aircraft at sea should not all have the same surface finish.
Decals and weathering with purpose
Decals can transform a model, but they need a clean glossy surface and careful handling. Decal setting solutions help markings settle over raised detail and into panel lines. Allow each decal time to soften, and avoid moving it repeatedly once it begins to conform. After drying, seal decals before applying heavier weathering.
Weathering works best when it reflects the subject rather than a technique trend. A panel-line wash can add definition to an aircraft, but a very dark wash across every panel may look exaggerated in smaller scales. Drybrushing highlights raised edges well on armour and figures, although a lighter tone of the base colour often appears more natural than pure white or metallic paint.
Pigments, enamel streaking products, oil colours and chipping fluids offer different effects. Pigments are excellent for dry dust and earth tones, but need careful fixing if the model will be handled. Oil colours allow subtle fading and streaking with plenty of working time. Chipping products are effective for worn paint, but should follow the likely wear points of the real vehicle or aircraft: crew access areas, leading edges, tools and hatches, not every flat panel.
Detail sets, figures and scenic materials
Aftermarket parts can add finesse that injection moulding cannot always reproduce. Photo-etch is particularly useful for thin grilles, seat belts, ship railings and brackets. Resin parts can improve cockpit tubs, wheels, exhausts and stowage, but check for casting blocks and test-fit before painting. Both materials demand a little extra preparation and the correct adhesive.
Figures give a model scale and purpose. A pilot beside an aircraft, a tank crew member in a hatch or a mechanic near a vehicle can make the scene feel inhabited. Choose figures that suit the era, uniform and scale, and consider the pose before committing to placement.
For dioramas, begin with the groundwork. Cork, foam, plaster, textured pastes, static grass, tufts, ballast and foliage can all create convincing terrain, but restraint is valuable. Ground cover should match the setting and scale. Coarse scatter that looks fine on a railway layout may appear like boulders beside a 1/72 vehicle.
Before starting a new build, it helps to gather the essentials in one place: the correct adhesive, primer, main colours, brushes or airbrush supplies, masking materials, decal products, varnish and any planned detailing or scenic items. This avoids pausing halfway through a project because one vital consumable is missing.
Scale Model Shop makes that planning easier by bringing kits, paints, tools, weathering products and specialist accessories together for a complete project. If you are unsure whether a product suits your scale, material or chosen paint system, ask before opening the packet. A small amount of advice at the start can save a great deal of rework later.
The most useful bench is not the one with the most products. It is the one where every tool, paint and finishing material has a clear job in the build you are looking forward to making.
